How to make a St Patrick's Day Carnival Hat
It is St Patrick's Day on 17th March and you can celebrate by making a fun, colourful St Patrick's Day Carnival hat using paper, glue and coloured pens.

What is St Patrick's Day?
St Patrick is the Patron Saint of Ireland. St Patrick's Day celebrates Irish culture and remembers St Patrick who died on the 17th March in the 5th Century. He is remembered for bringing Christianity to Ireland and this anniversary has been observed with feasting and religious services for over 1,000 years. You can read more about St Patrick here. These days many people consider it a celebration of Irish culture and there are usually St Patrick's Day parades with costumes and music. Green is the colour which is most associated with St Patrick's Day and Ireland - it is one of the main colours of the Irish flag which is green, white and orange.
Make a celebration St Patrick's Day Hat
This design is for two sizes of hat - one is a fascinator which you can attach to a hairband or similar to sit on the side of your head. The other is for a larger hat you can wear. The method is the same, you just need to measure bigger sizes for the larger hat. Read on for all the details or click the button below to download an instruction booklet.
Materials you will need
You will need:
A4 pieces of paper (ideally green but you can paint white paper too!)
Felt tip pens
A4 white paper Glue
Ruler
Pencil
Scissors
Make your hat base
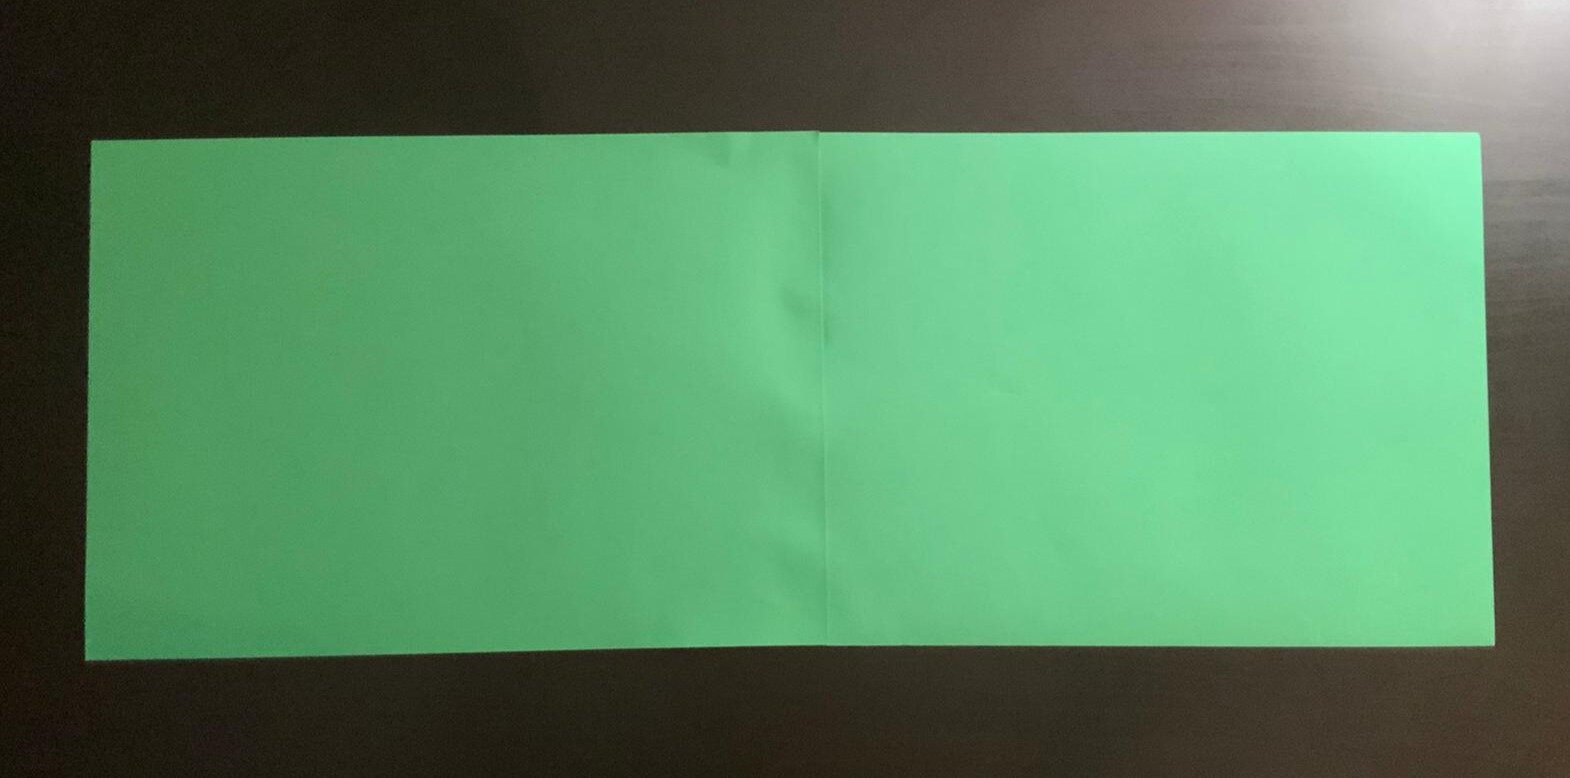
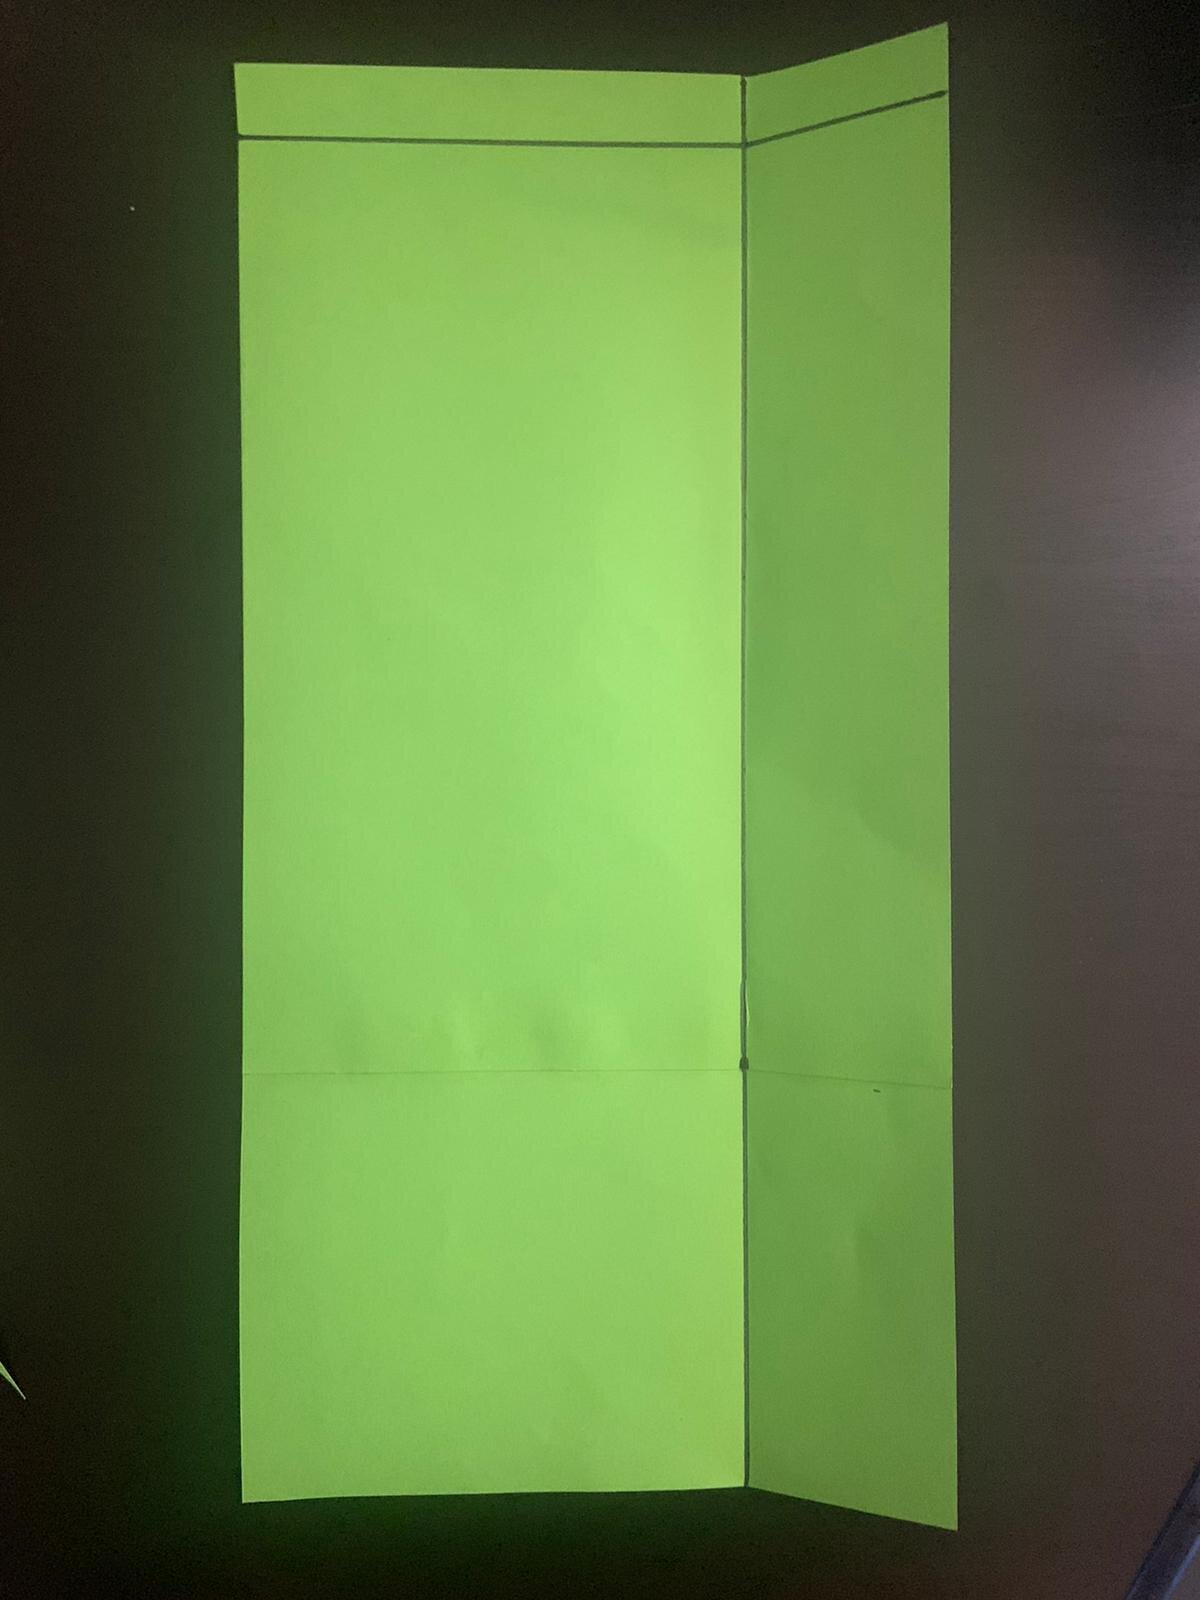
First take two pieces of A4 paper and glue them together (landscape).
Next:
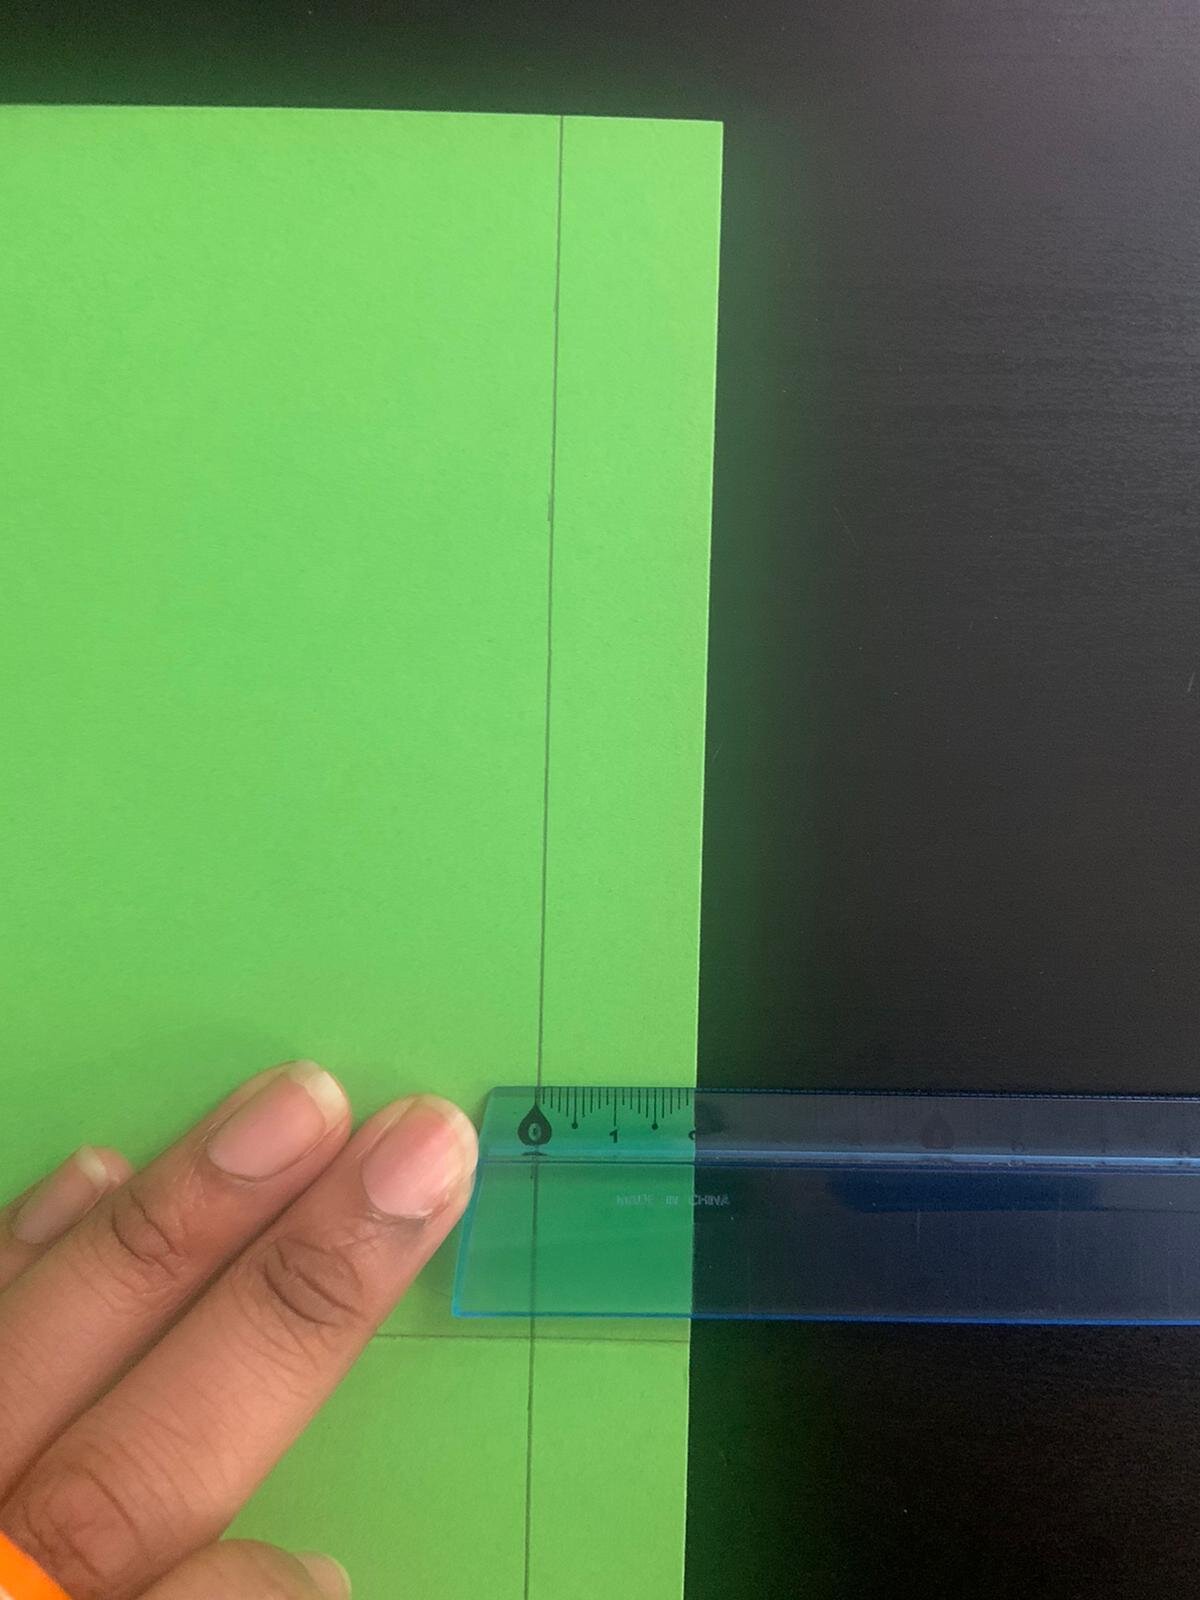
Take your ruler and measure a 2cm width on the right hand side
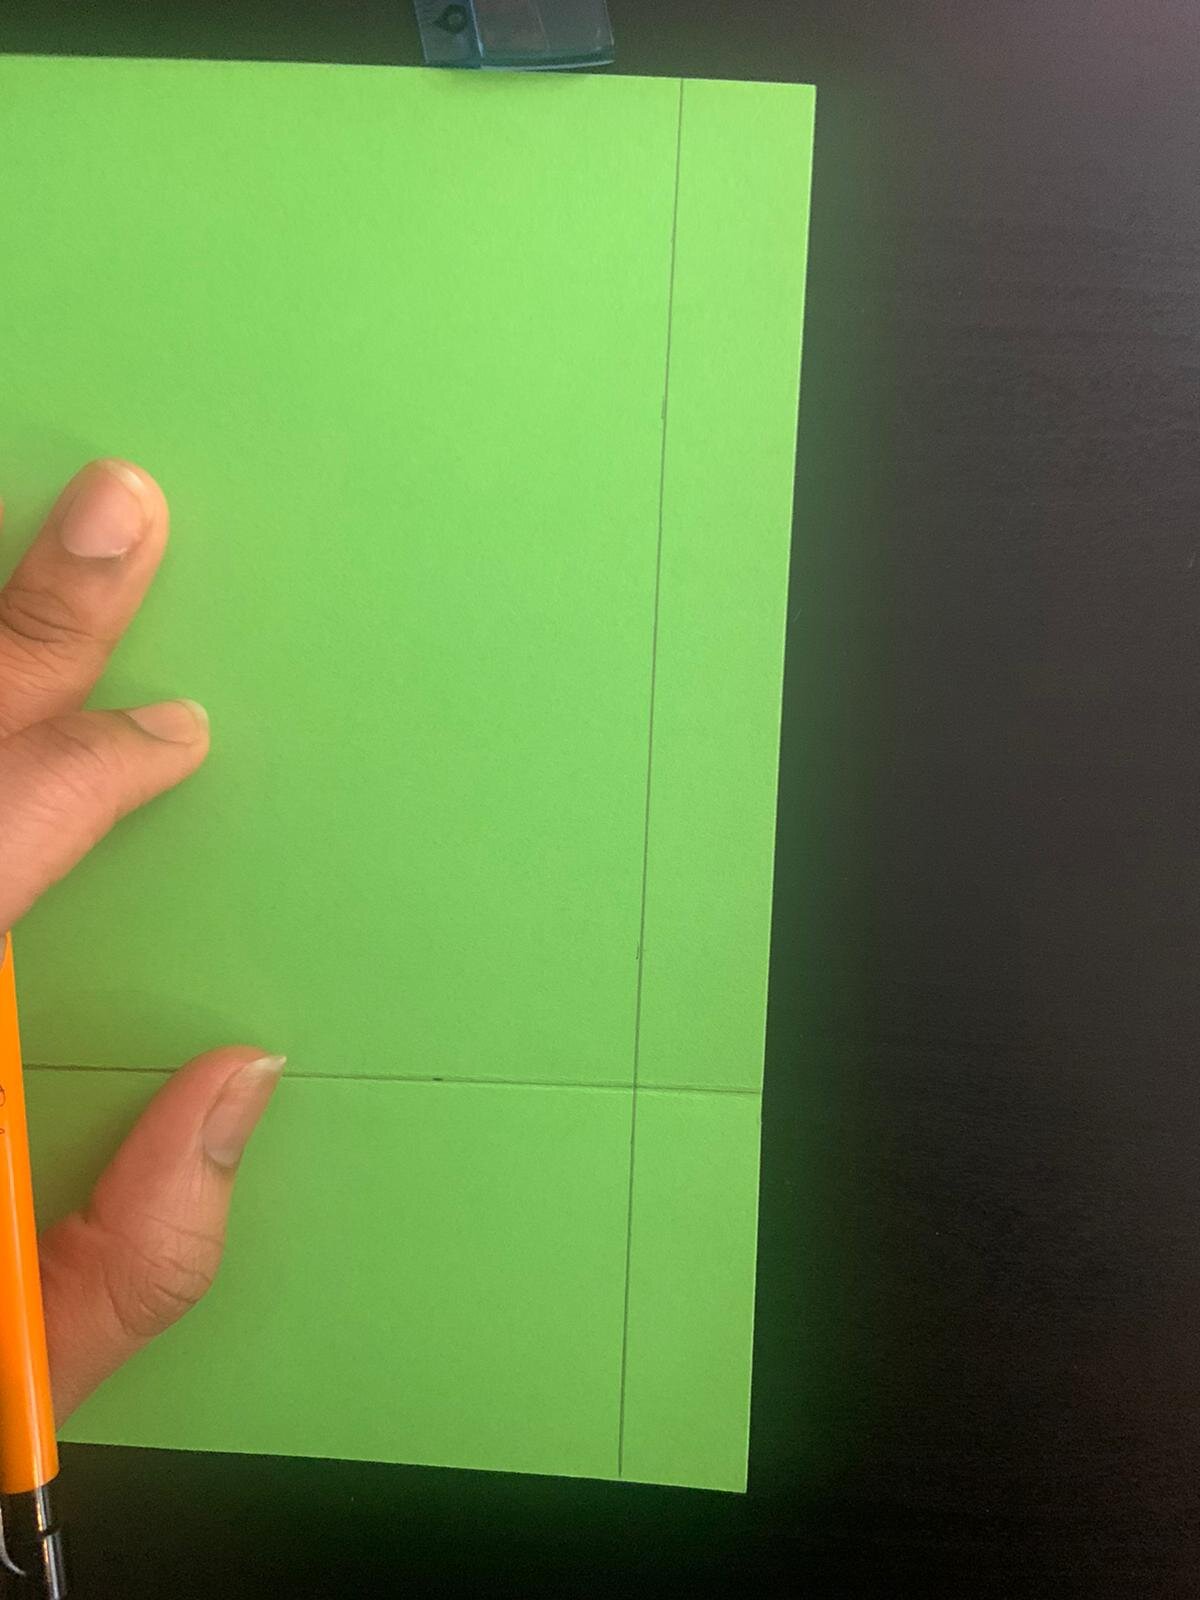
Fold the 2cm strip inwards towards the middle so you have a crease
Then fold it back again
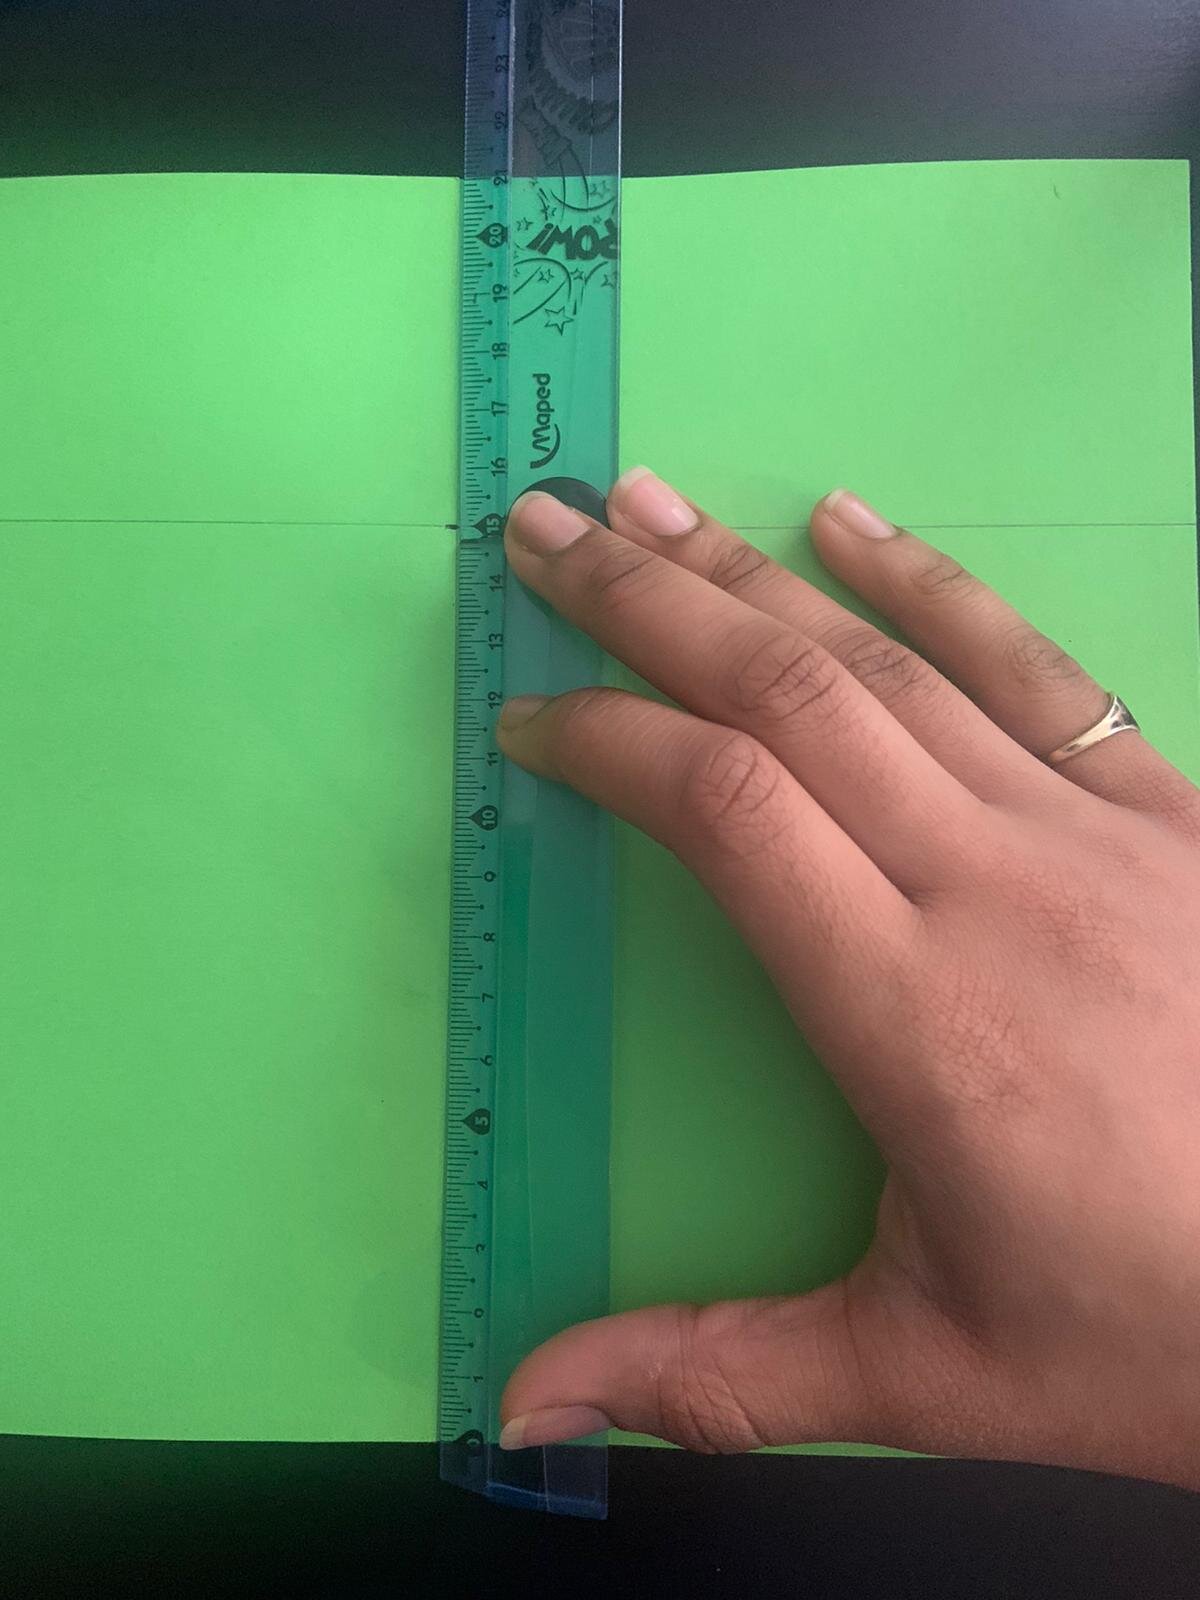
Then measure 15cm from the bottom of the long bit of paper and draw a line
Fold along that line so the smaller bit at the top is folded down creating another crease like in the picture below.
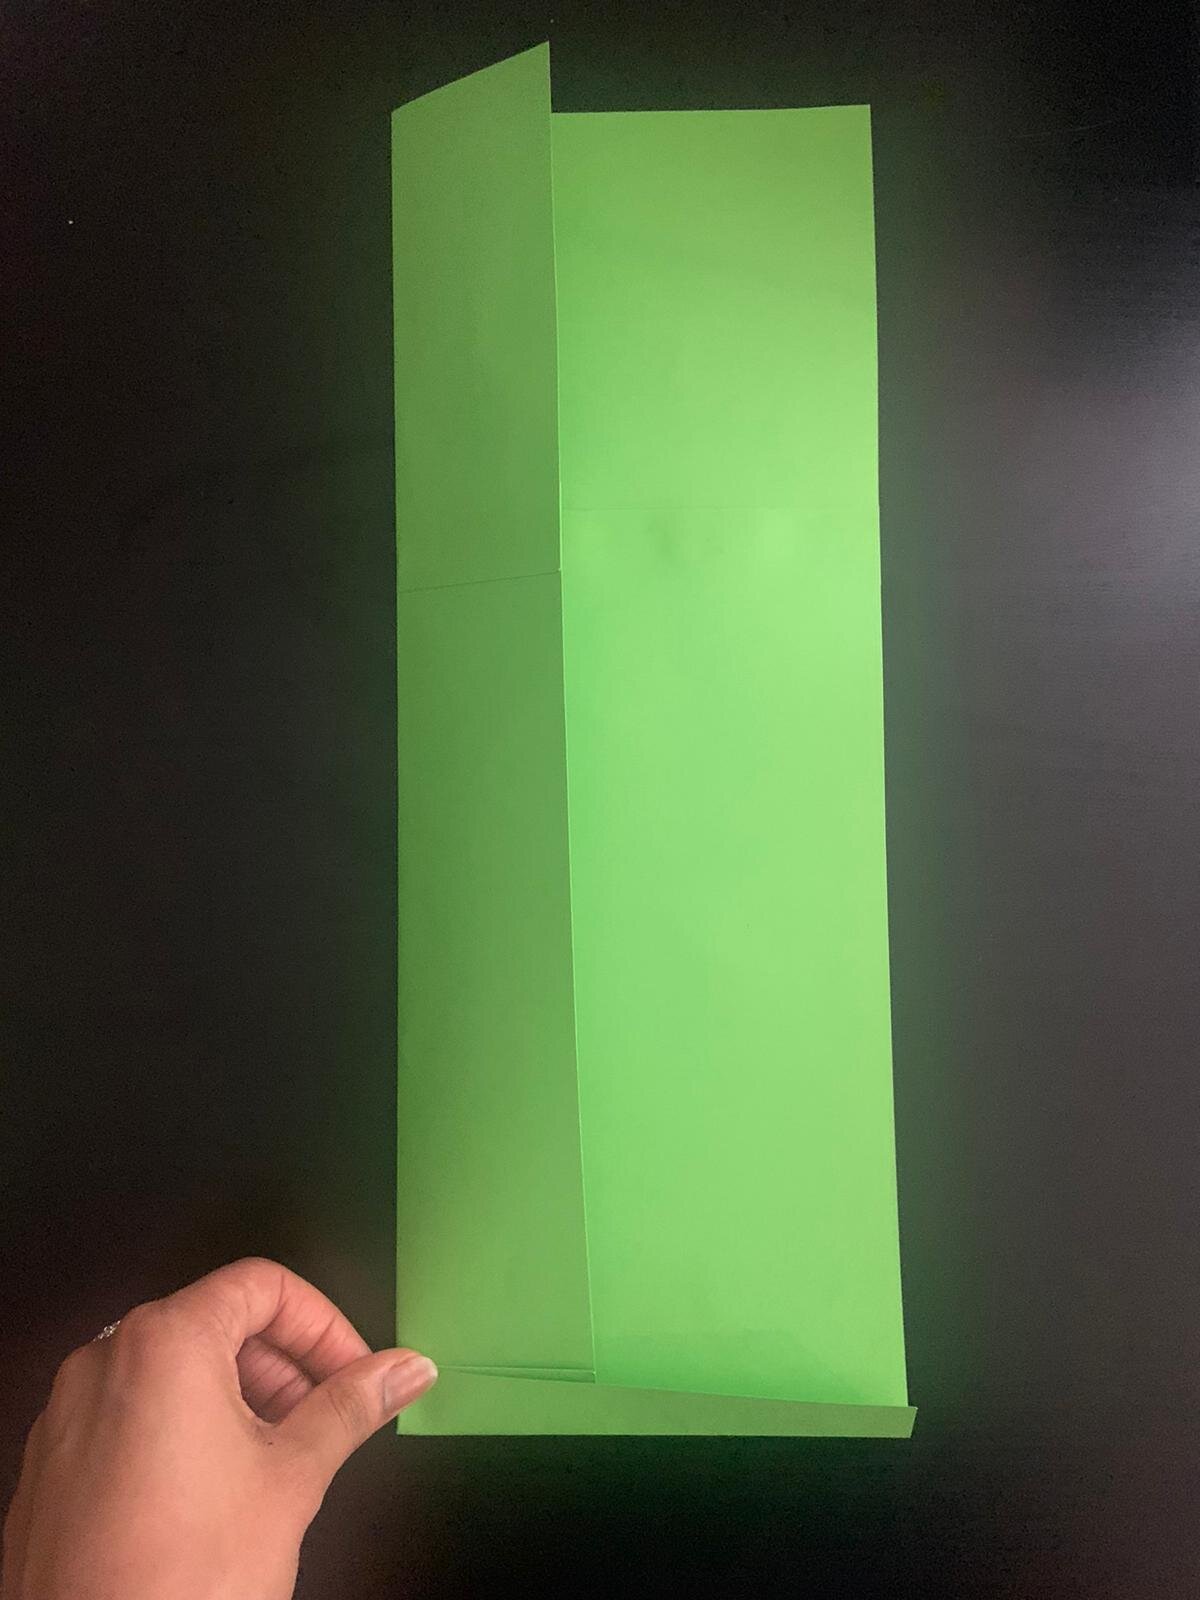
When you have your two creases, fold the paper over like in the picture below and glue together.
Next you need to create 6 paper tabs to help fix your hat together. These need to measure 6cm x 2cm. Use your ruler to measure the right size tabs and then cut each one out.
Create two paper circles
Once you have created your tabs, you need to draw and cut out some circles.
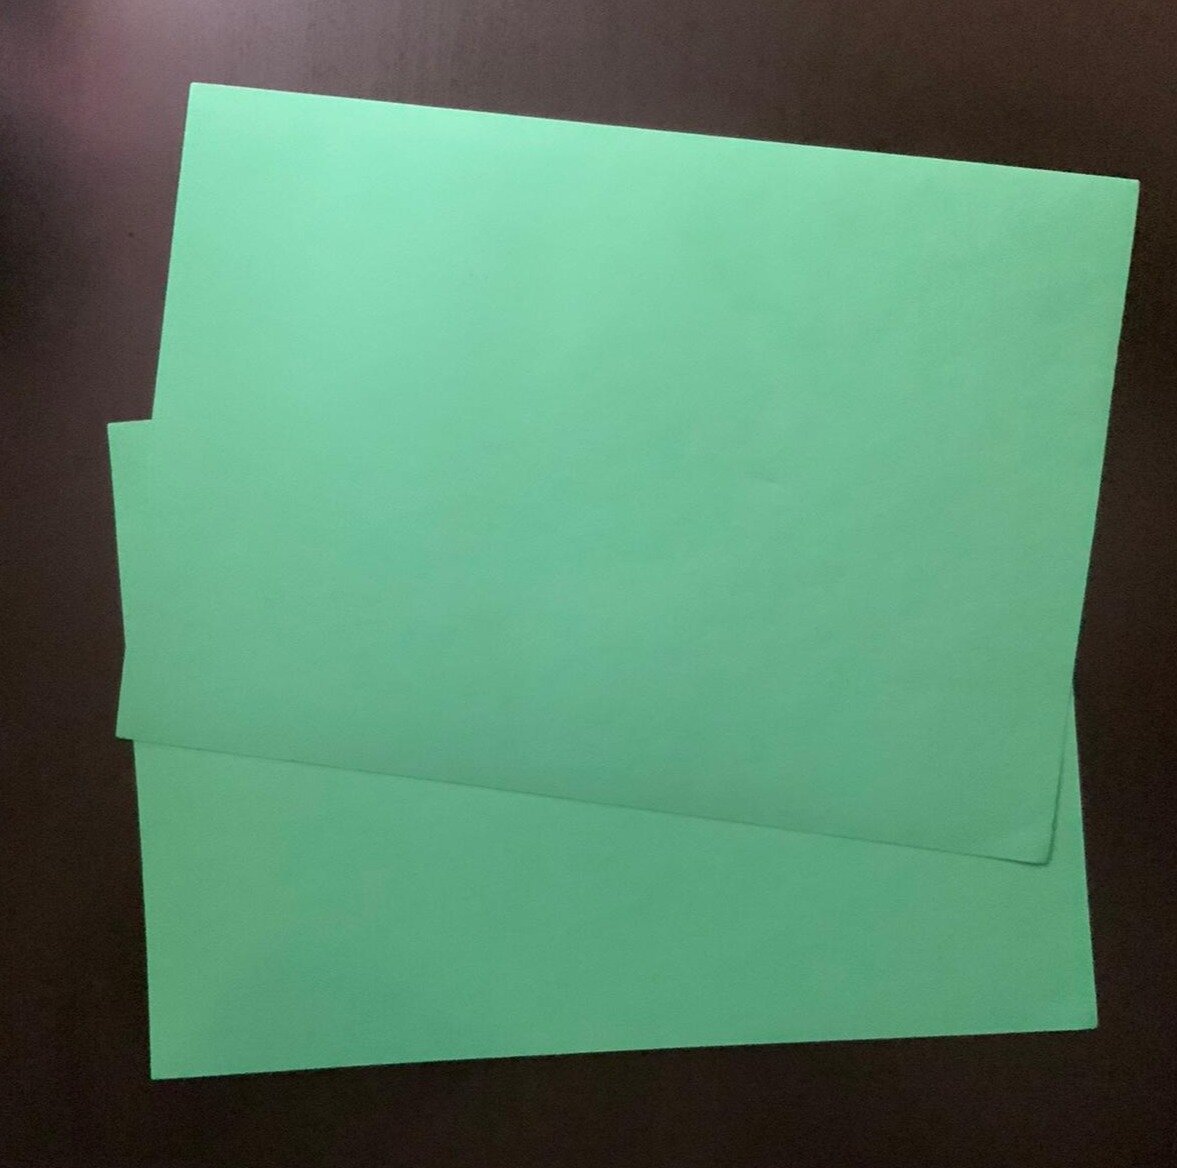
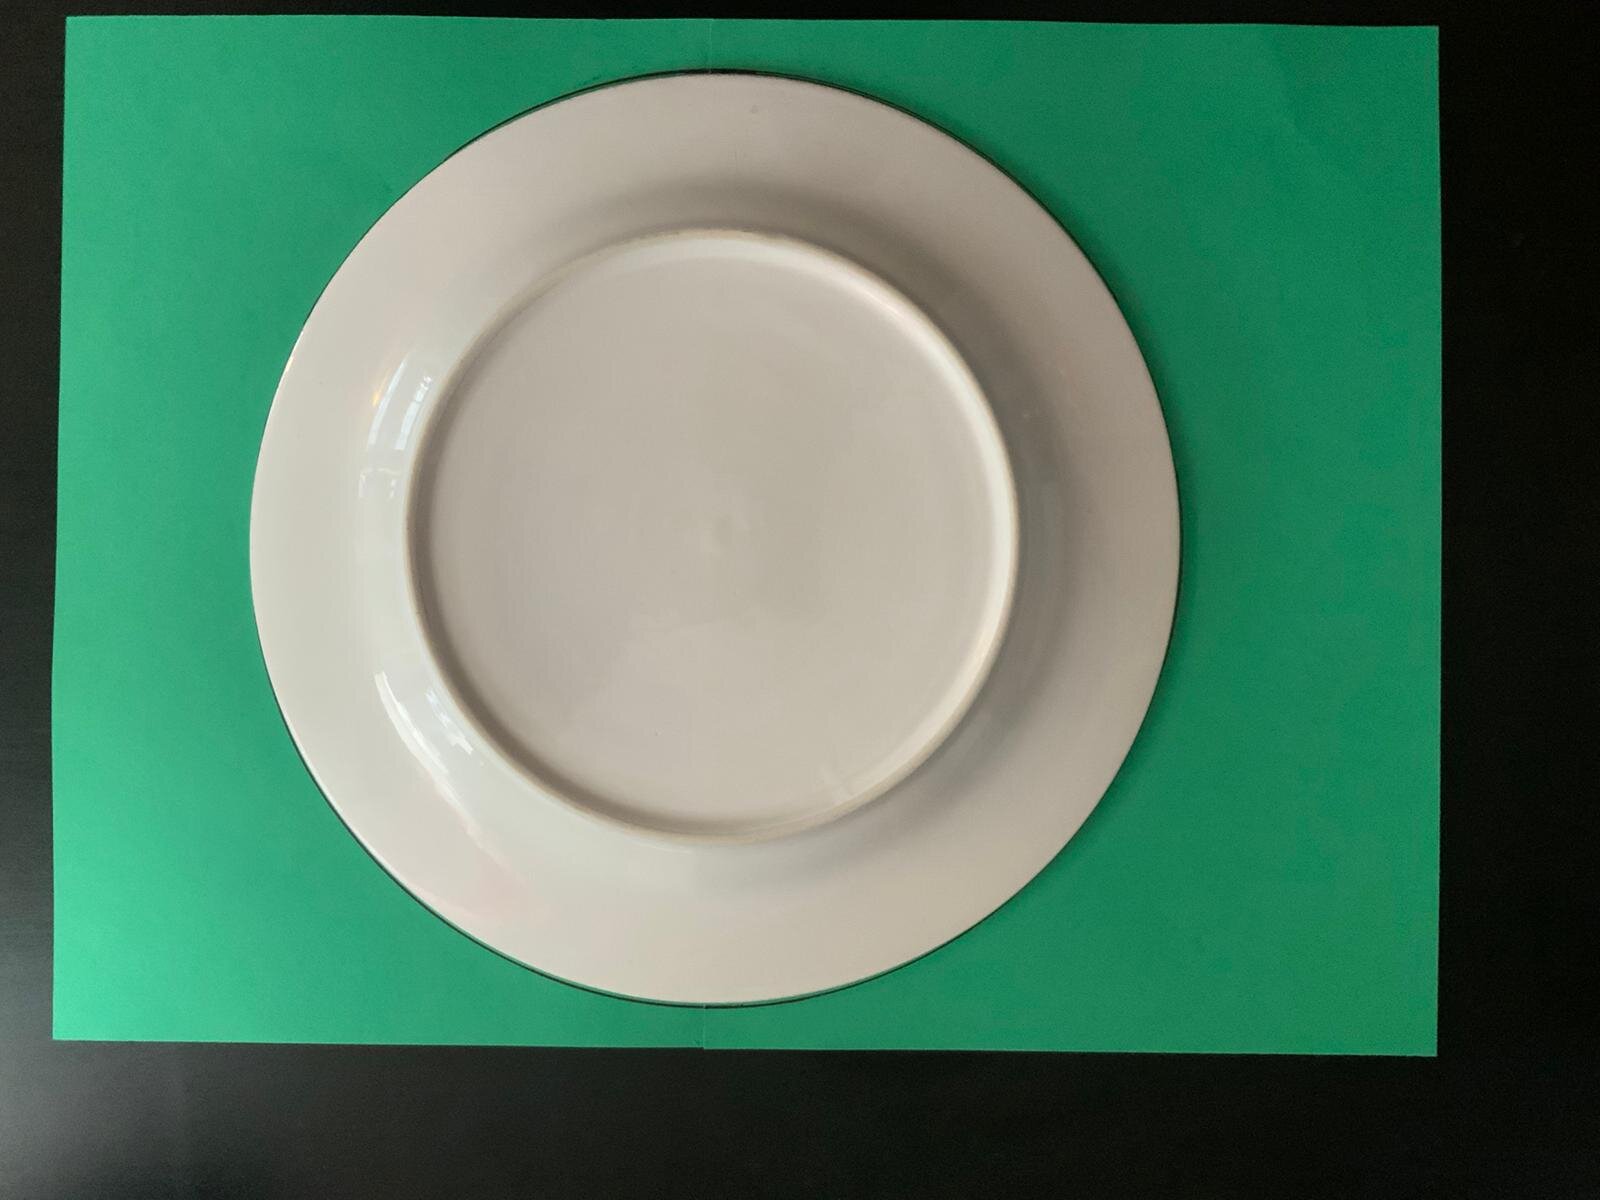
For the large hat you will need to first glue two pieces of paper together so you can make a circle large enough - see the pictures below for an example. You can use a plate of around the right size to draw around, or try using a compass.

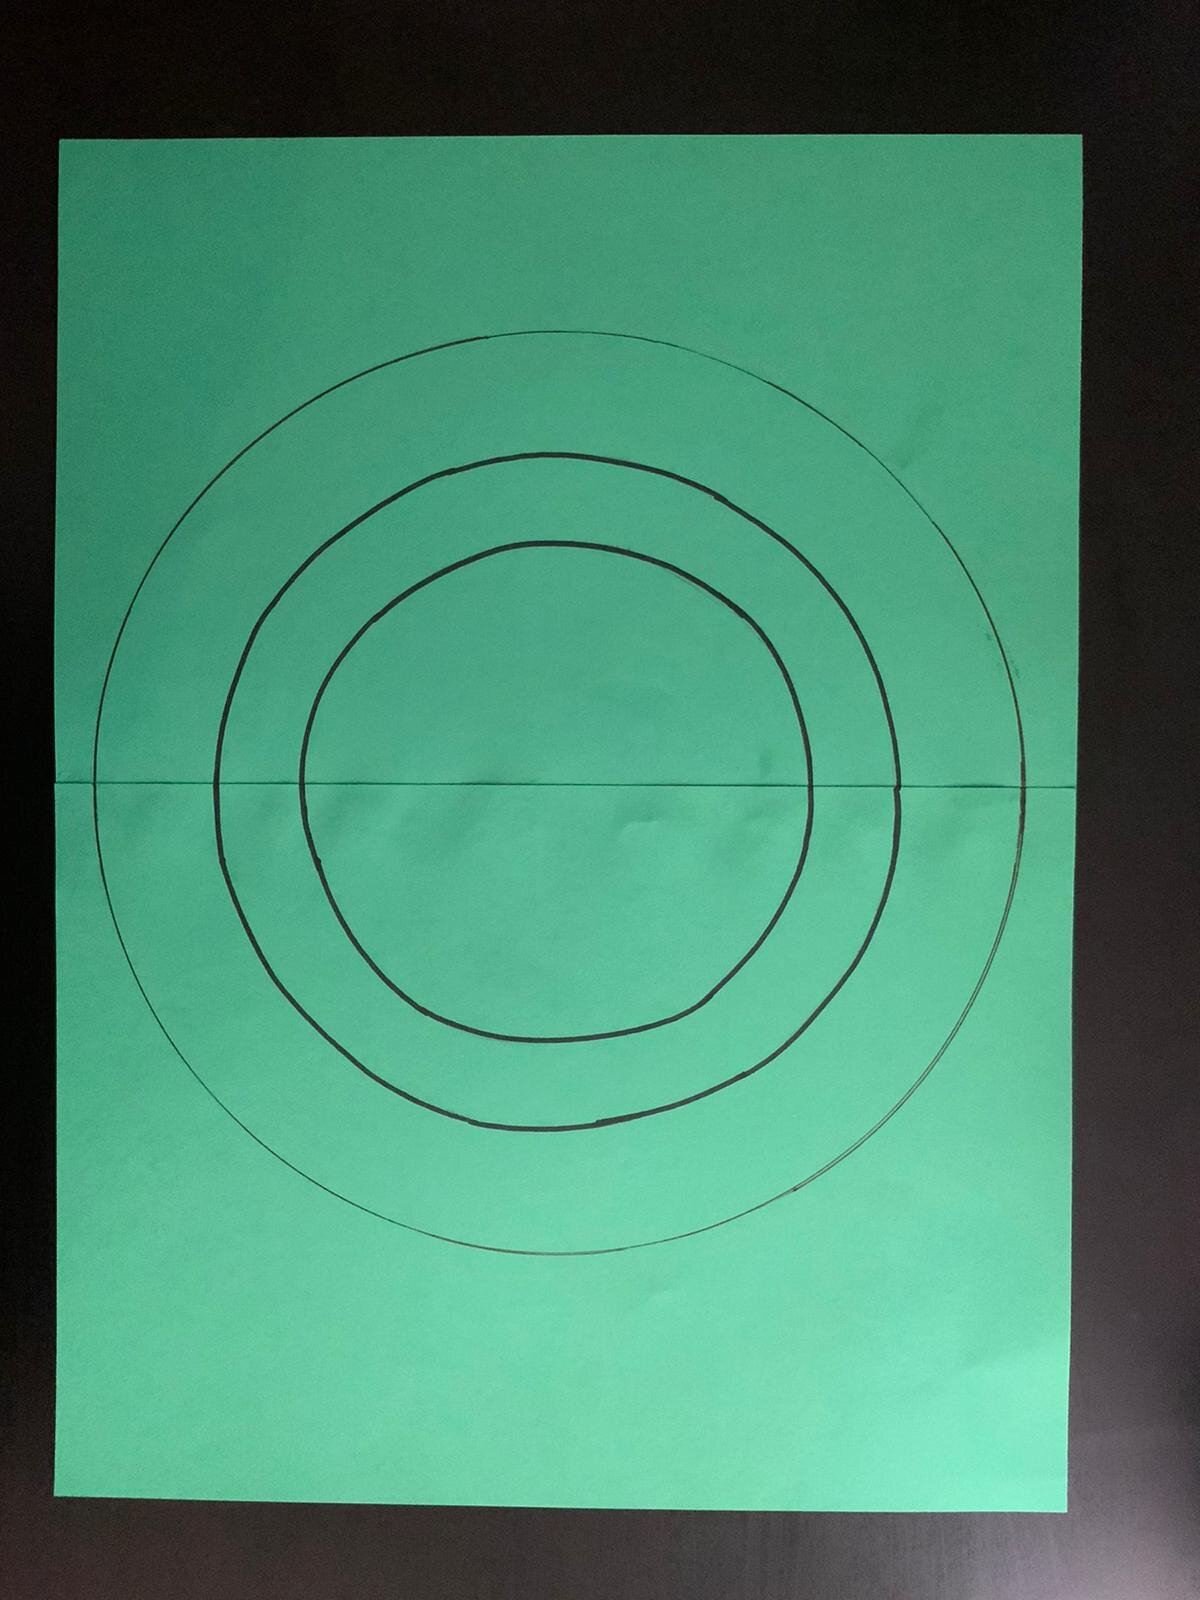
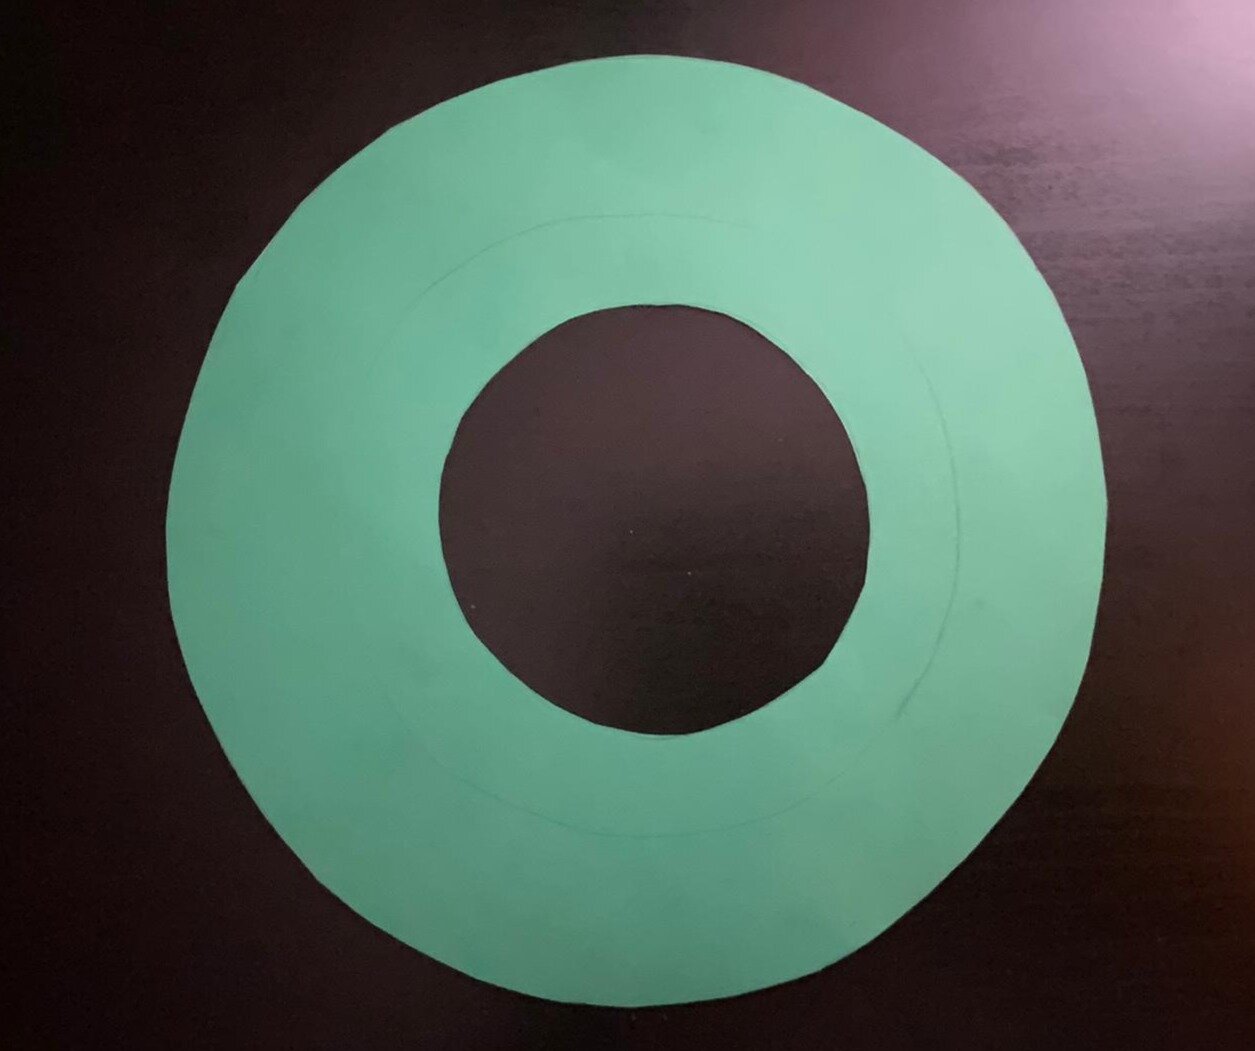
The outside circle for the large hat will need to be around 26cm in diameter. You then need to draw an inner circle which is around 21cm in diameter and a third inner circle which is 19cm - like in the picture. For the smaller hat the outer circle needs to be 20cm in diameter and the inner circles 14cm, and 11cm.
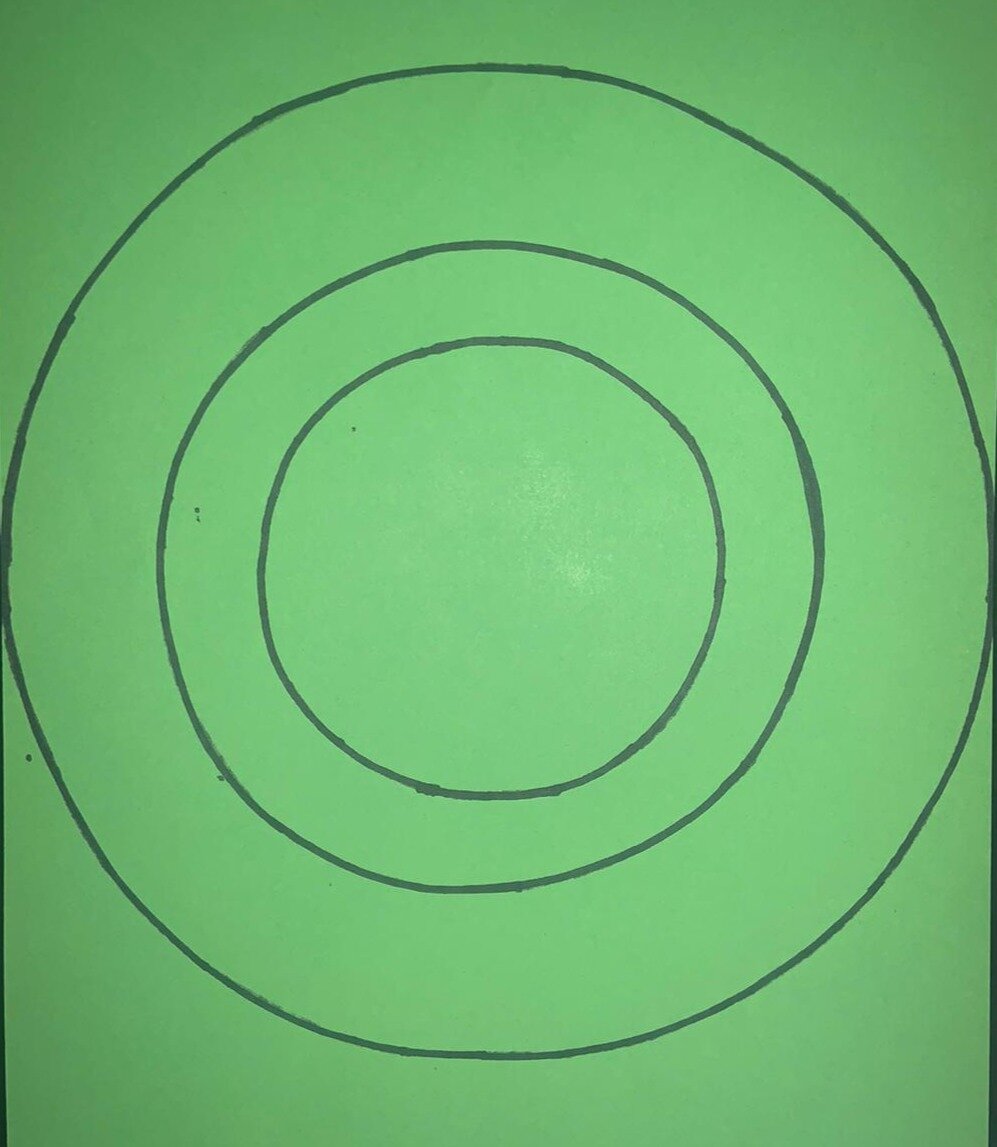
You should now have one big circle with two smaller circles drawn inside it.
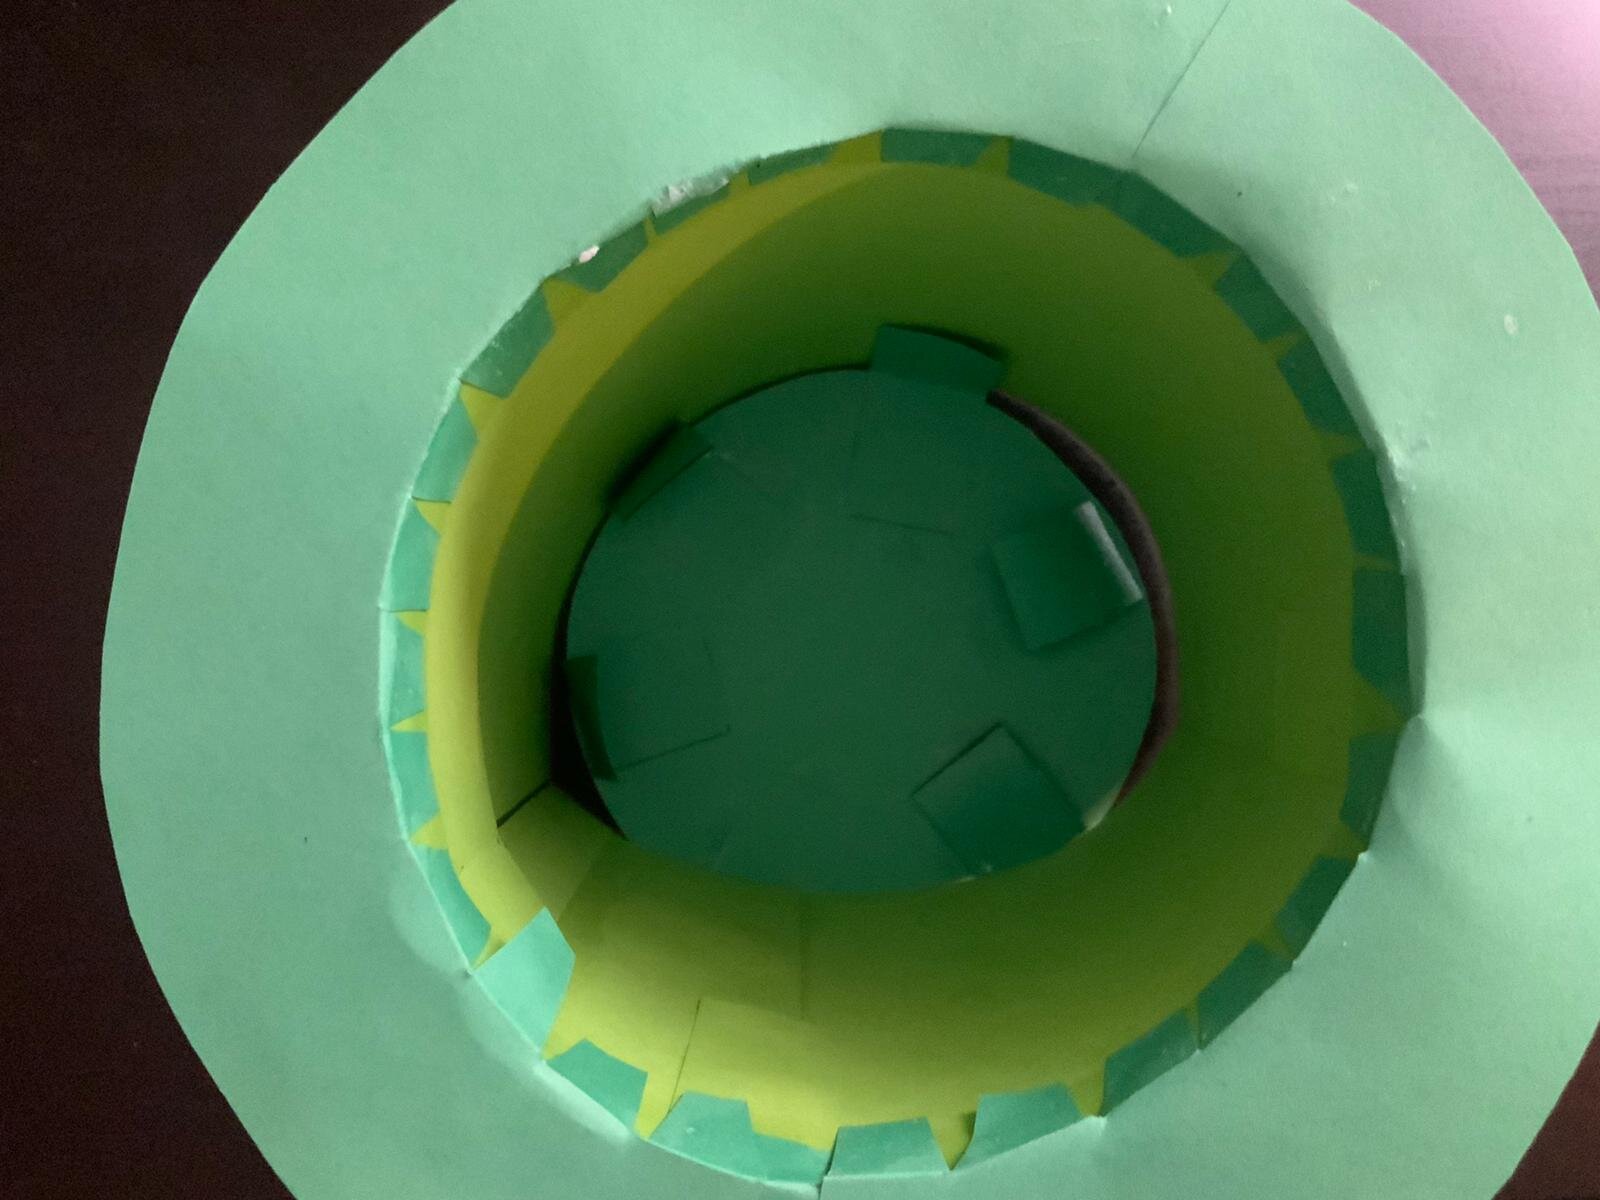
You then need to cut out the smallest, inner circle so you end up with a donut shape, like in the picture, but still with your middle circle line drawn on.
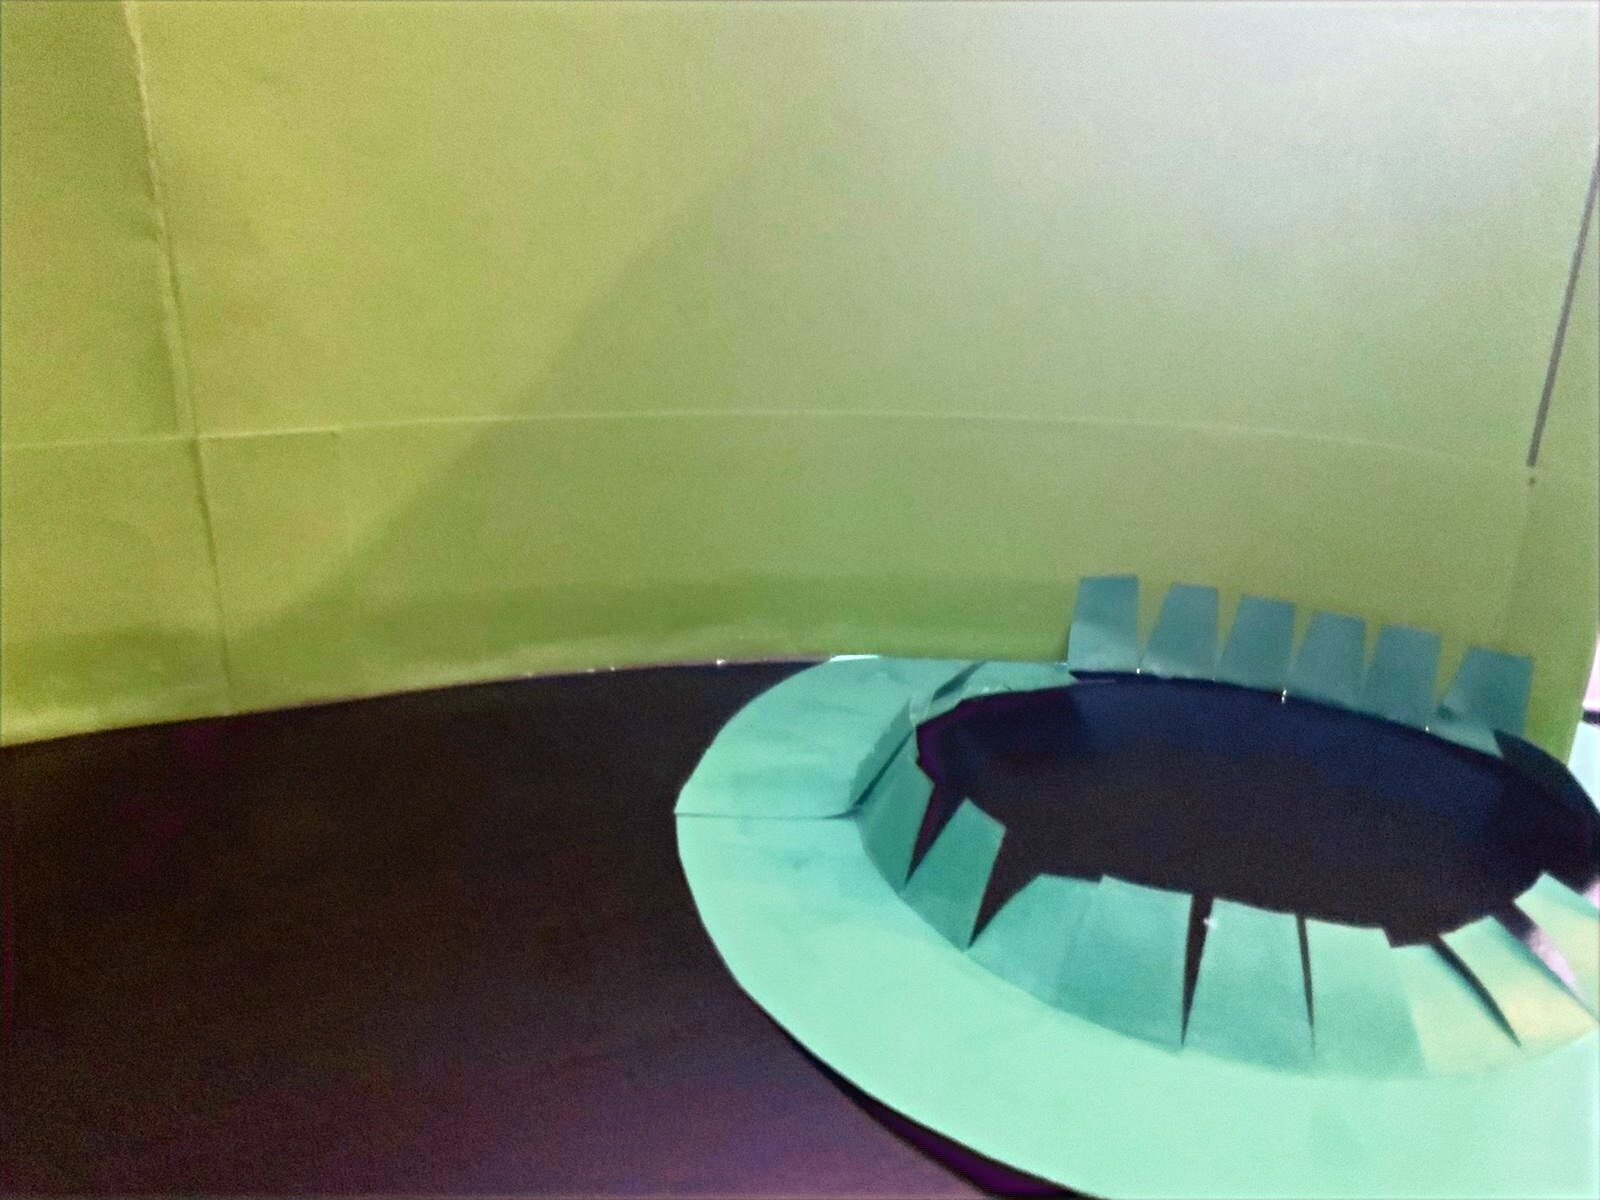
Next, you need to snip triangle shapes from the edge of the inner circle to the 'middle' line. Don't go too far in! You will then be able to fold up your snipped bits of inner circle and use them to fix your hat together.

Glue your hat shape together
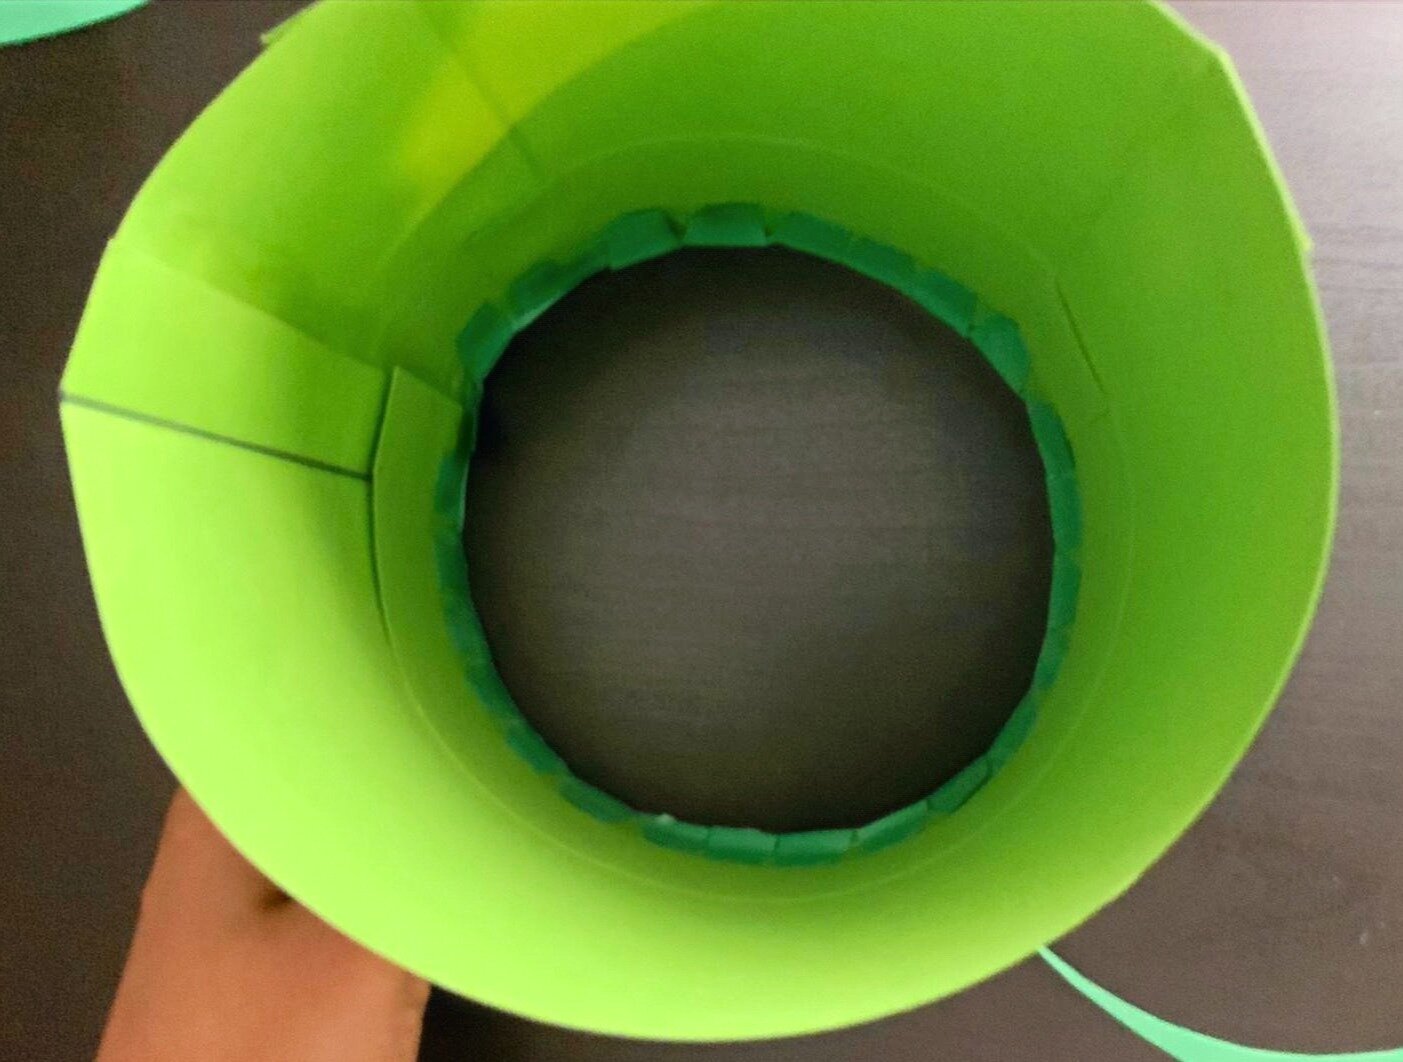
You can now get your main big piece of glued and folded paper and fix it to the base by gluing your snipped tabs one by one to the paper - like in the pictures below.
The top of your hat
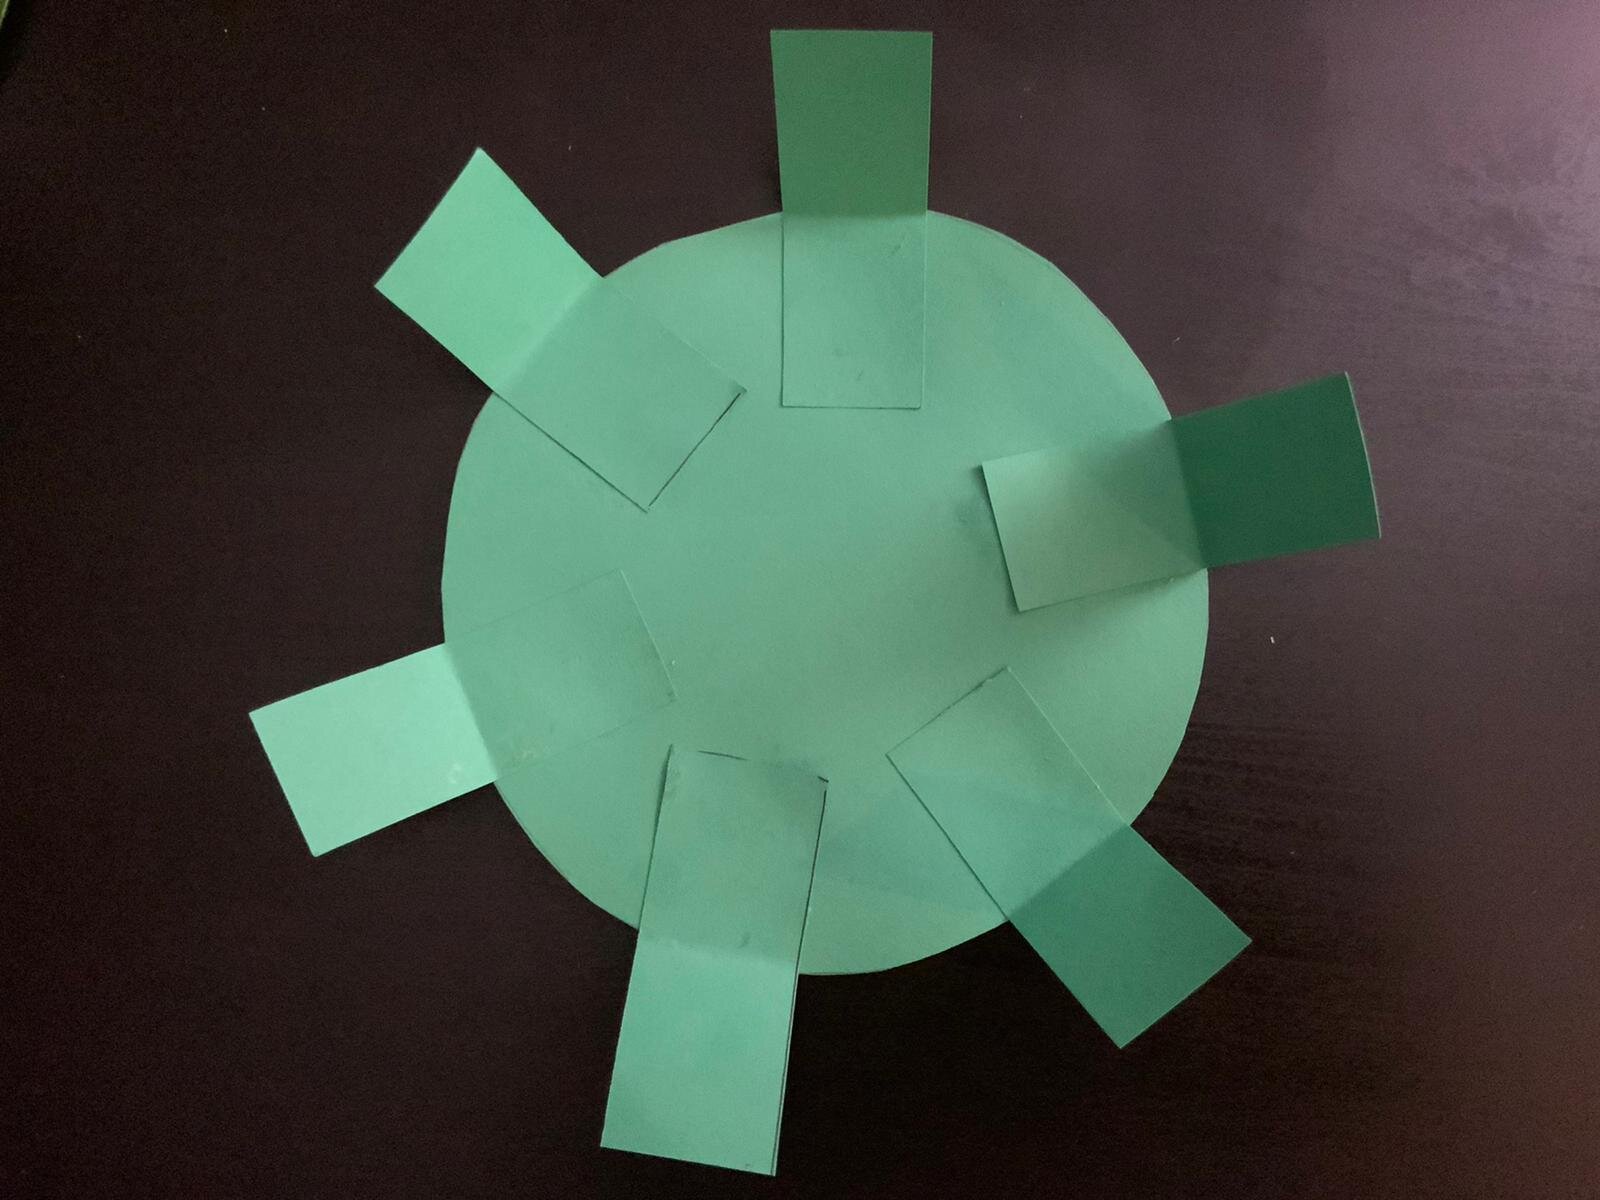
Now get your other cut out circle (21cm for large, 14cm for small) and glue the 6 tabs that you cut out earlier to them like in the picture. Try to space them out evenly. Then, glue this shape to the top of your hat using your tabs inside to secure it.
Decorate your hat
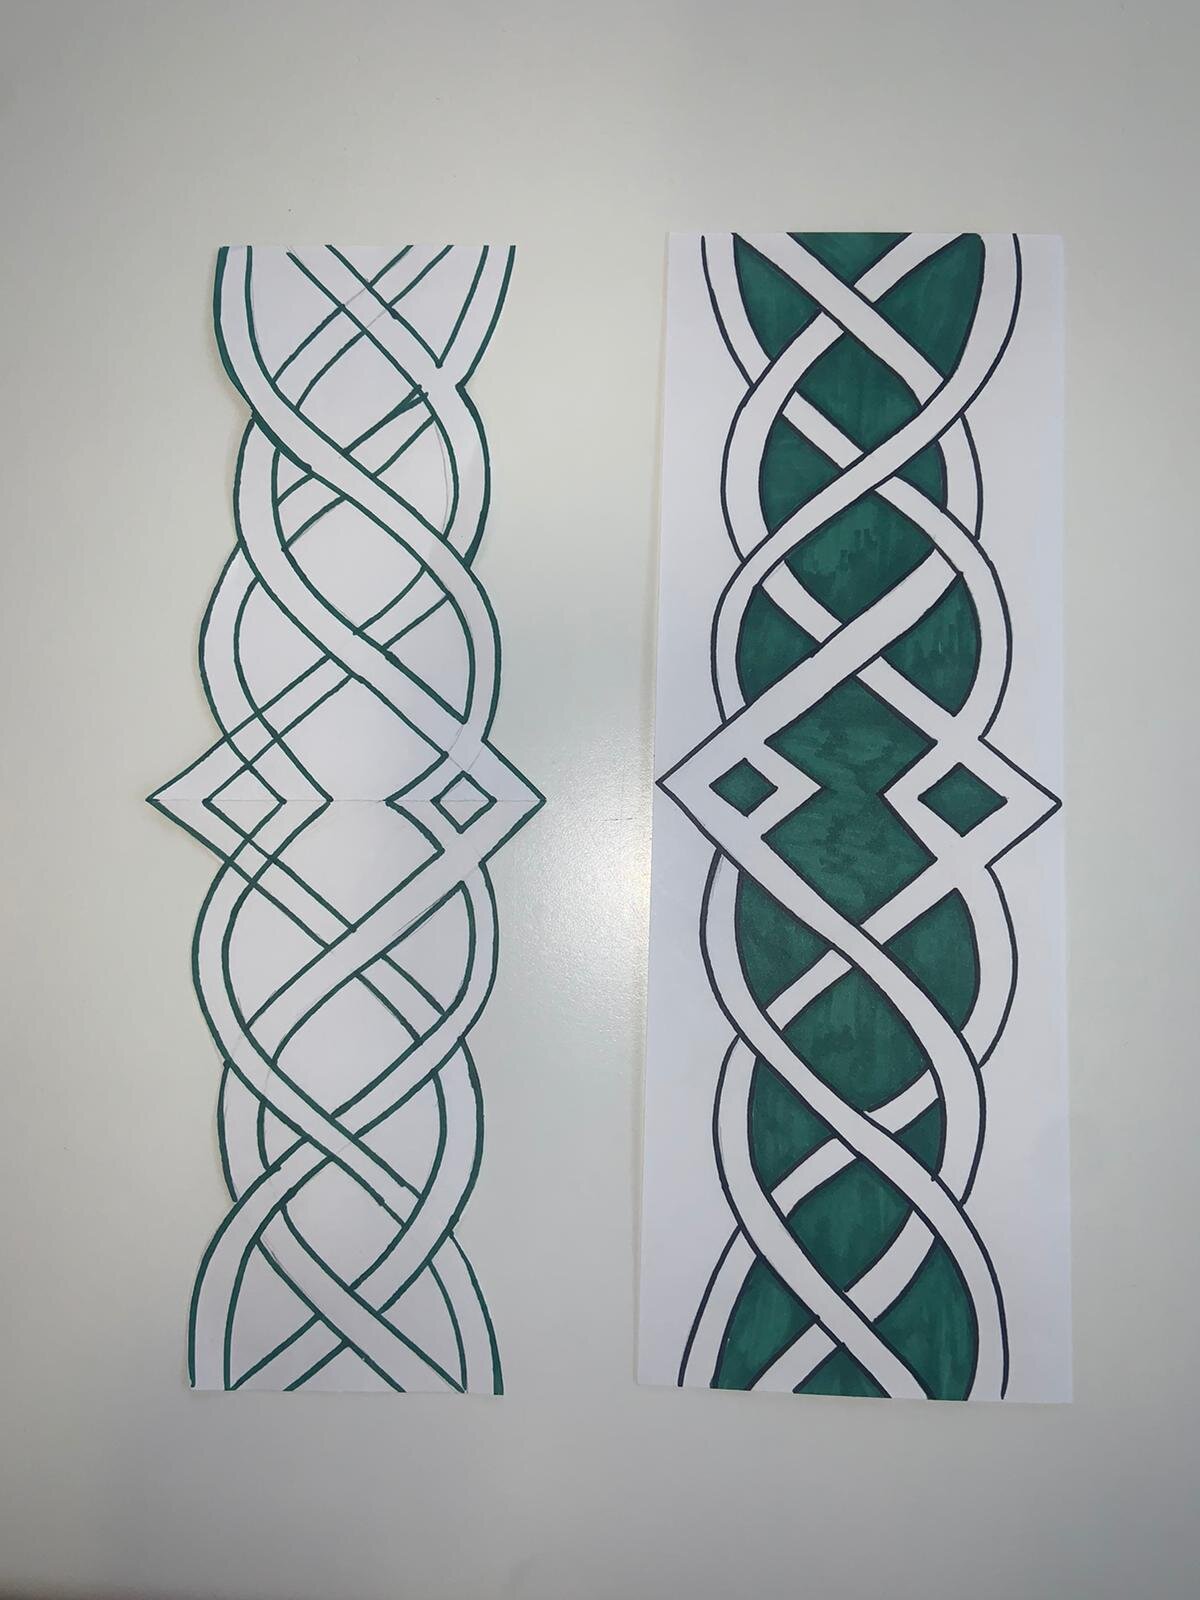
Now you can get creative and try to make your hat really celebratory with Celtic images and shapes, shamrocks and a splash of colour.
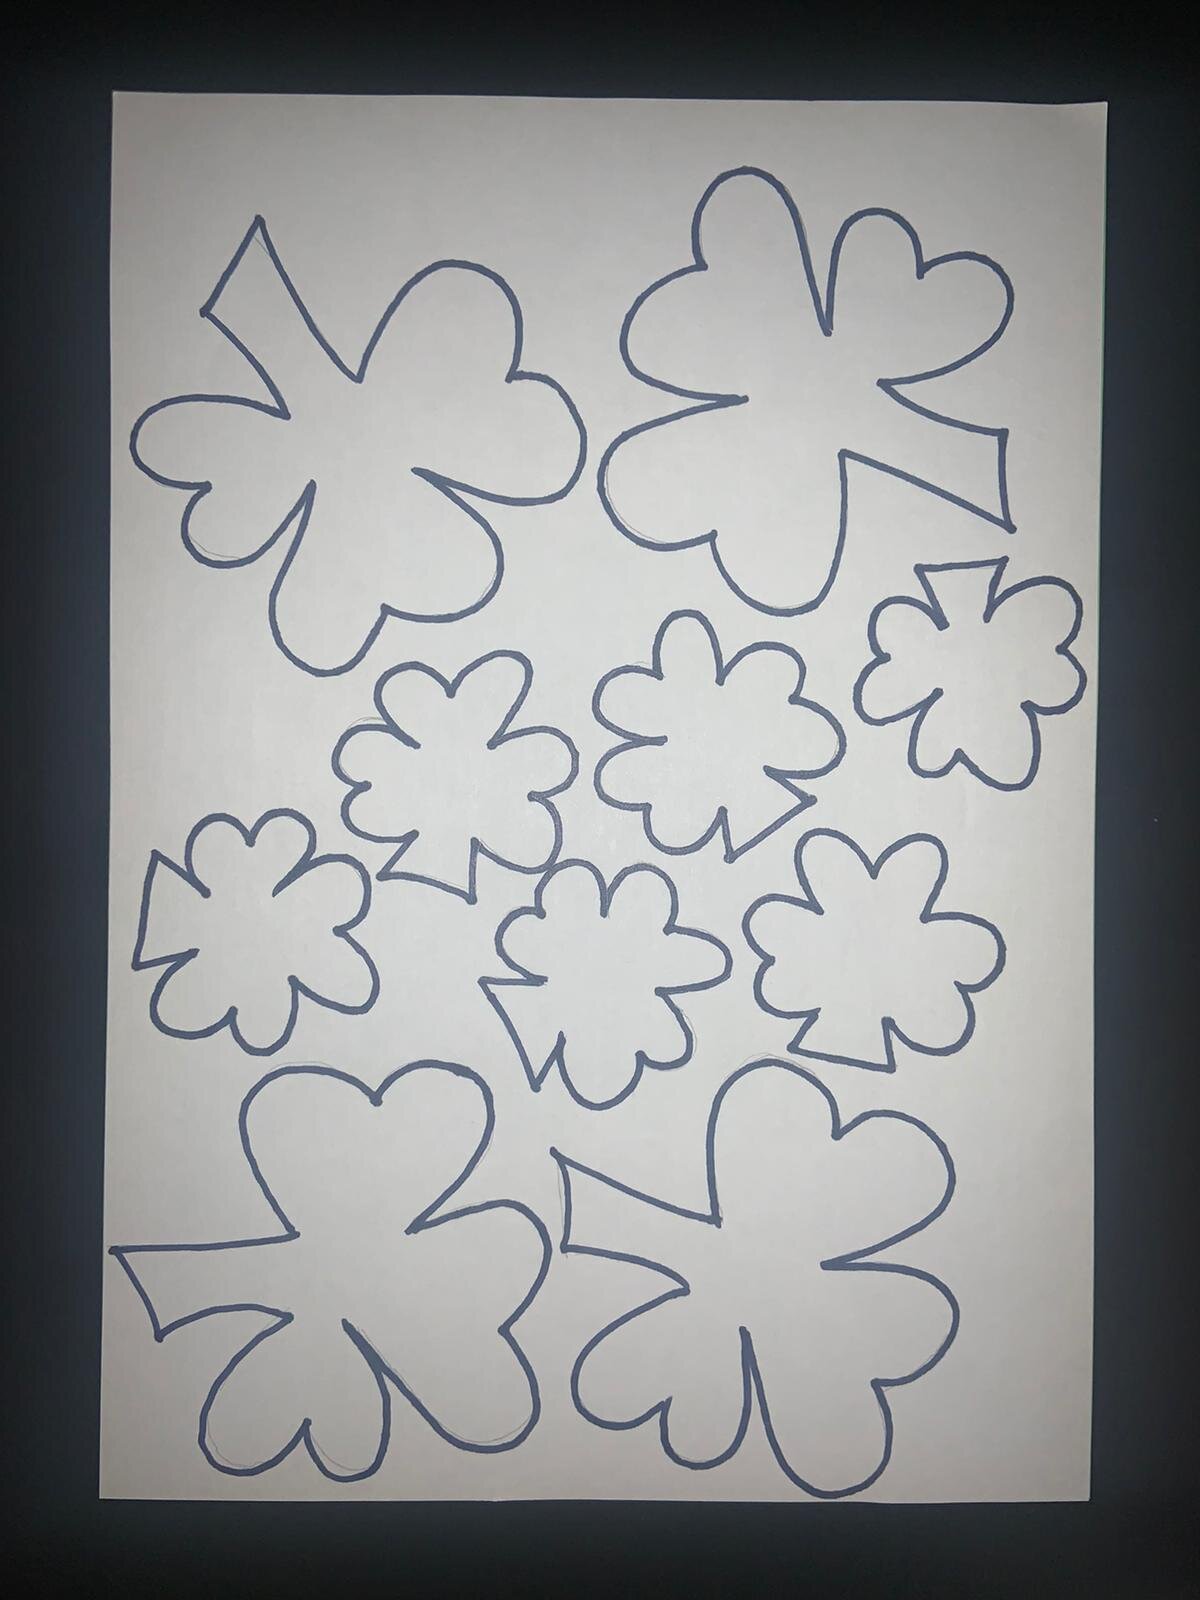
To make shamrocks, draw lots of different sized shamrock shapes on a piece of paper. Cut them out, colour them in and place them around the base and side of your hat. To make Celtic shapes you can copy patterns off the internet, or make up your own repeating Celtic style pattern. Colour these in then cut them out to add them to your hat to decorate.
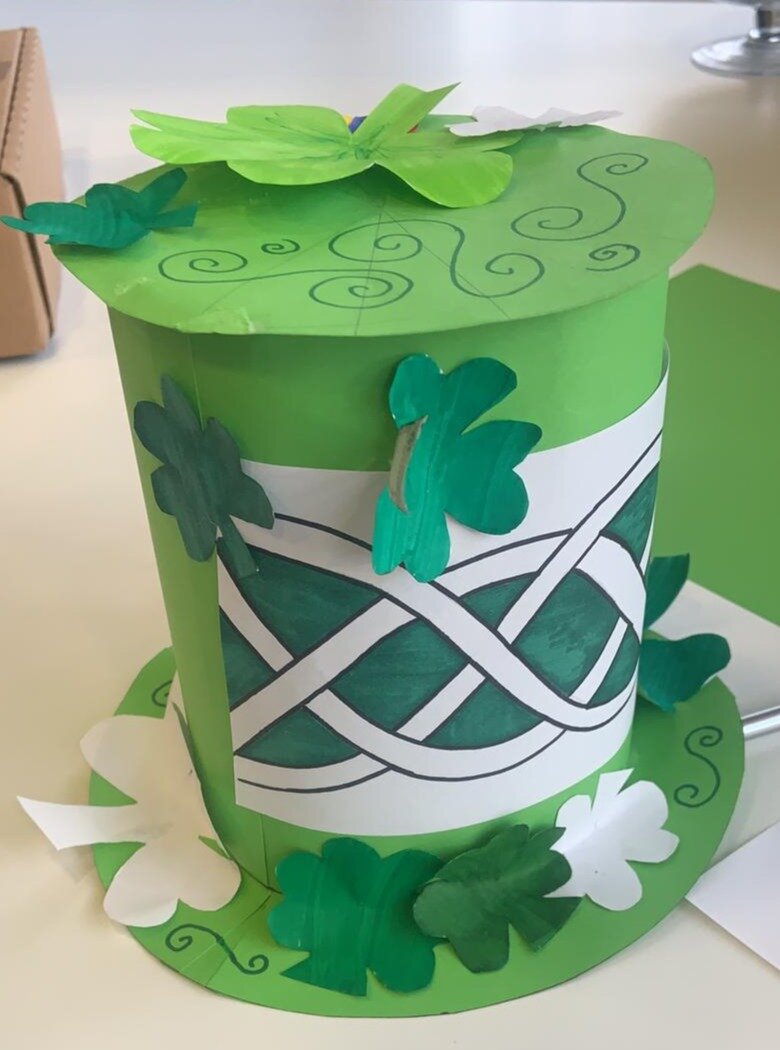
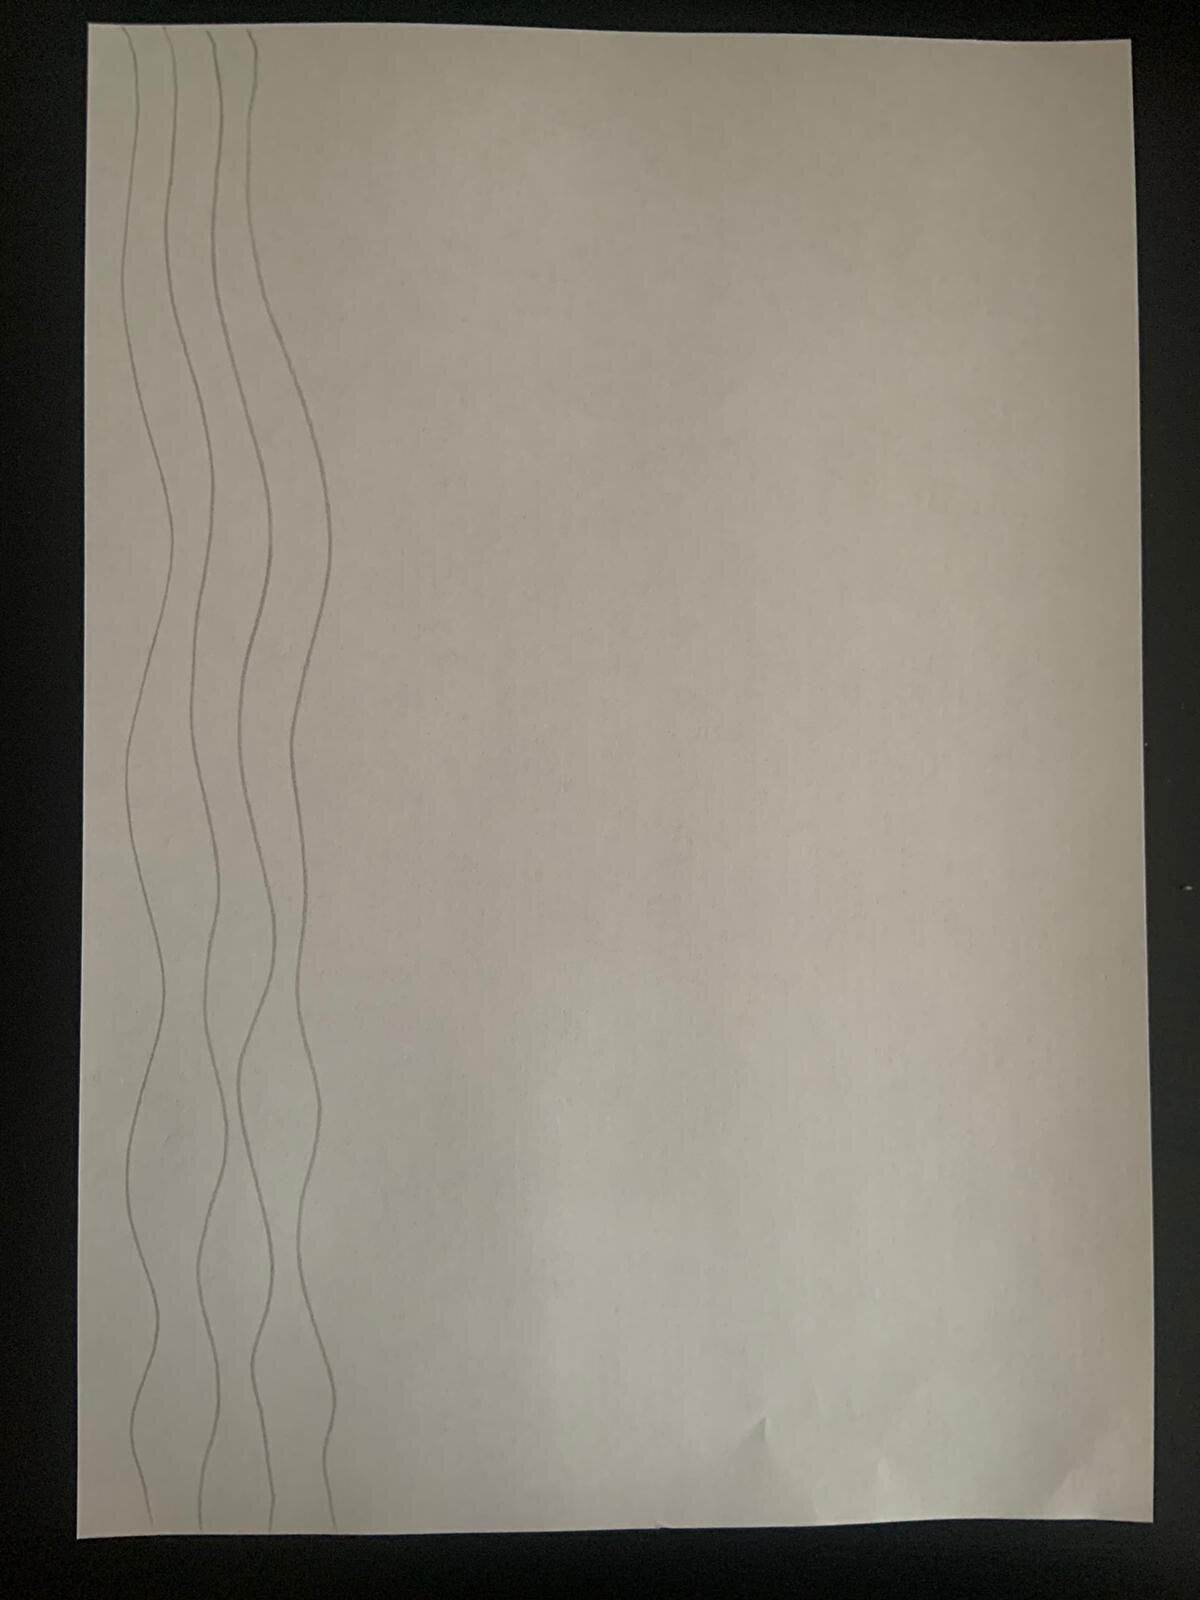
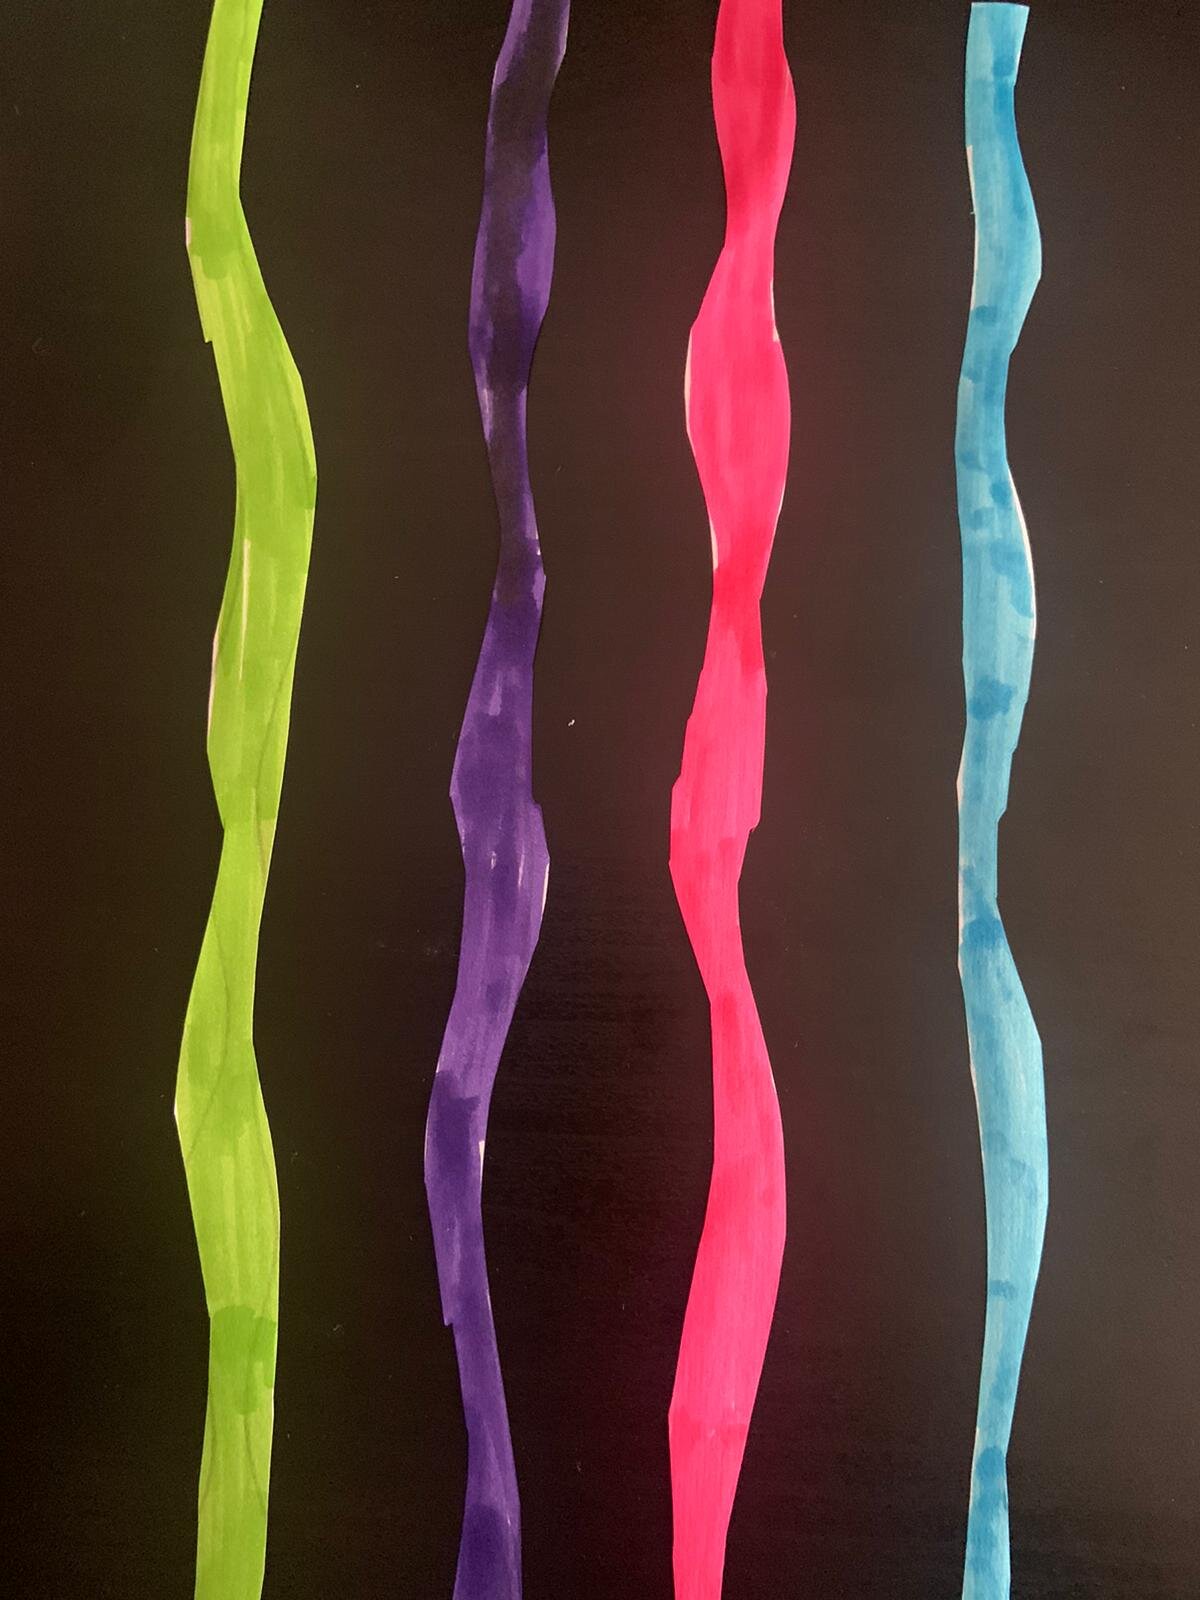
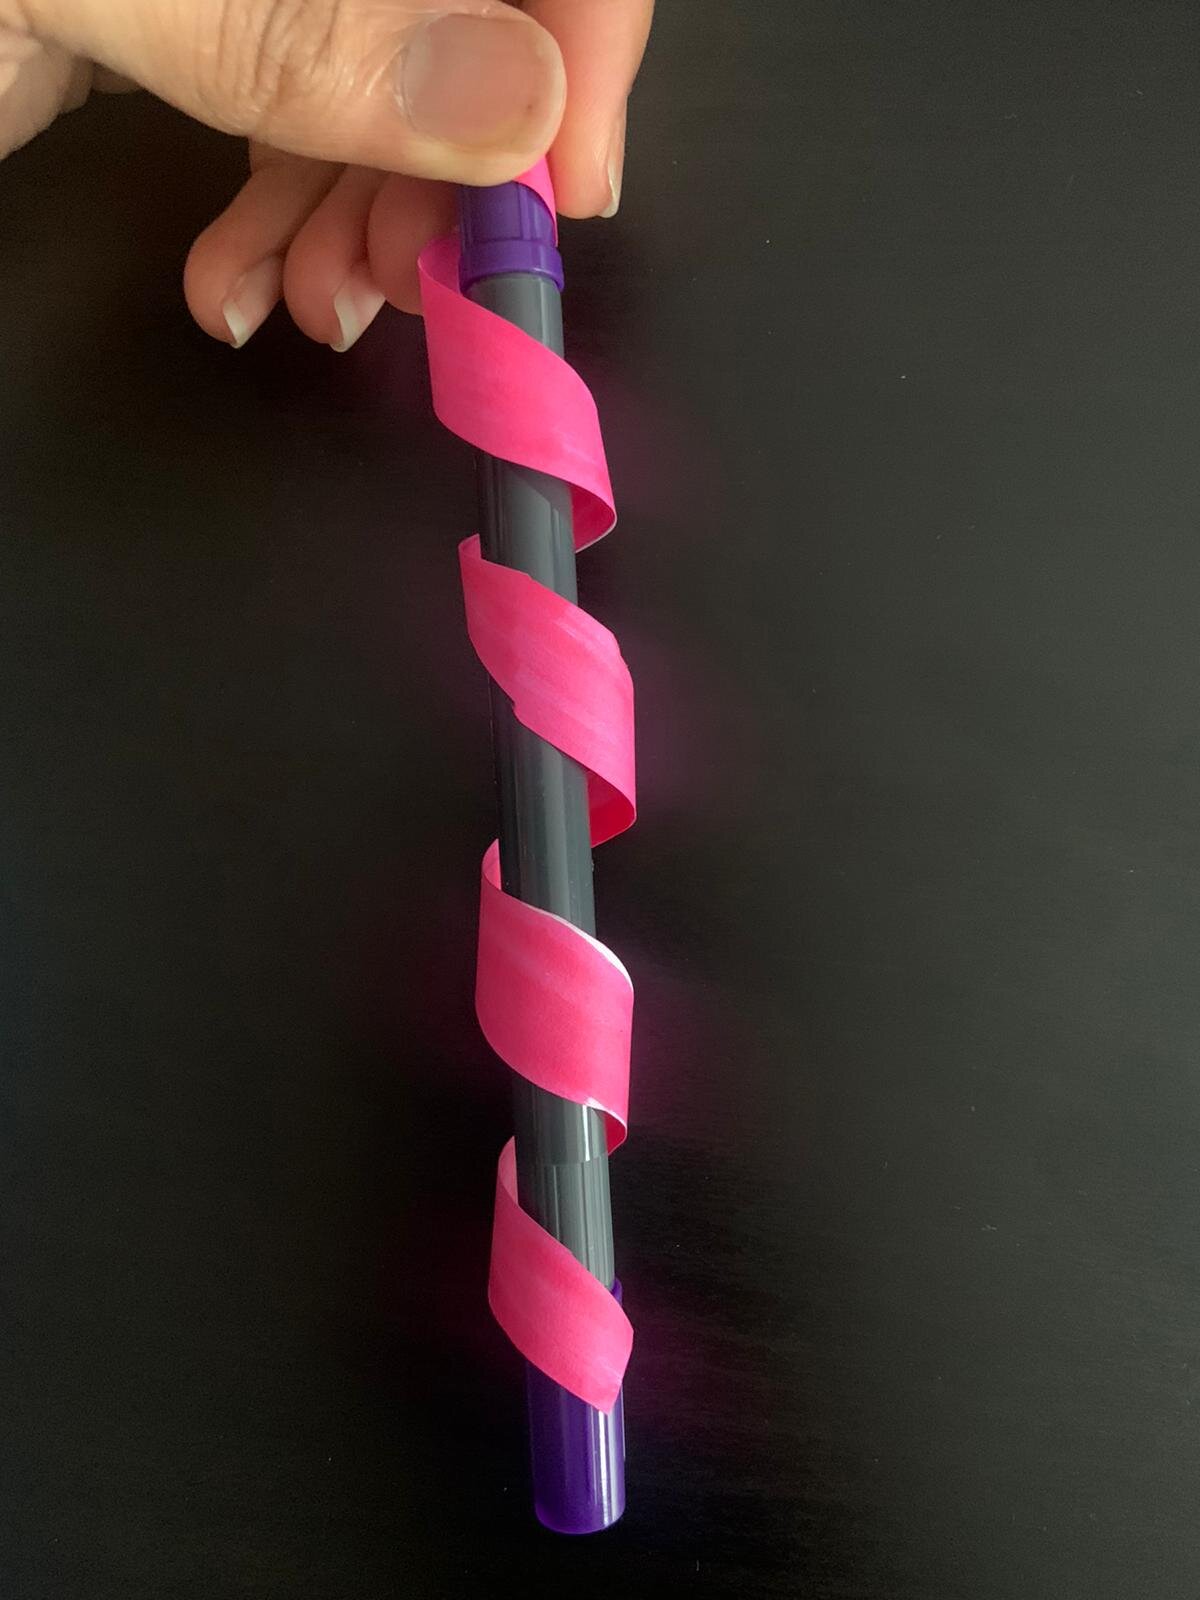
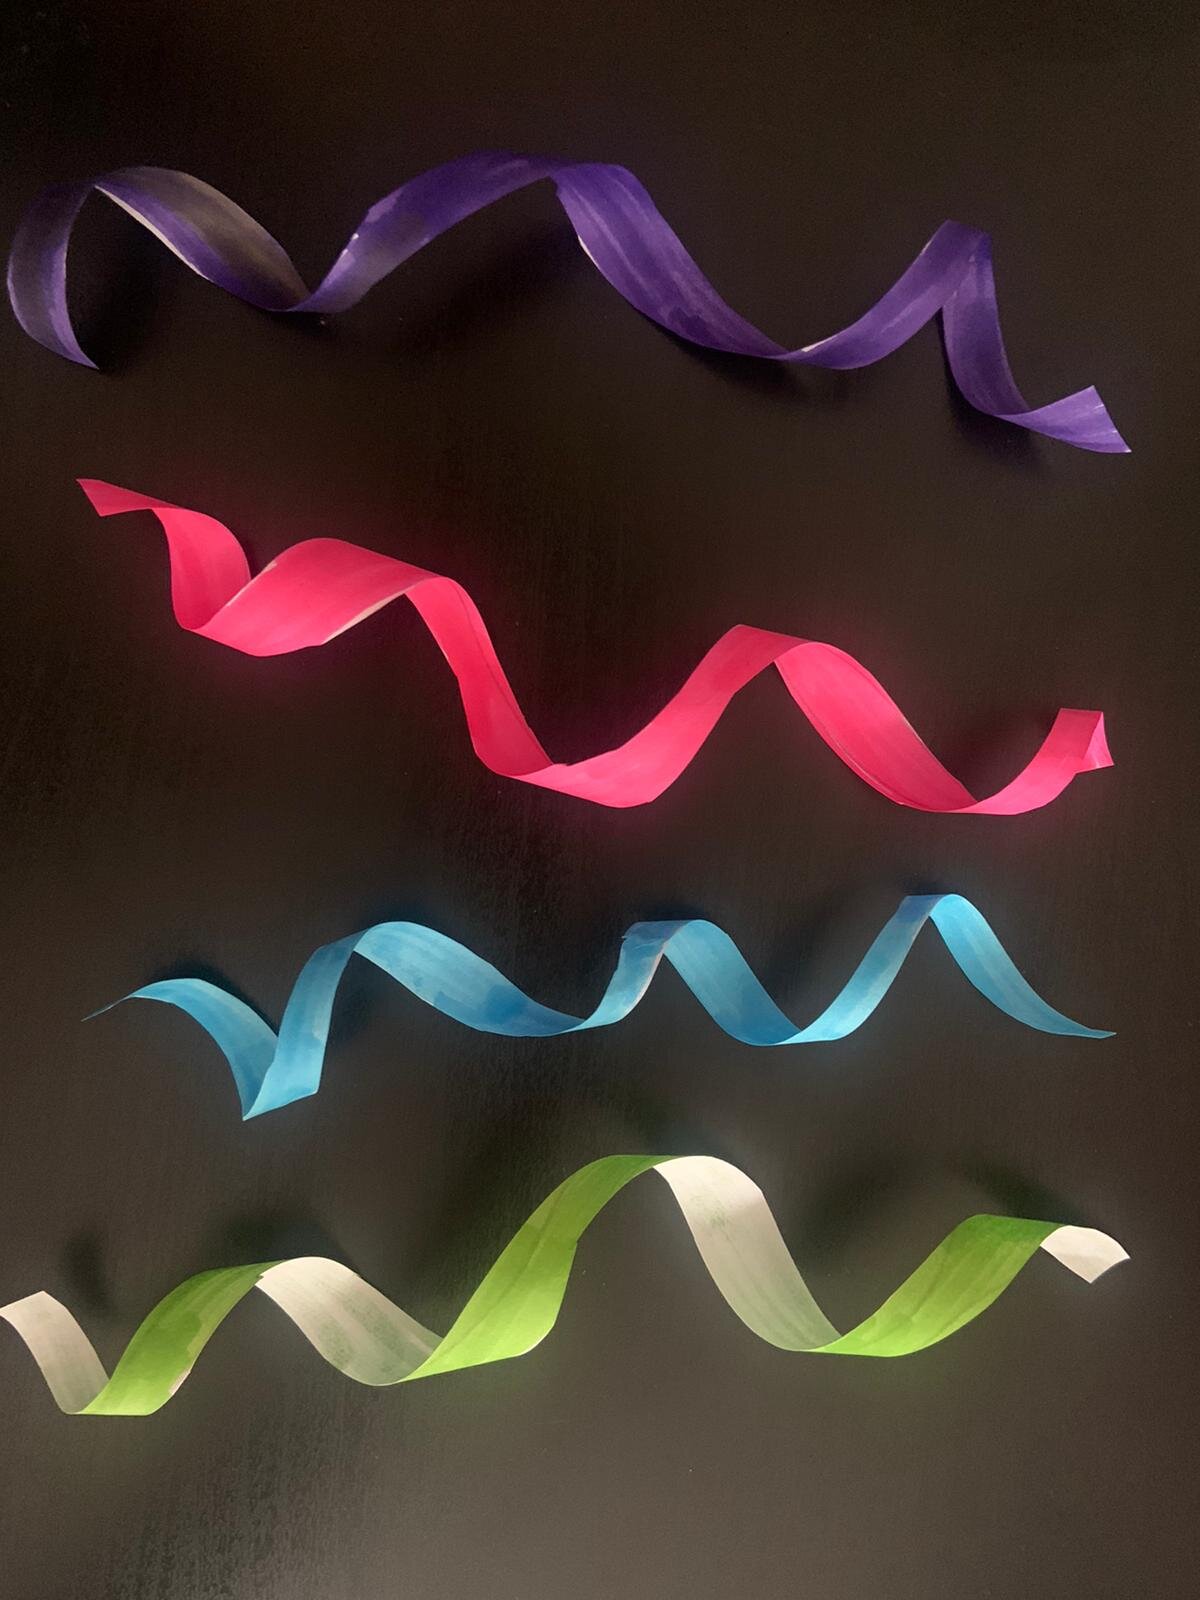
Add some colour by drawing ribbon shapes on paper and colouring them in. Cut them out and to make them really stand out curl them around a pencil - it will give you a great shape just like real ribbon. You can stick these to the top of your hat, perhaps with a shamrock shape over them, and let them hang and flutter over the side of your hat.
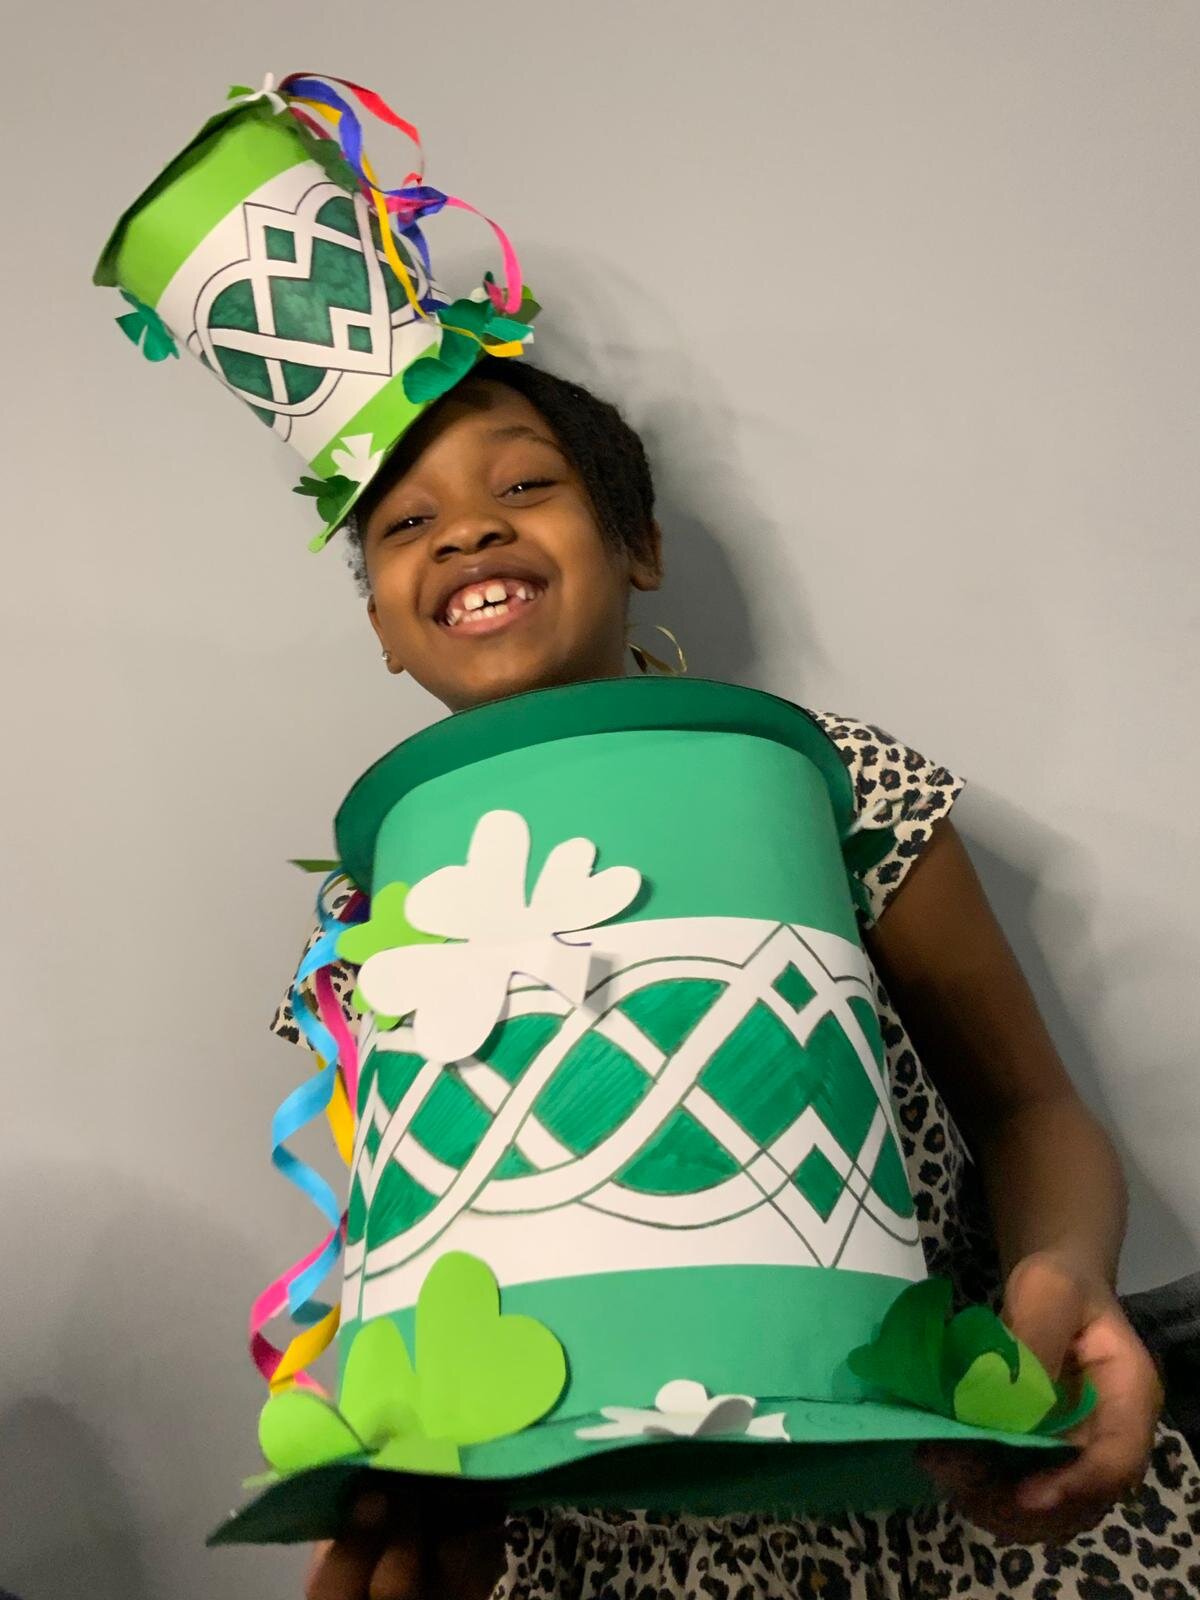
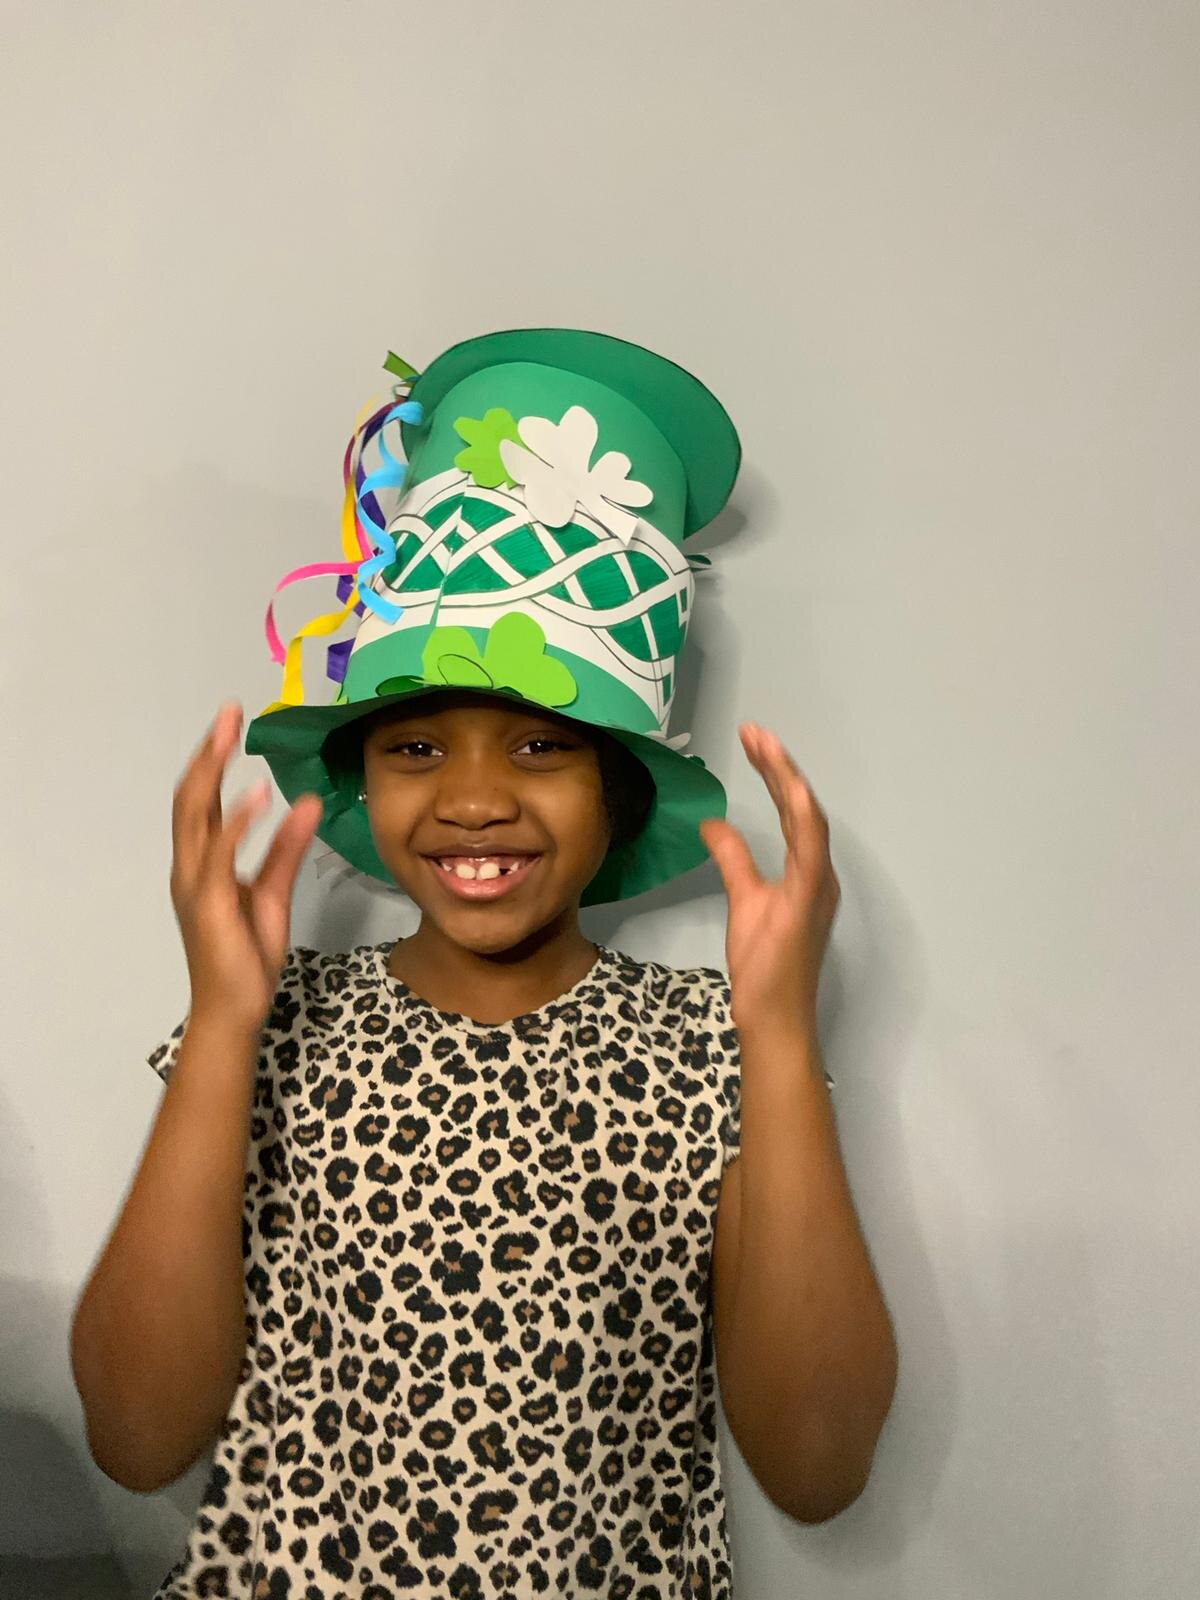
There you go! A magnificent St Patrick's Day Carnival hat for you to celebrate with!