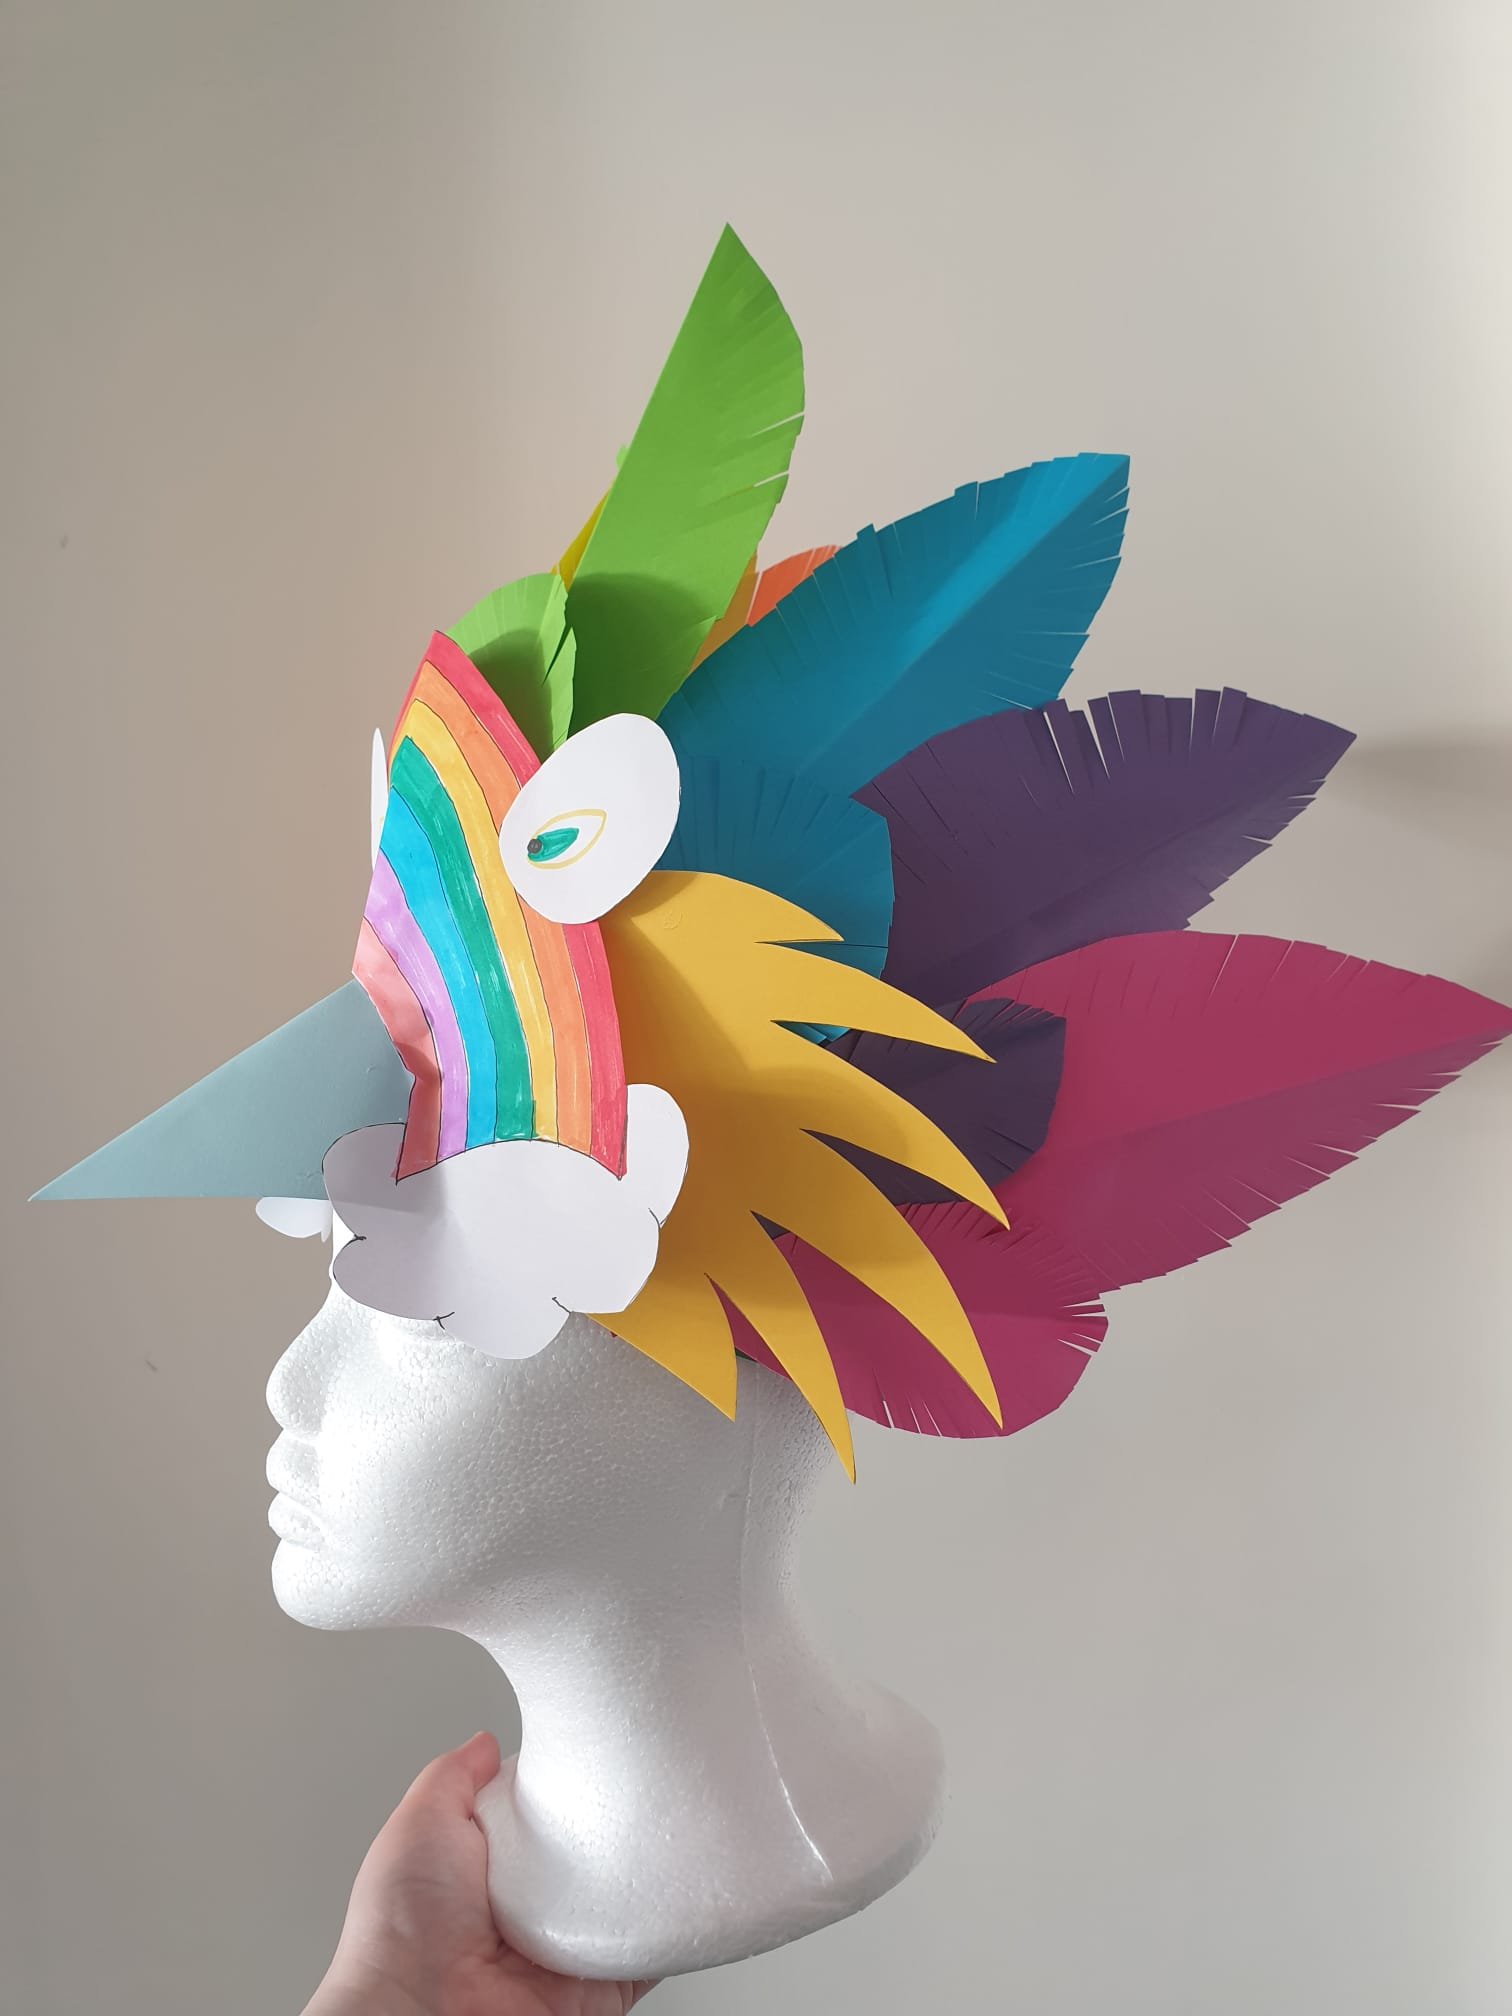
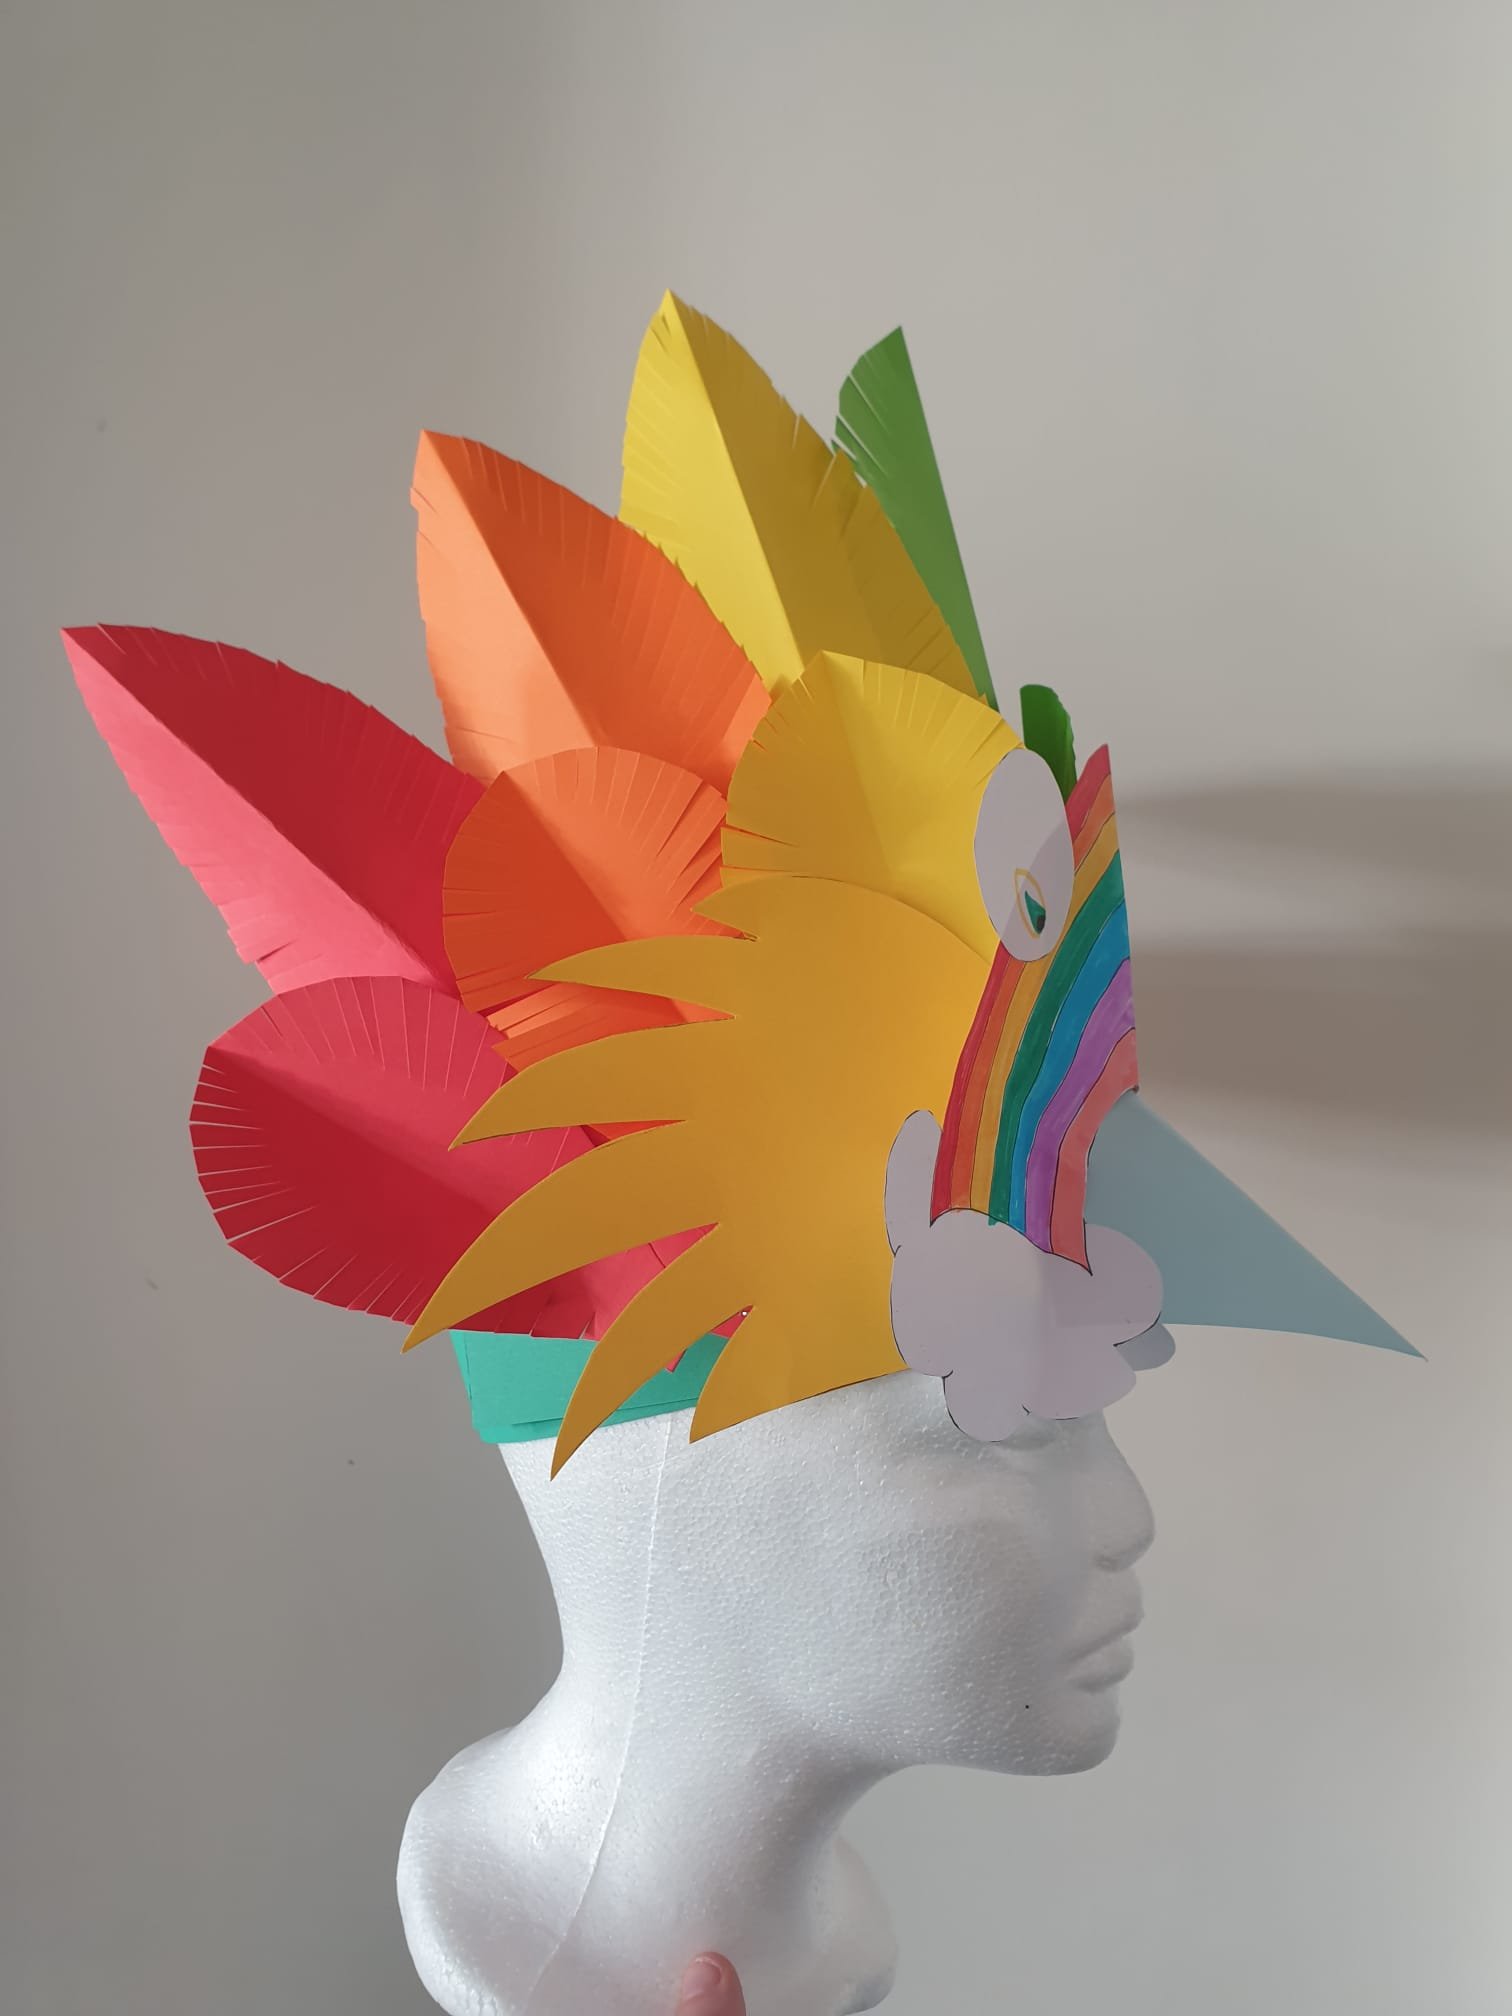
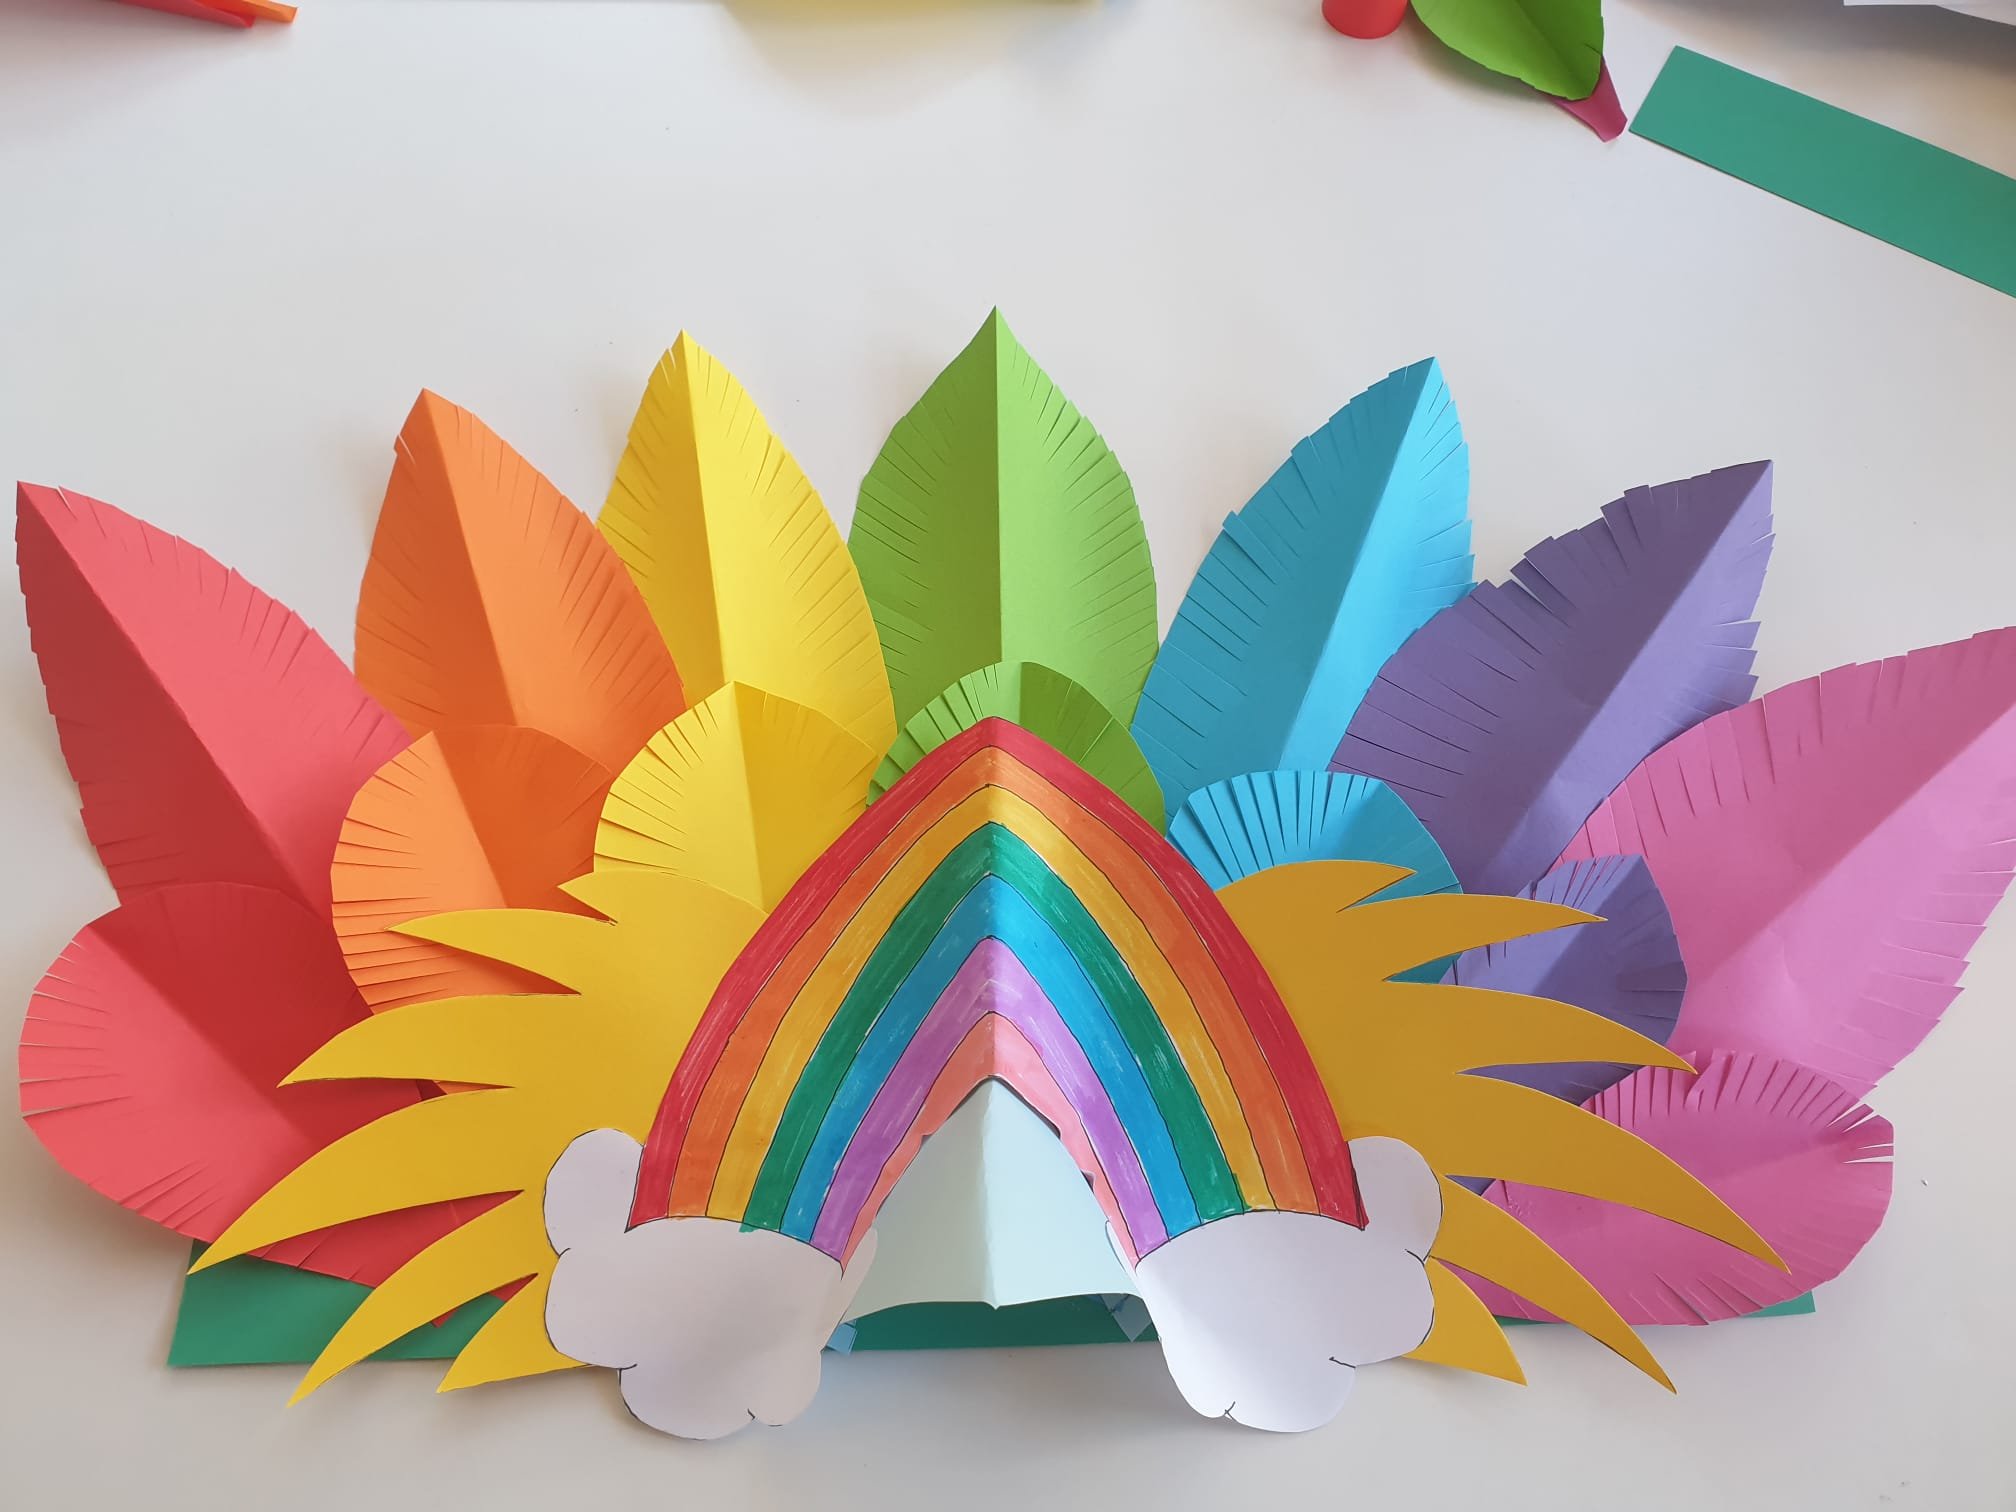
Pride Rainbow Bird Headdress
Here is an easy tutorial to follow to make a rainbow bird headdress in celebration of Pride month in June. The headdress is inspired by the rainbow flag, and fashioned into the shape of a colourful bird.

You will need
Pieces of A4 paper in all the colours of the rainbow, including white
Scissors
Glue and stapler
Colouring pens
Print out your templates
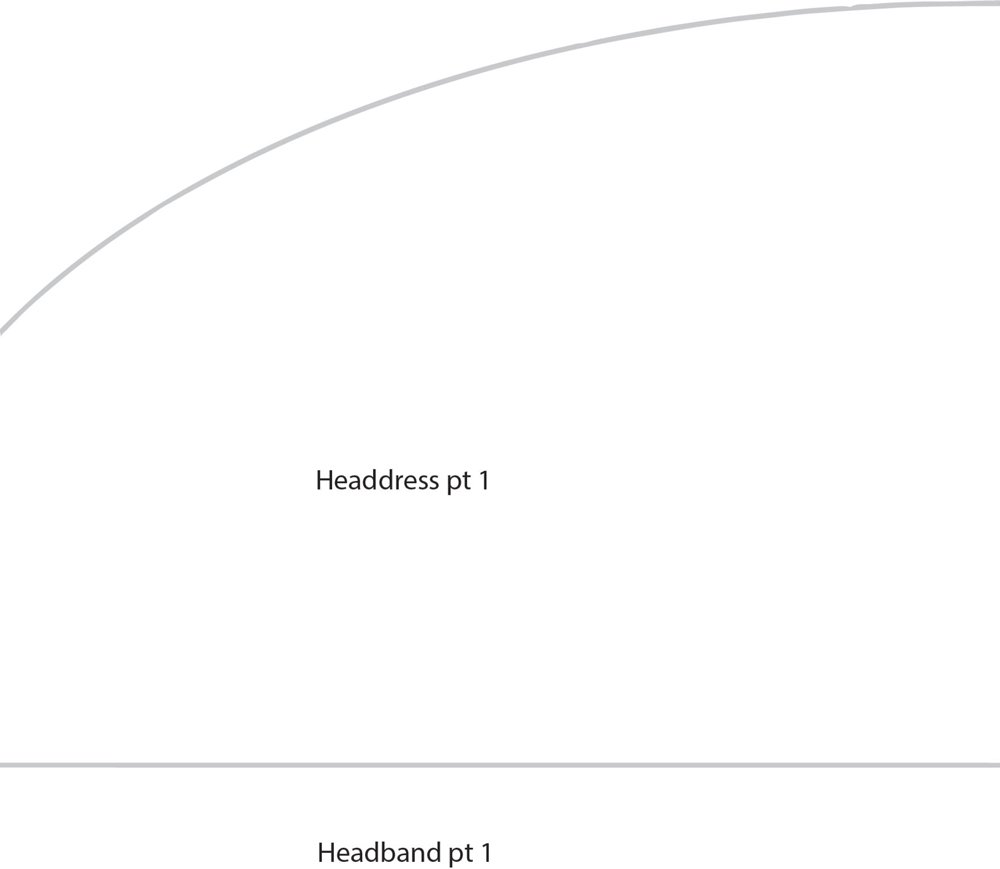
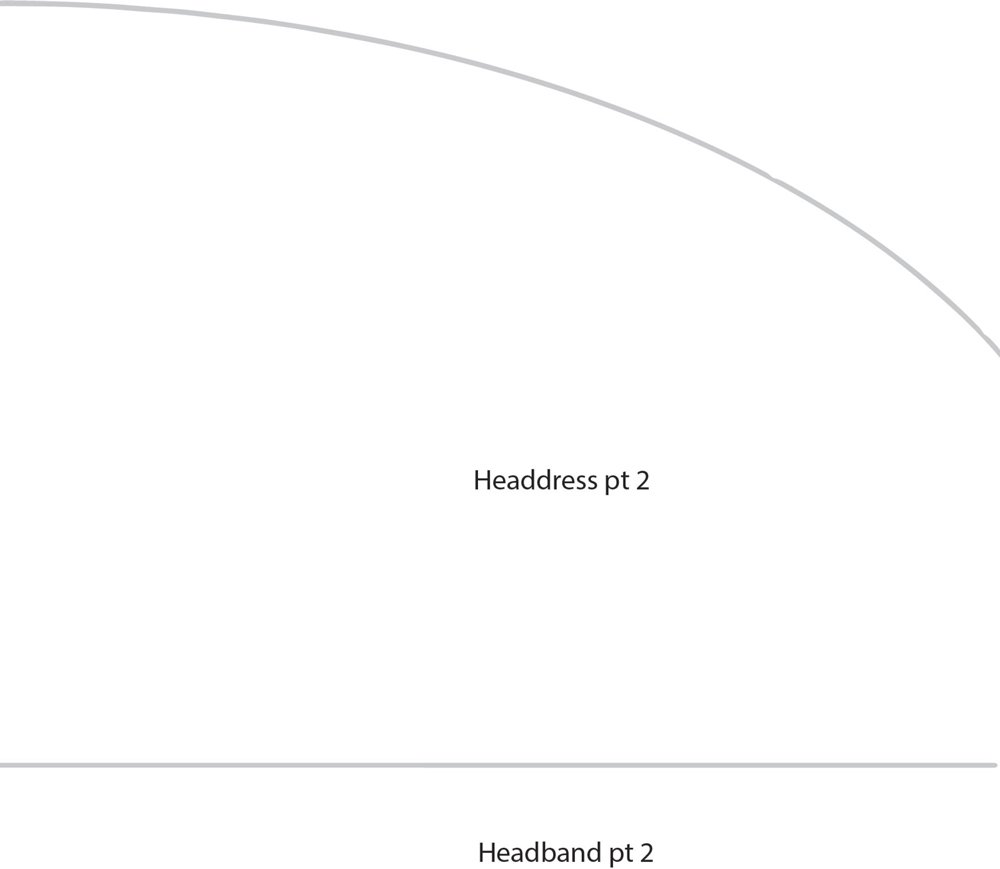
First you need to print out your templates. Click the button below for the full template pack in a downloadable PDF. If you don't have a printer you can draw these on the paper yourself by copying the pictures below.
You can see what templates are included below.
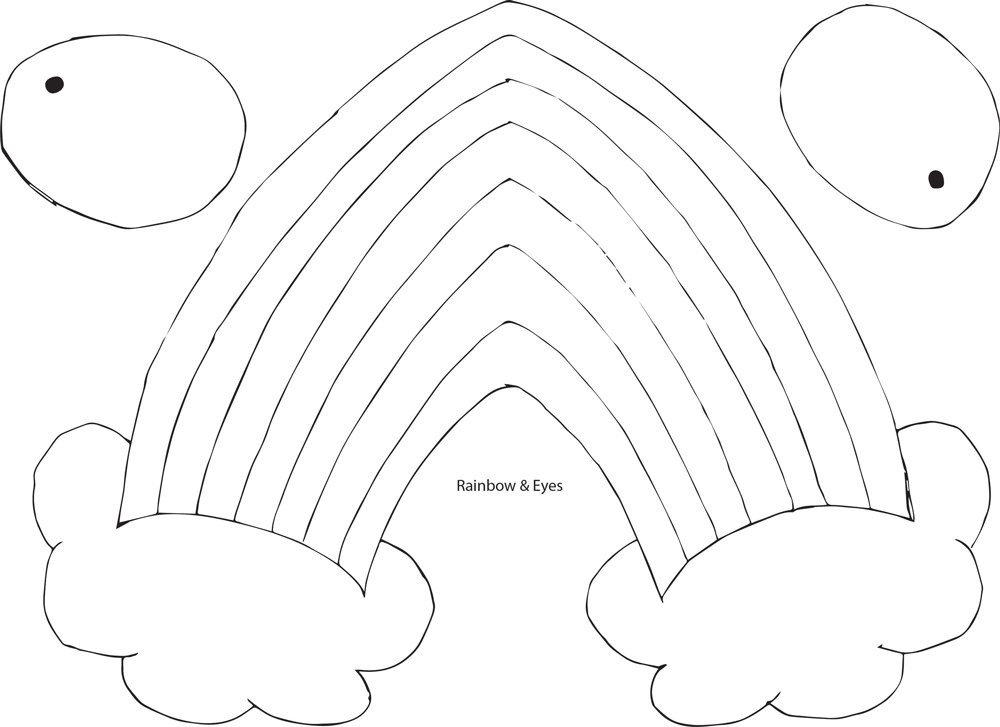

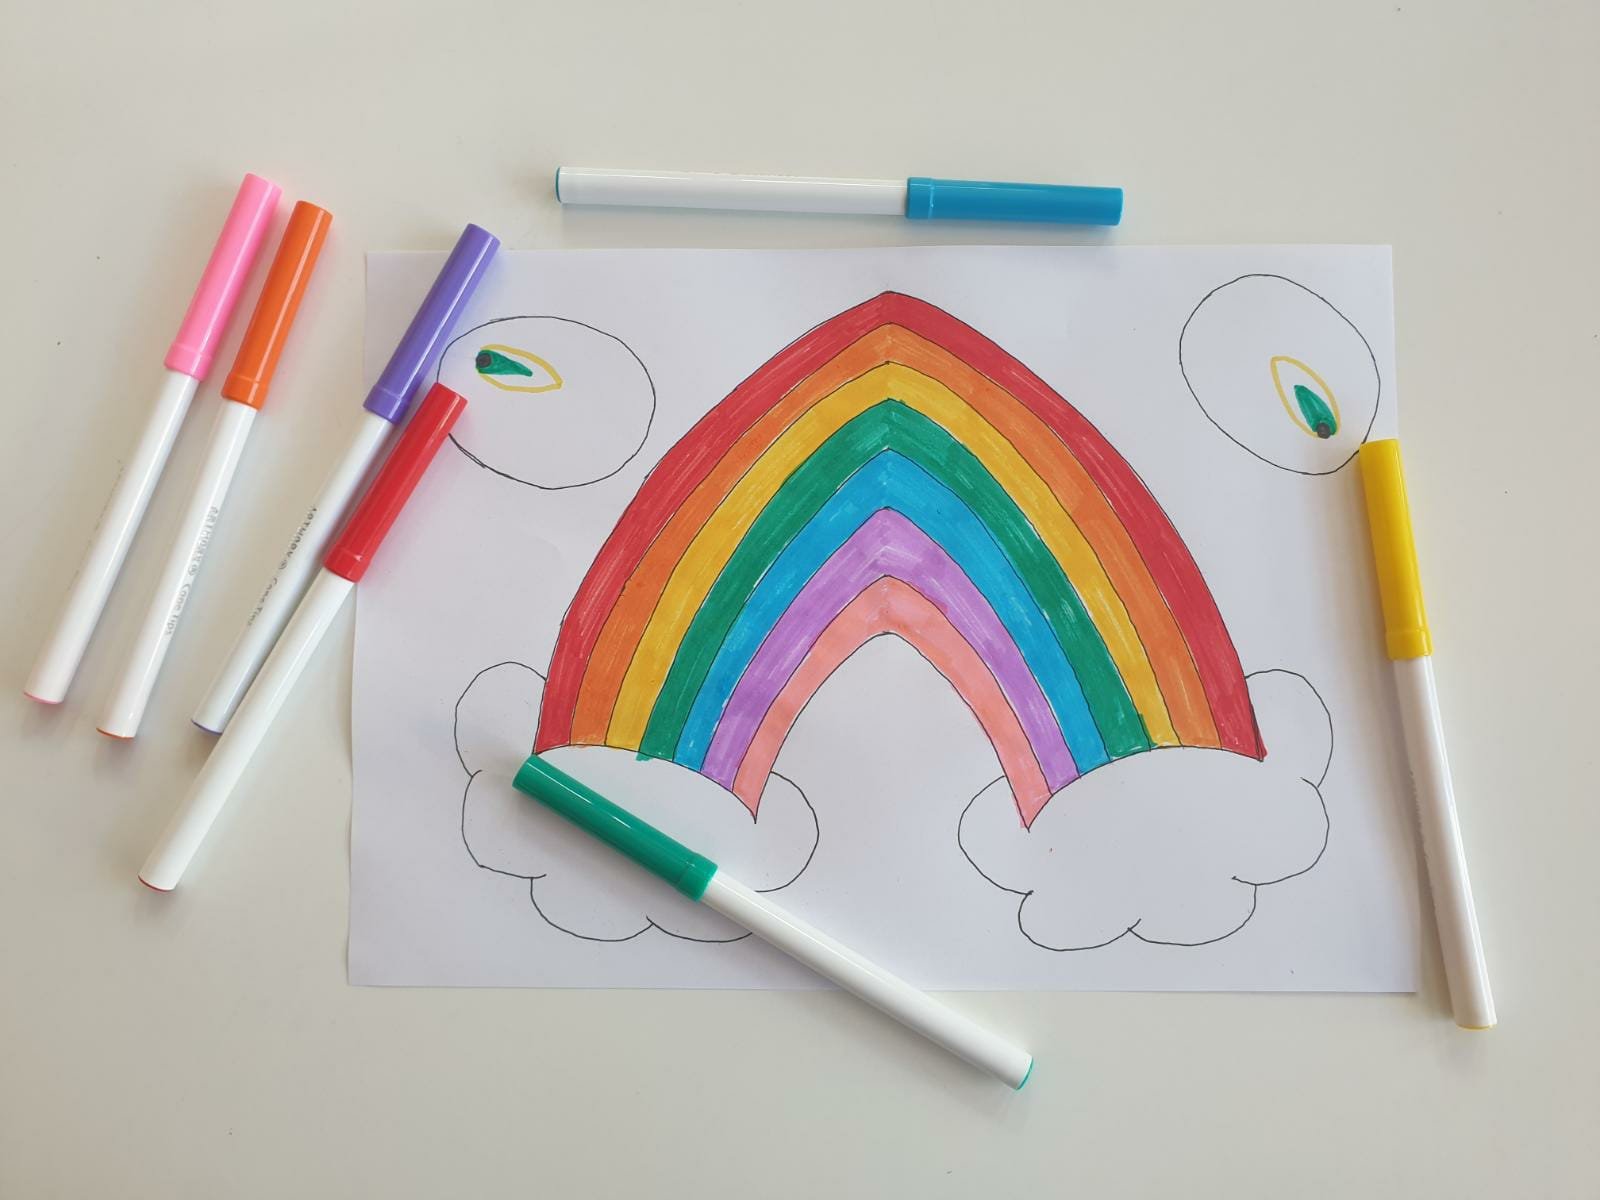
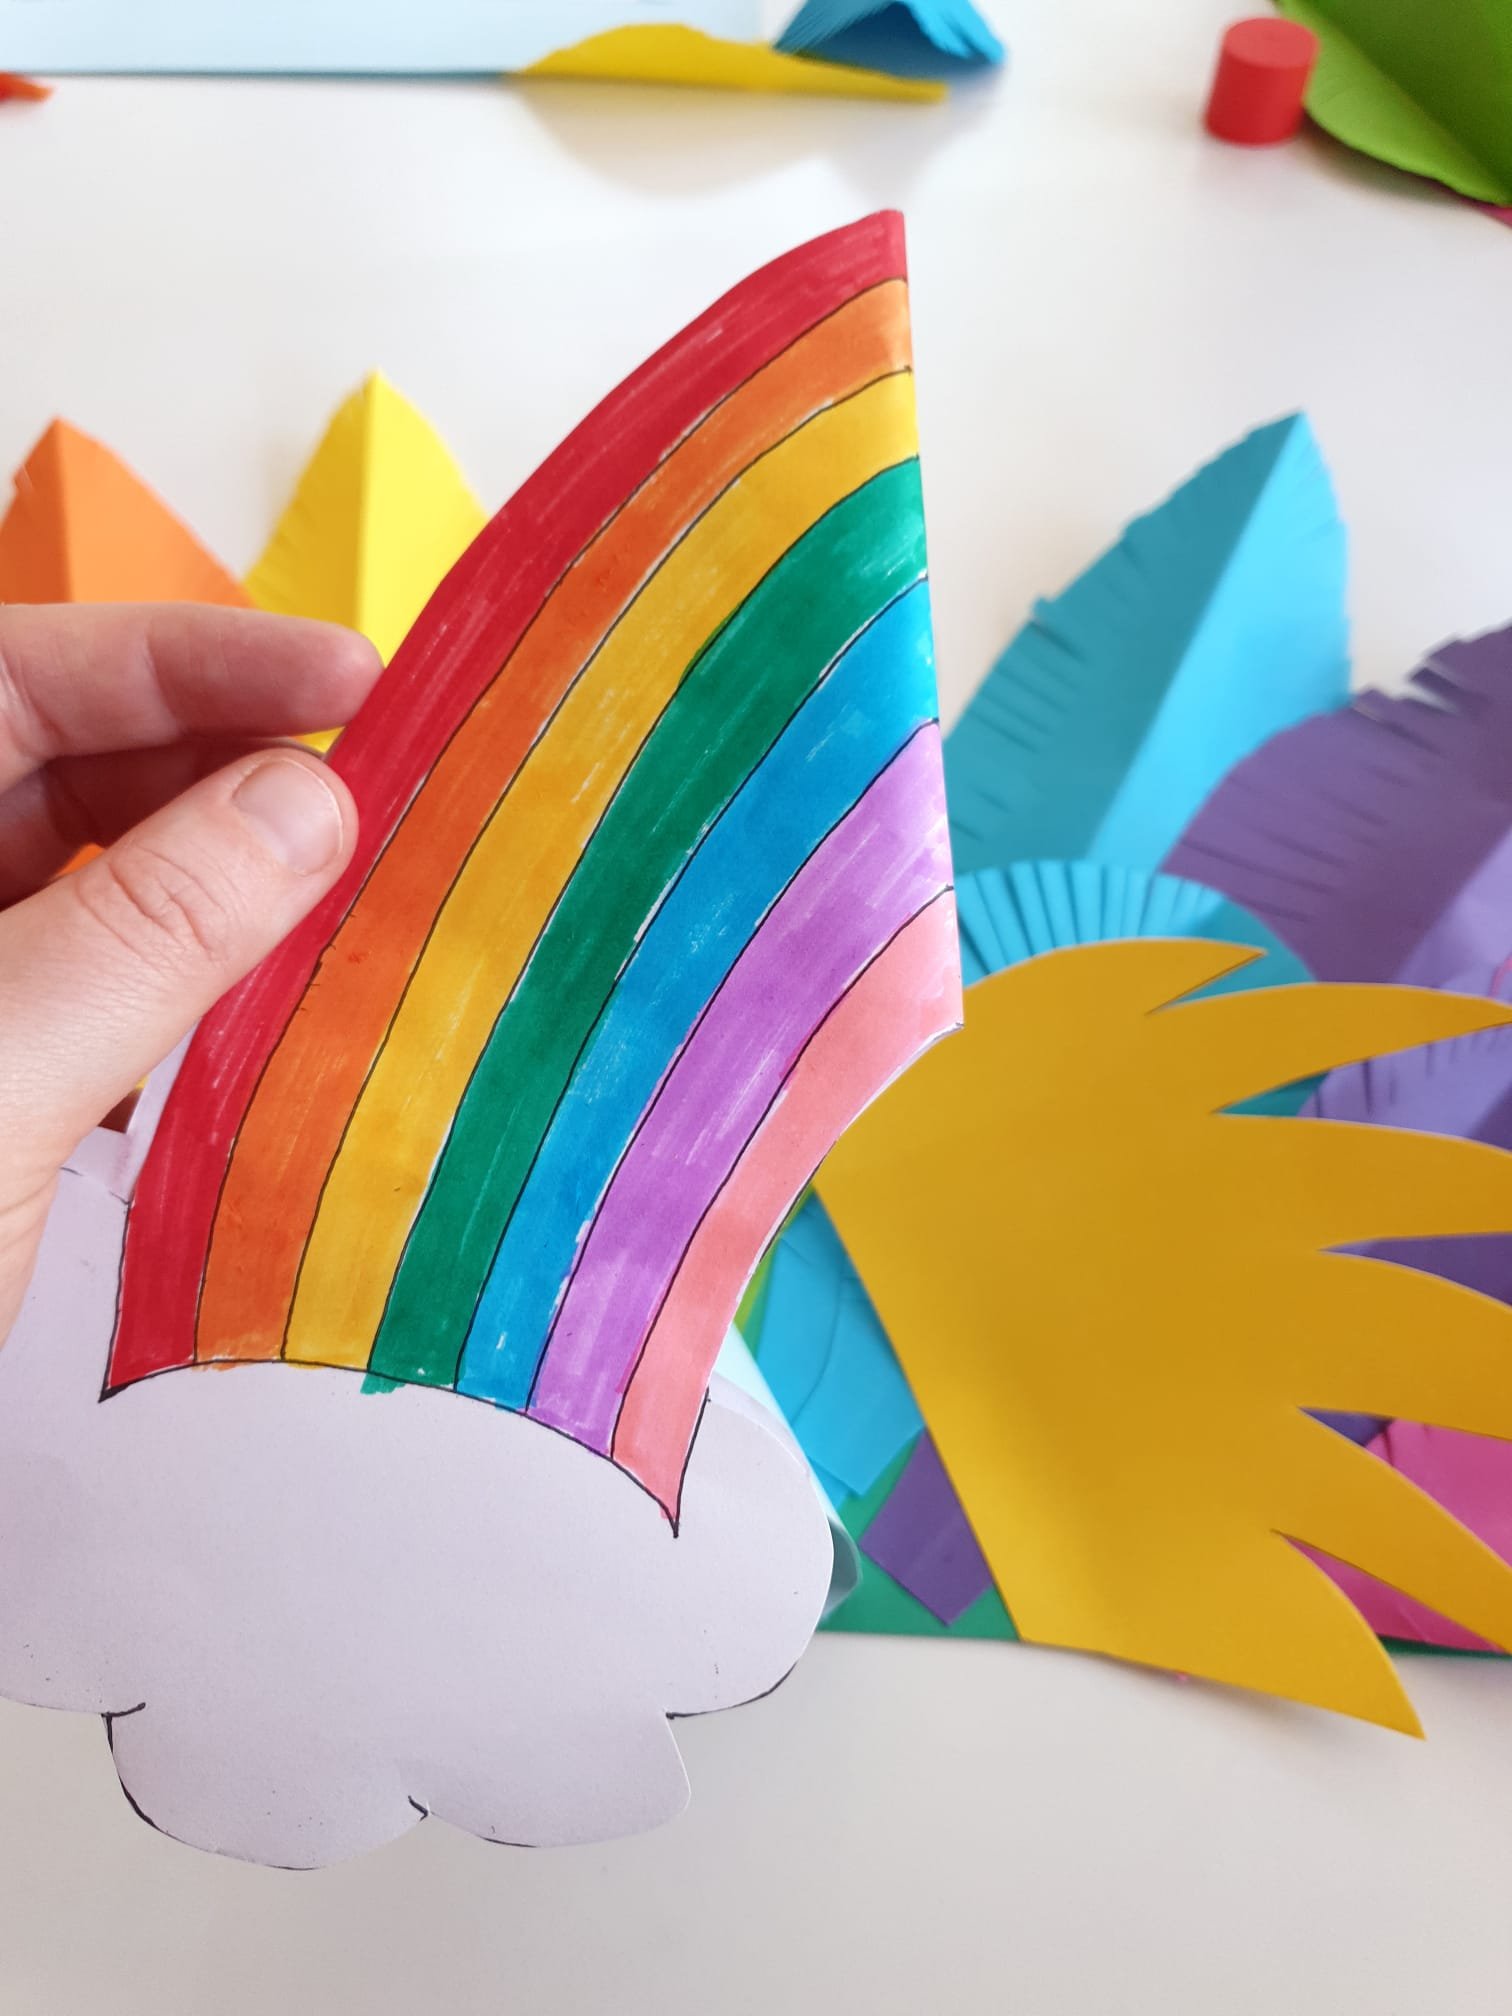
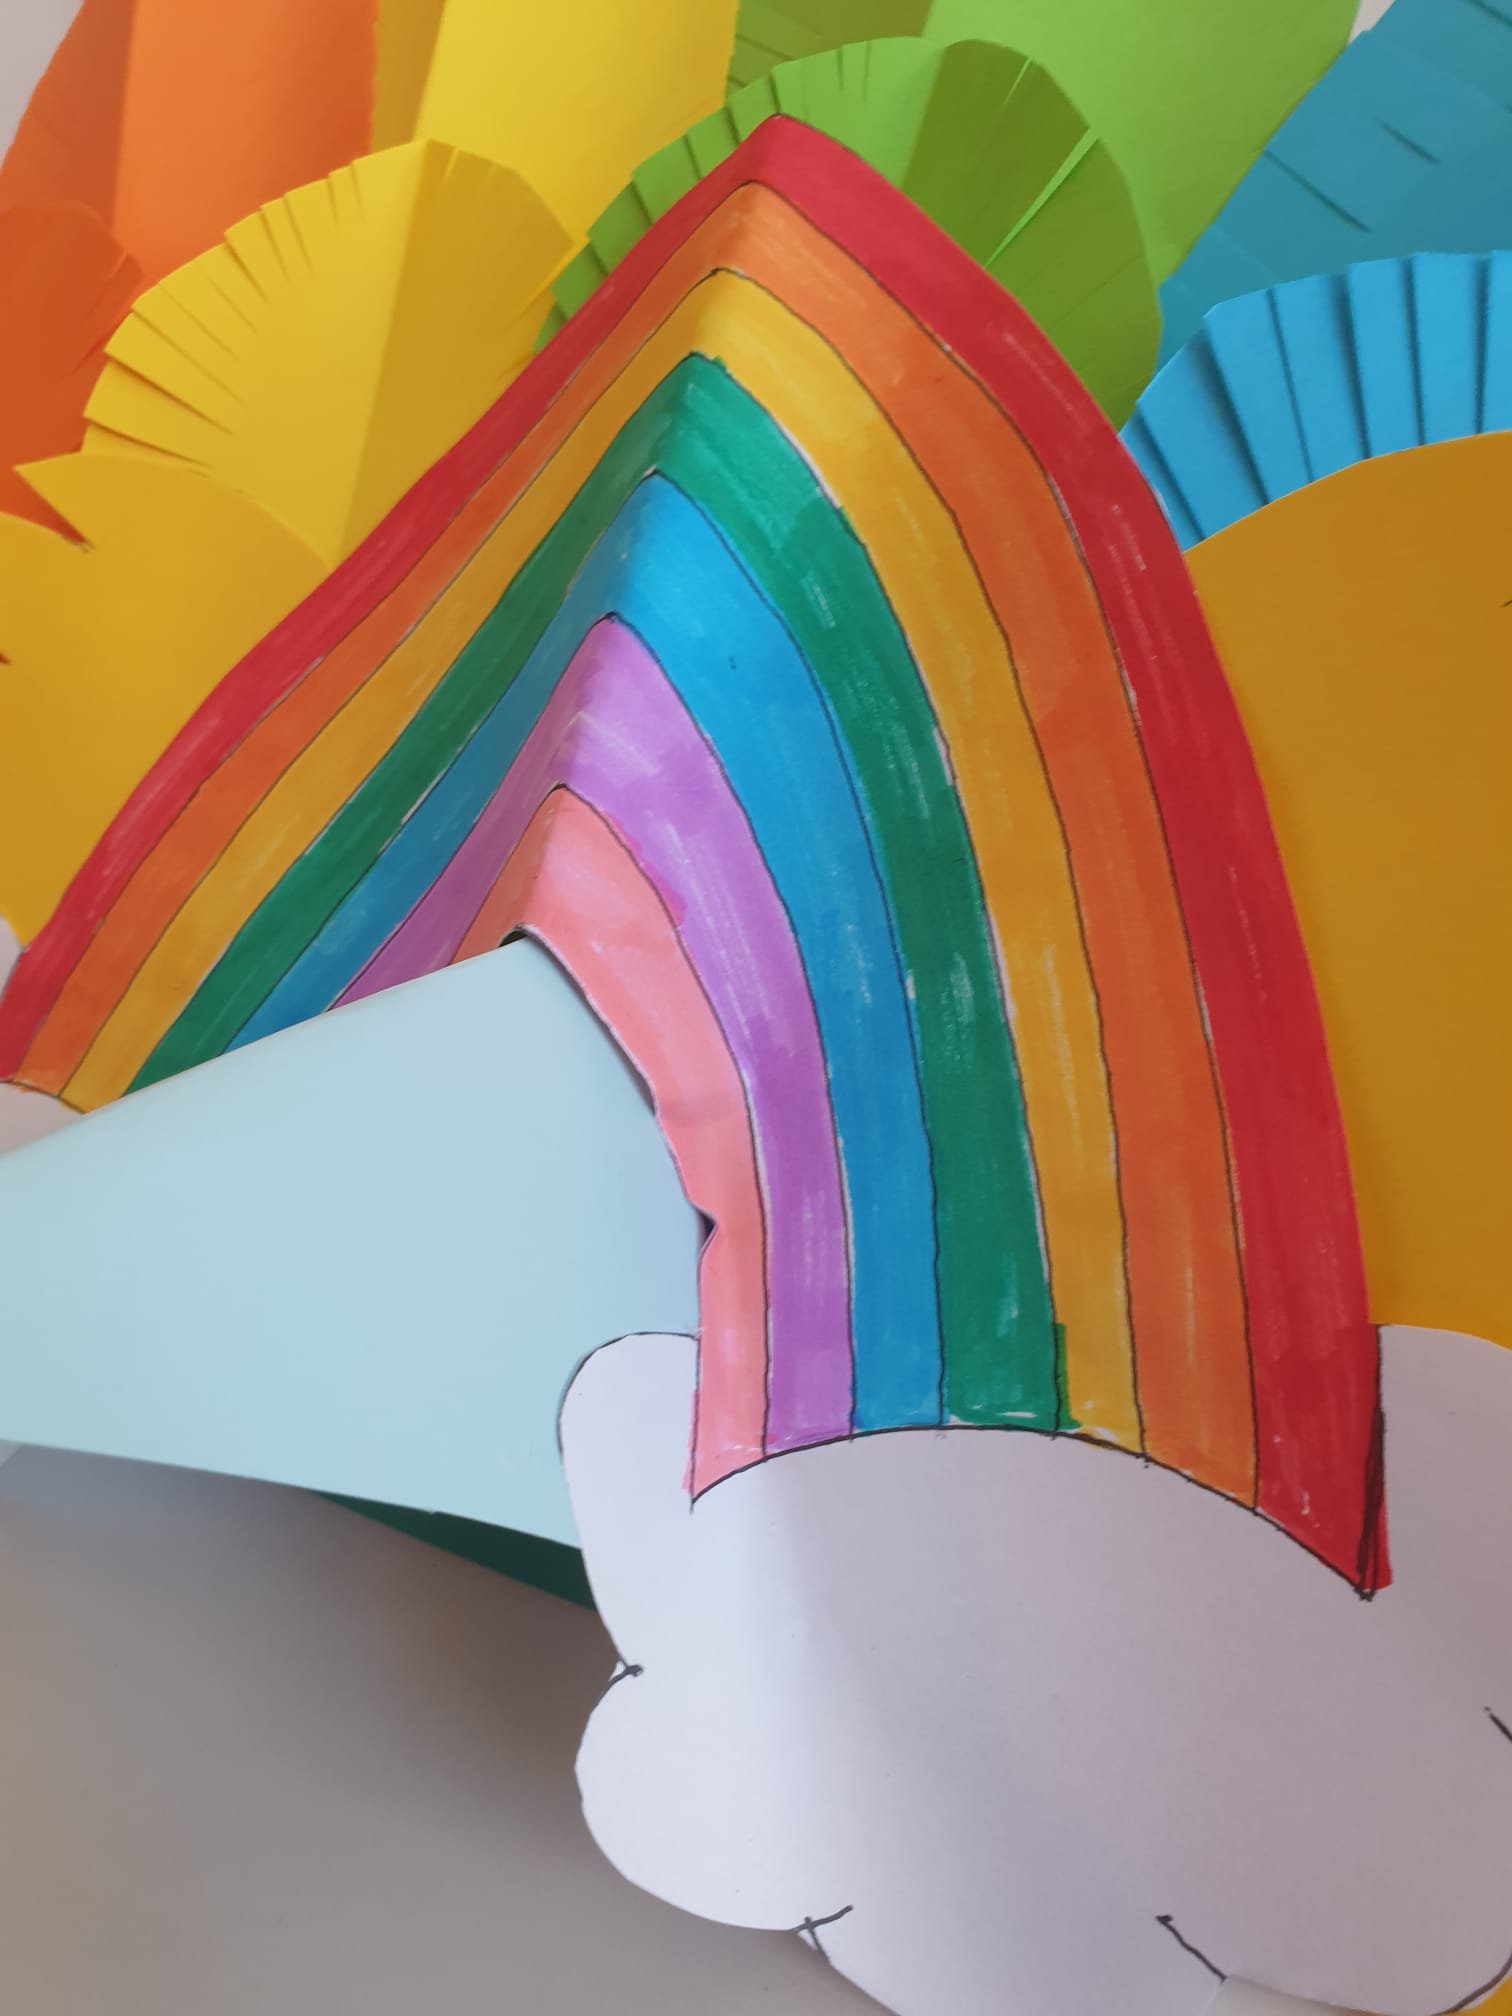
Colour in your rainbow and eyes
First you should colour in the rainbow design and eyes, and then cut them out ready for sticking on later. You can then put these to one side.
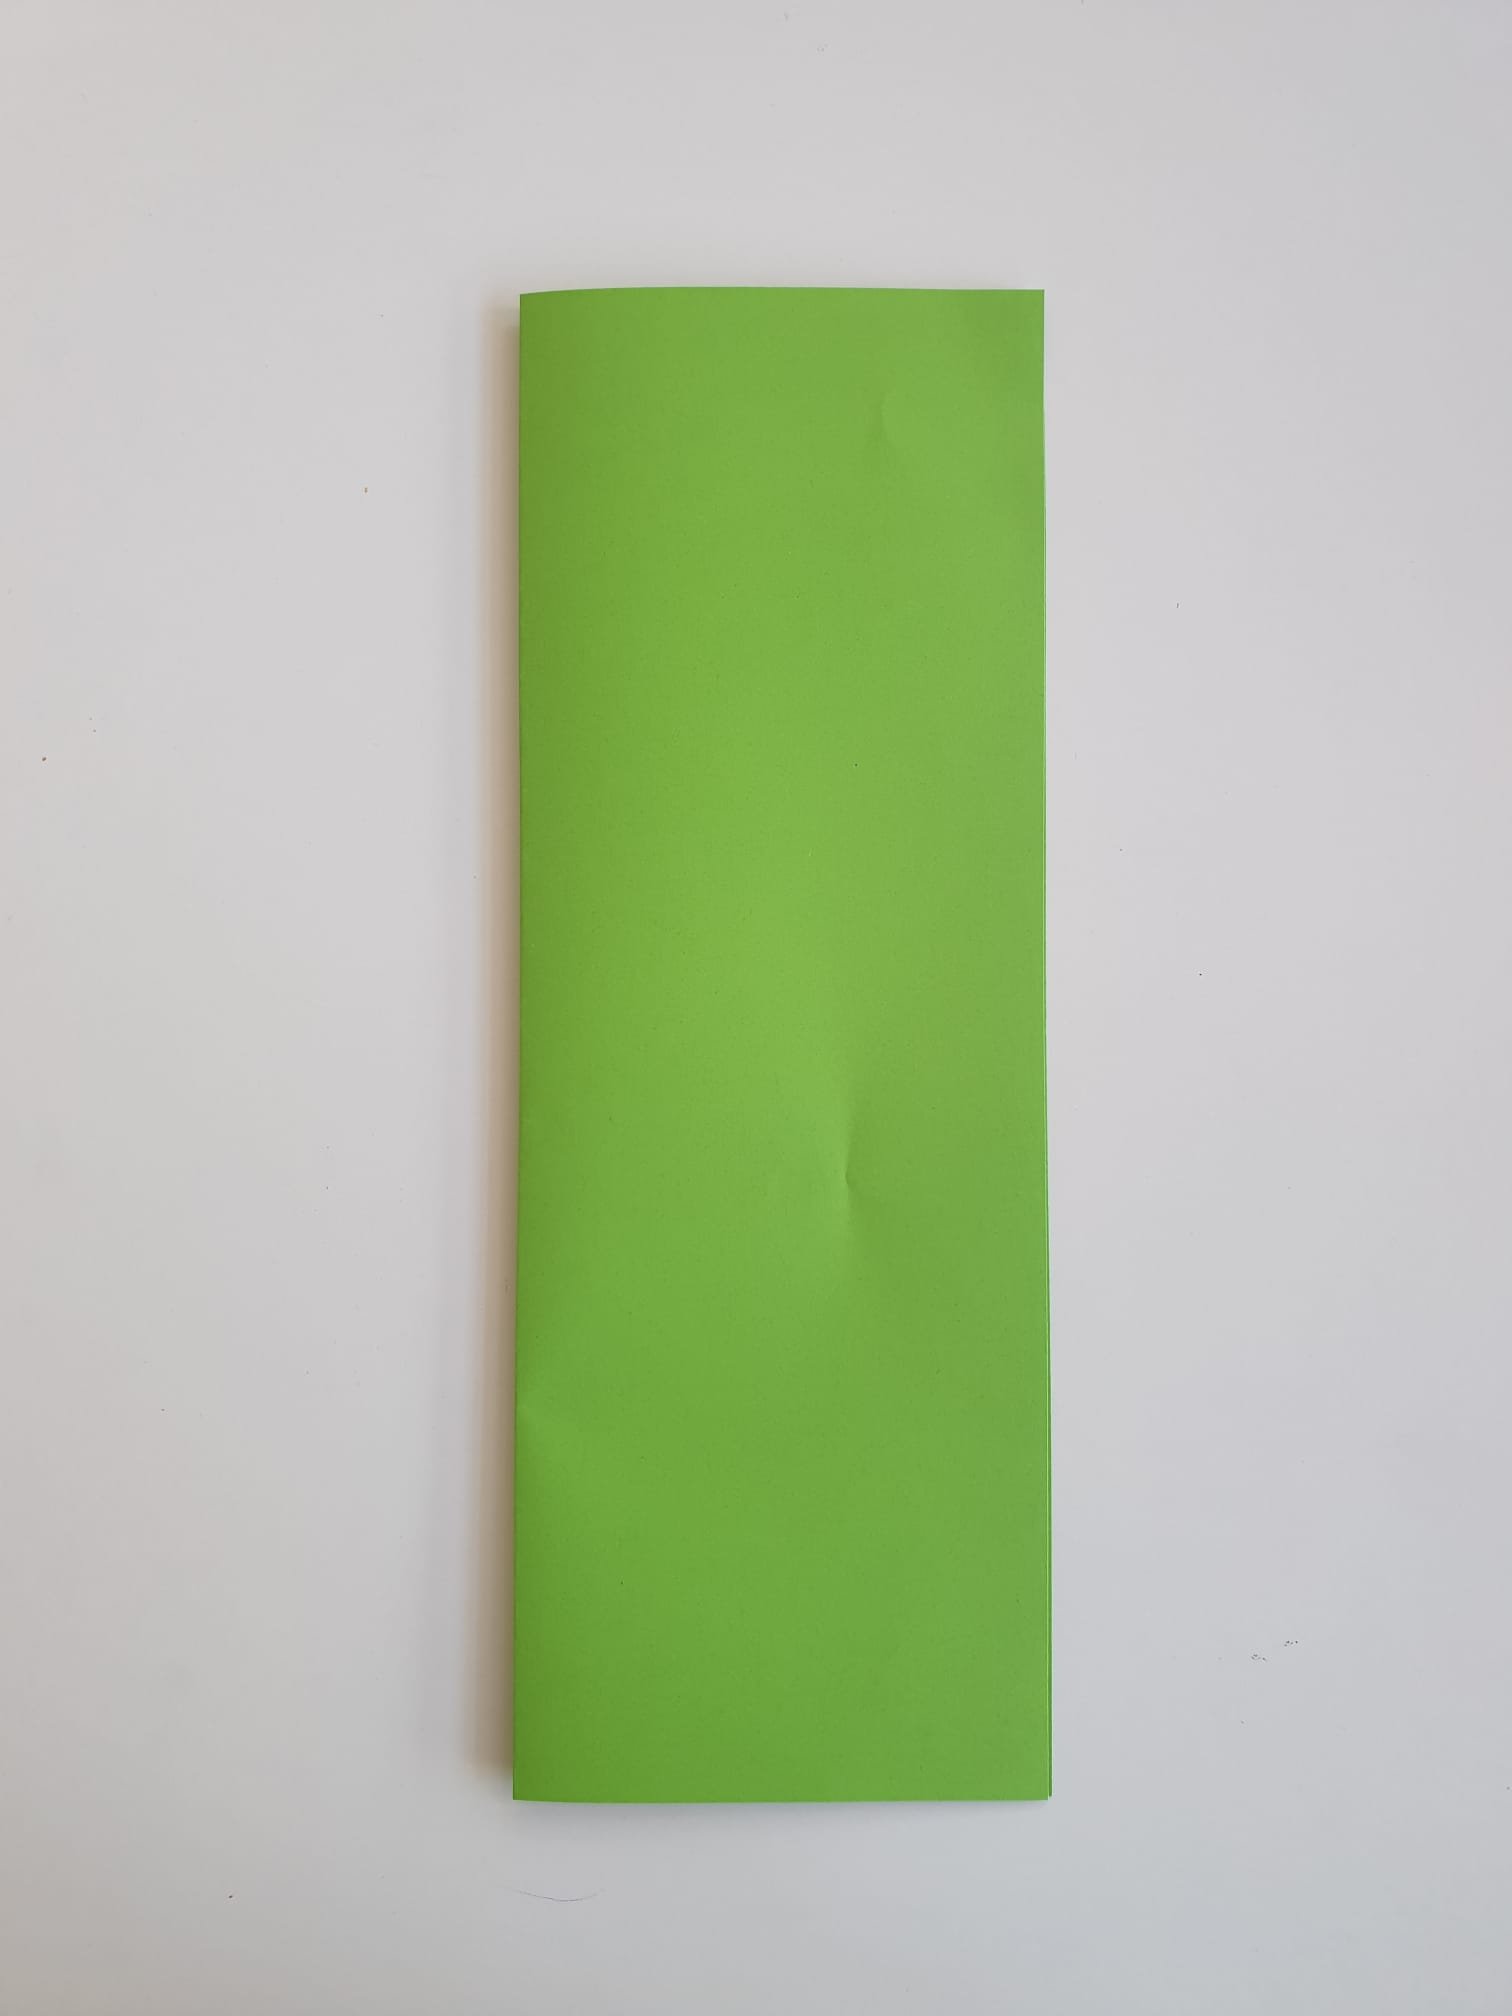
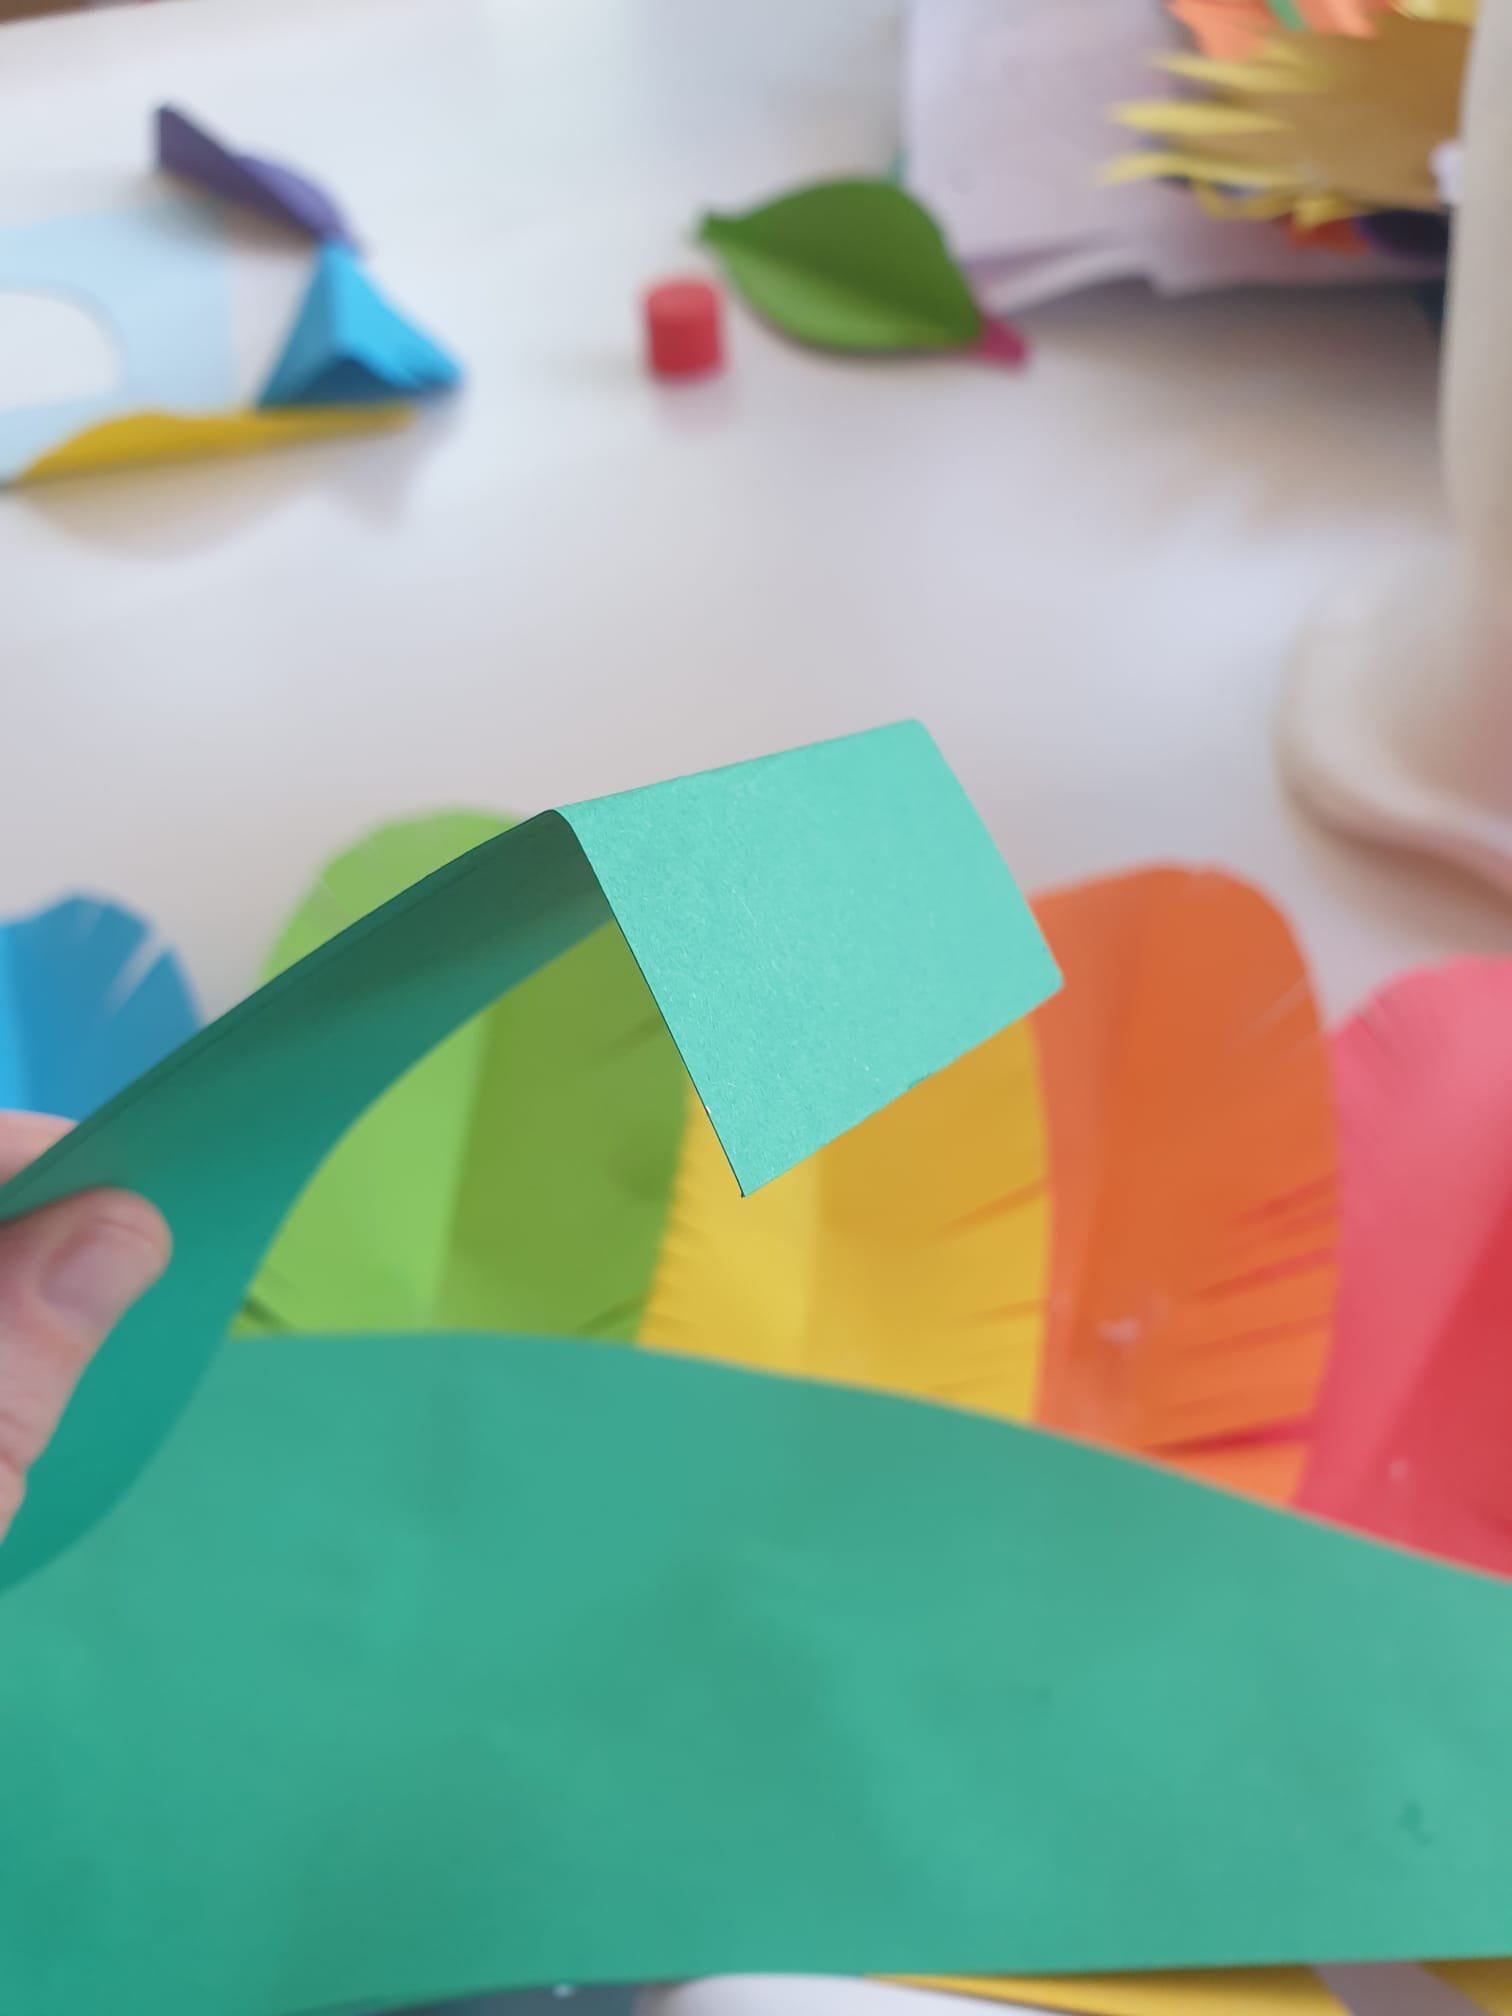
Create your feathers
Next you can create a whole bunch of feathers, in all the colours of the rainbow, following this method.
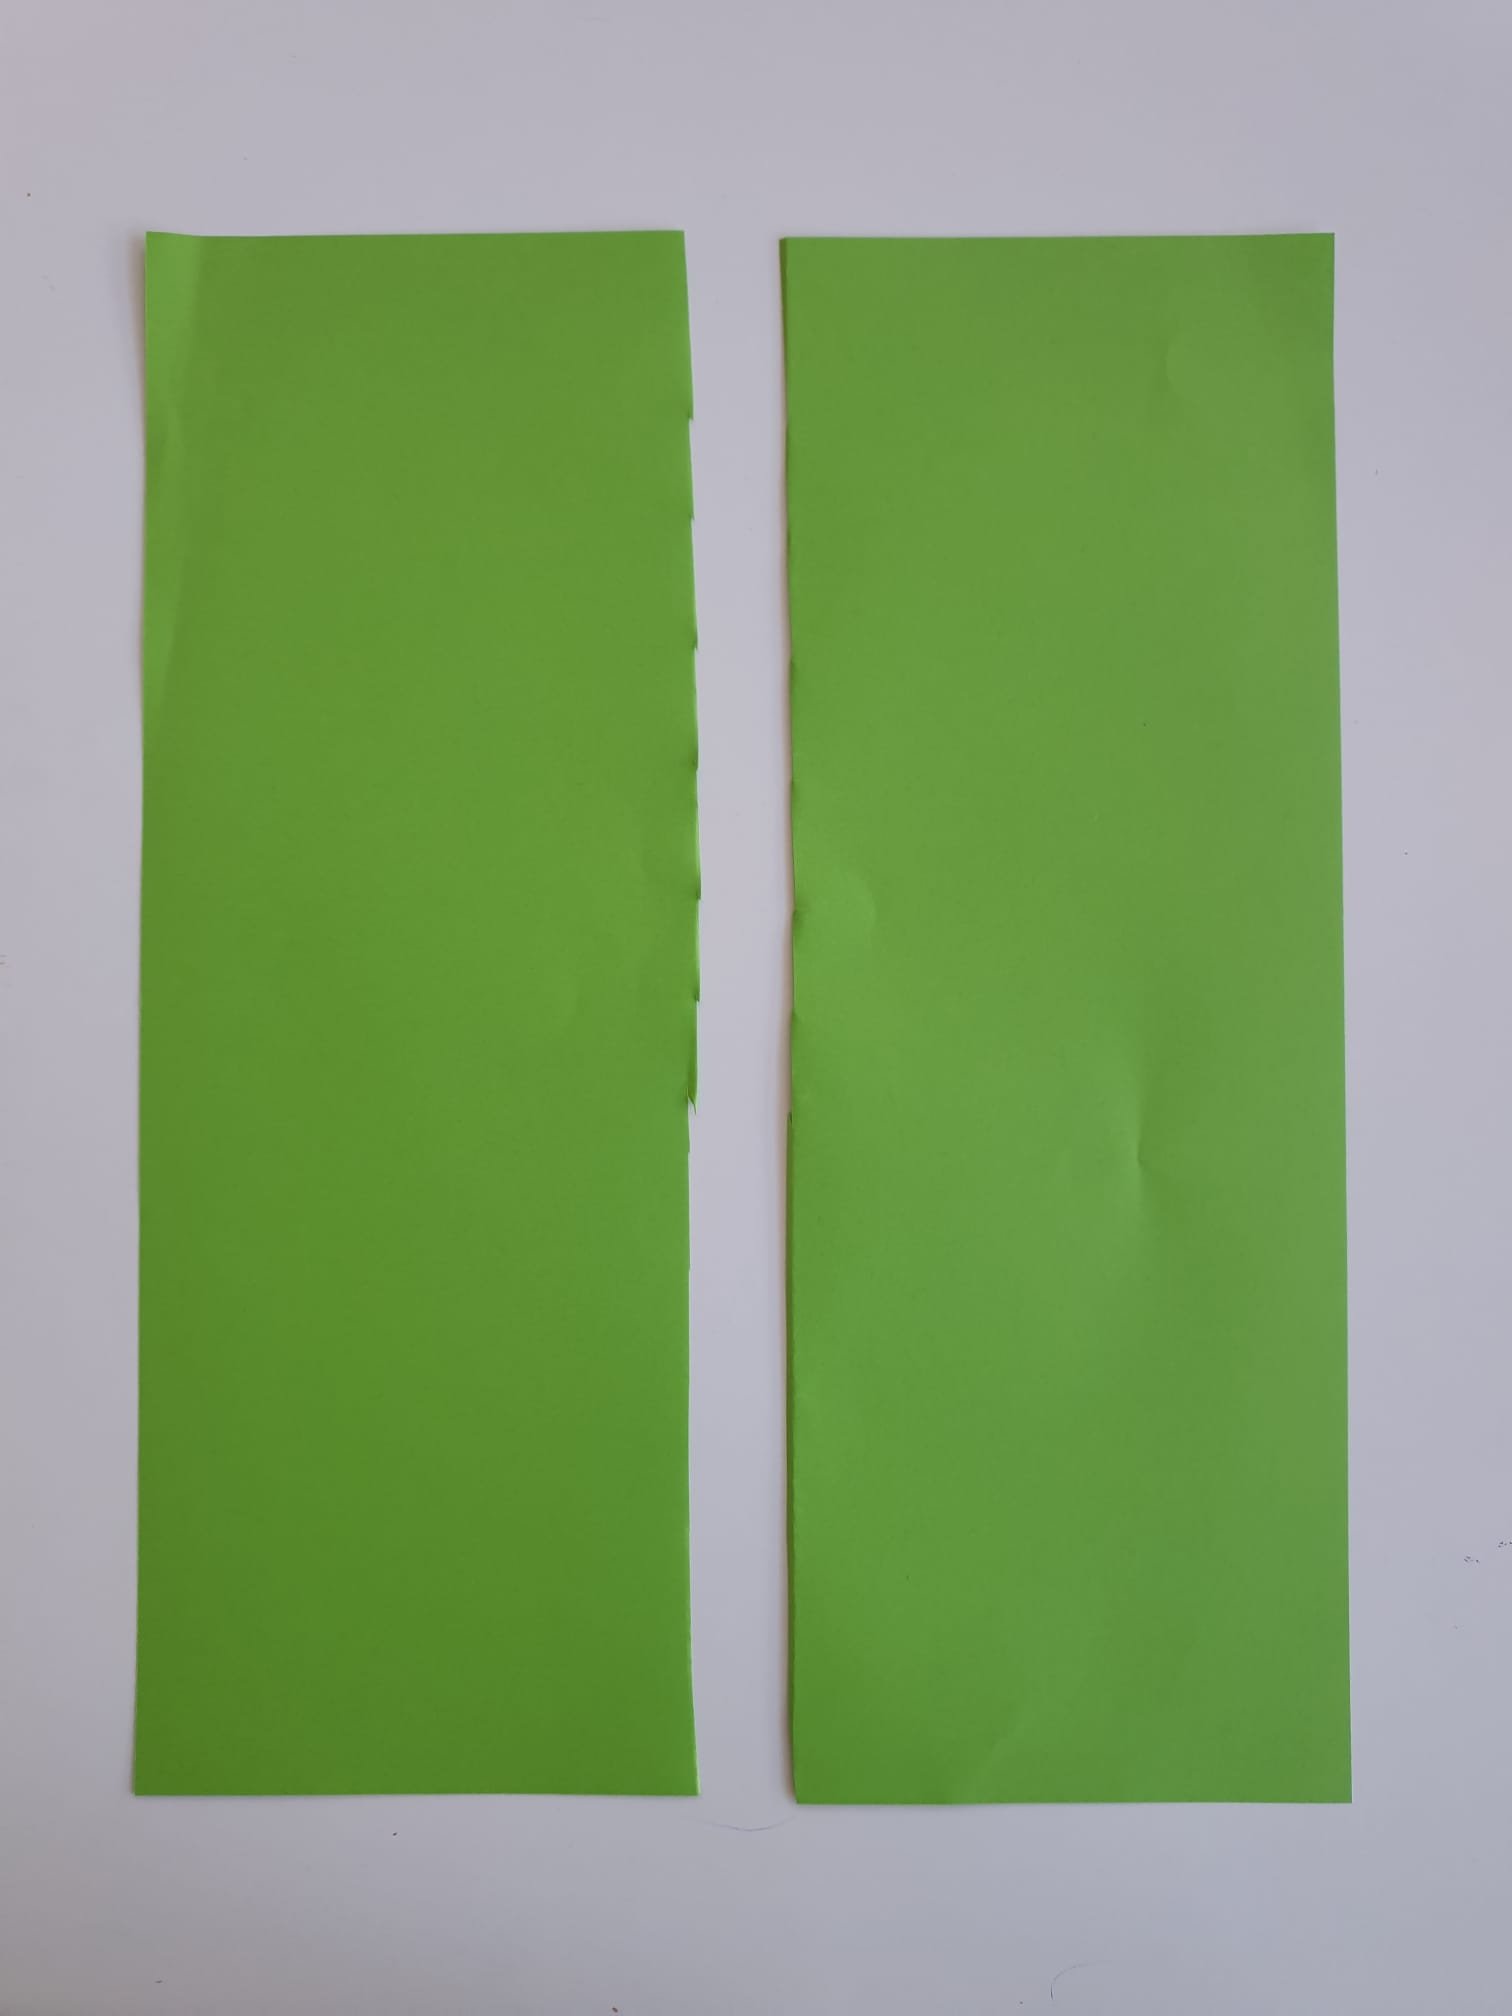
Fold a piece of A4 paper or card in half, length-ways.
Then cut it in half along the fold.
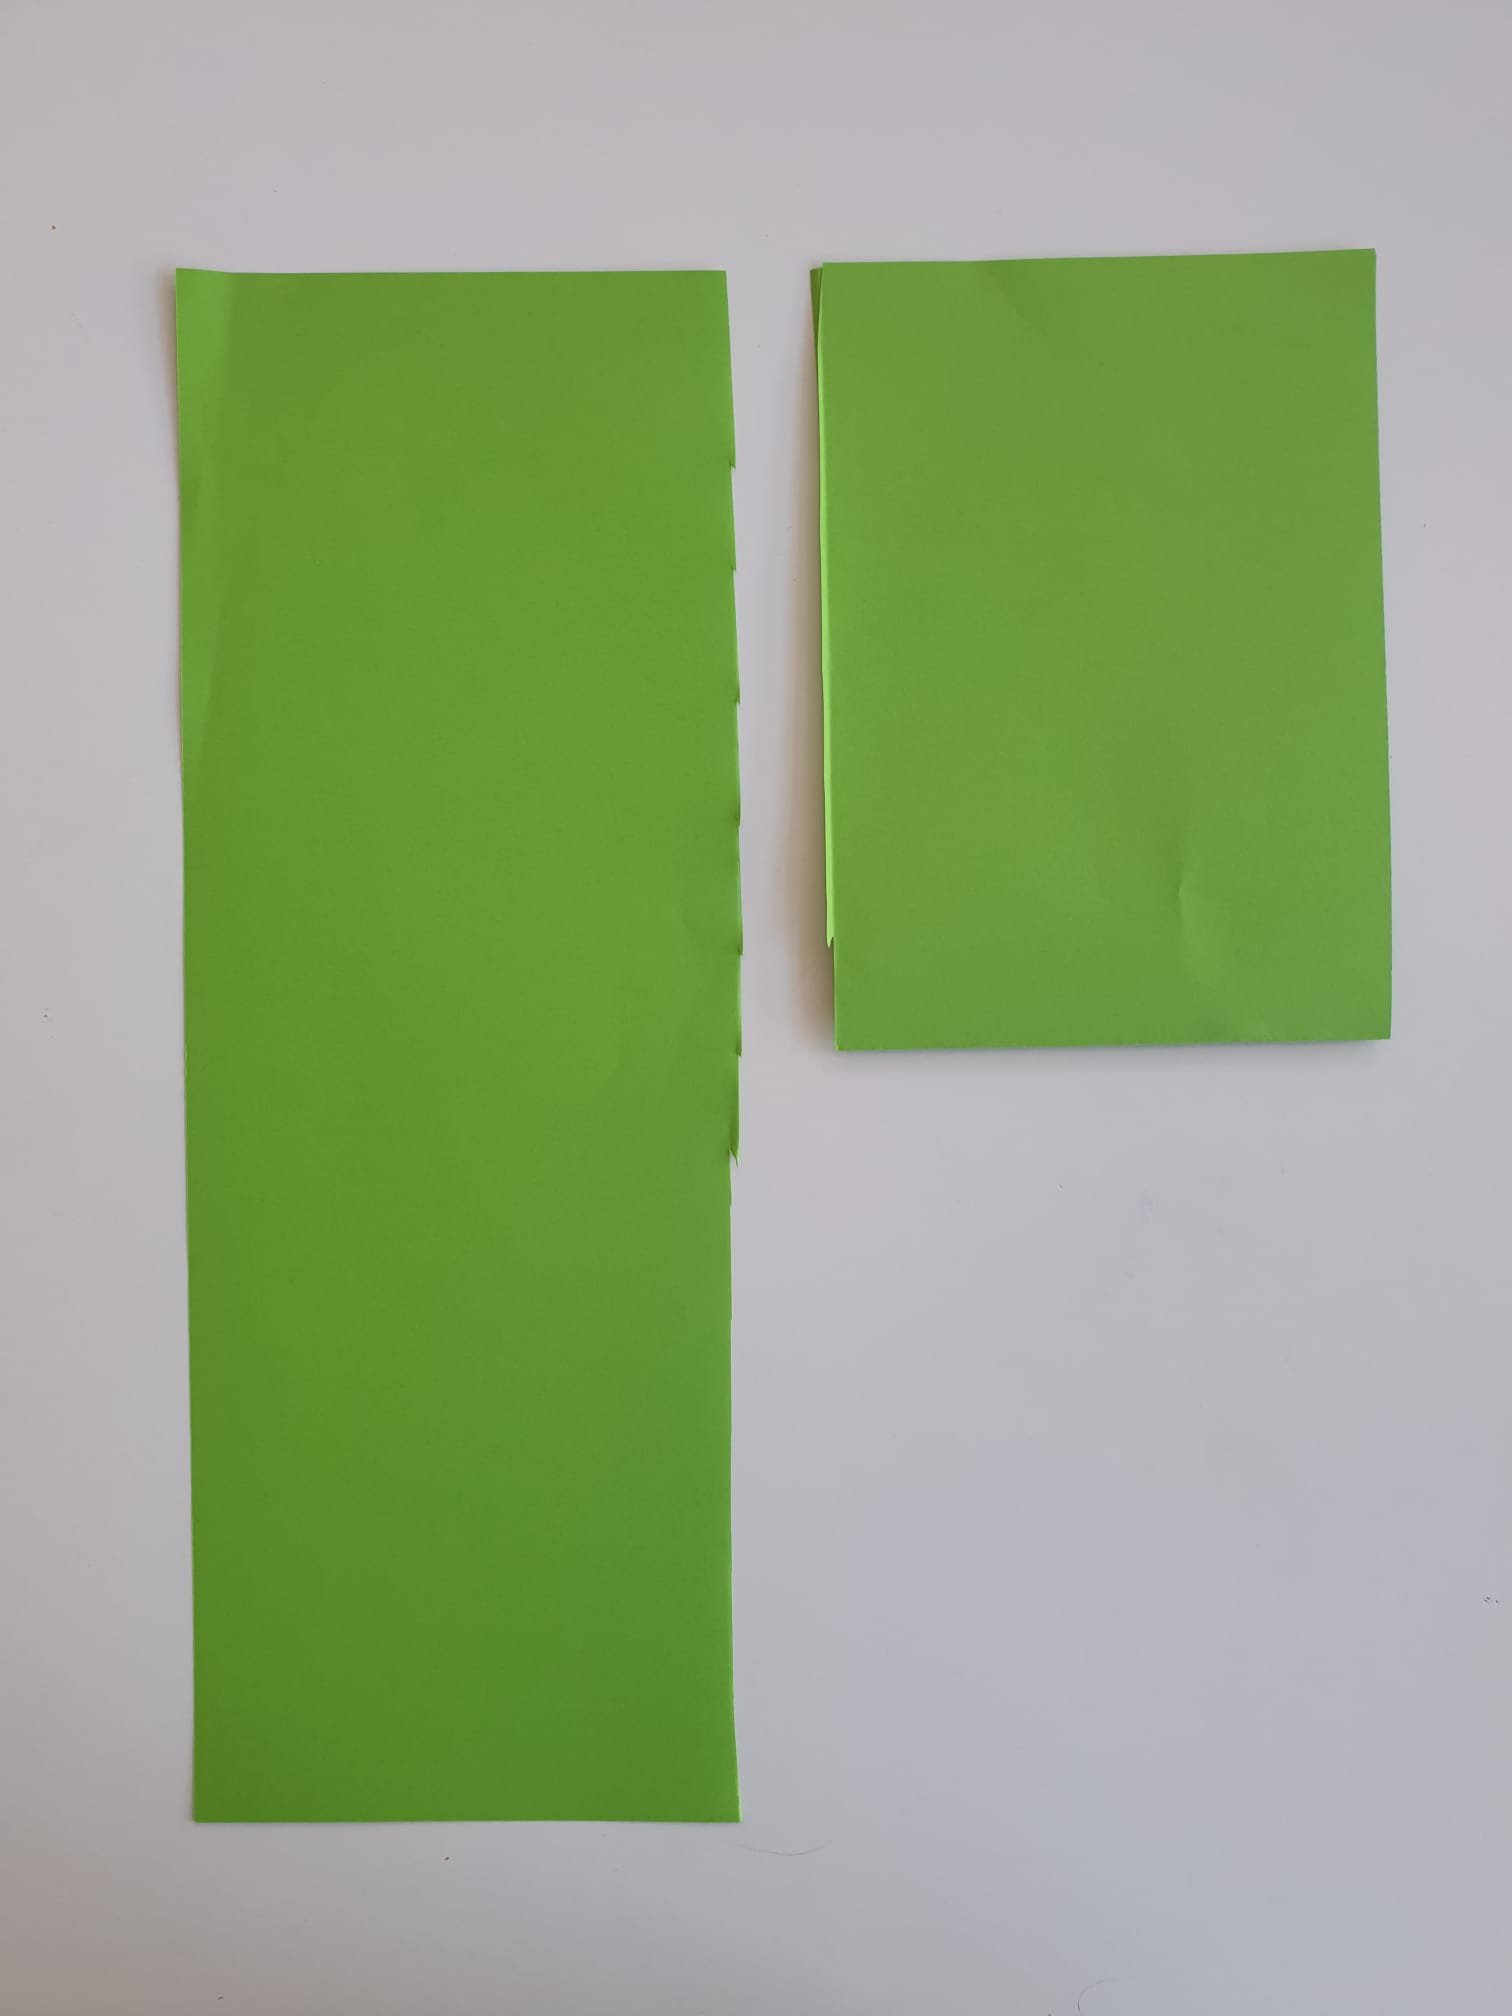
Fold one in half width-ways.
Then cut along the fold

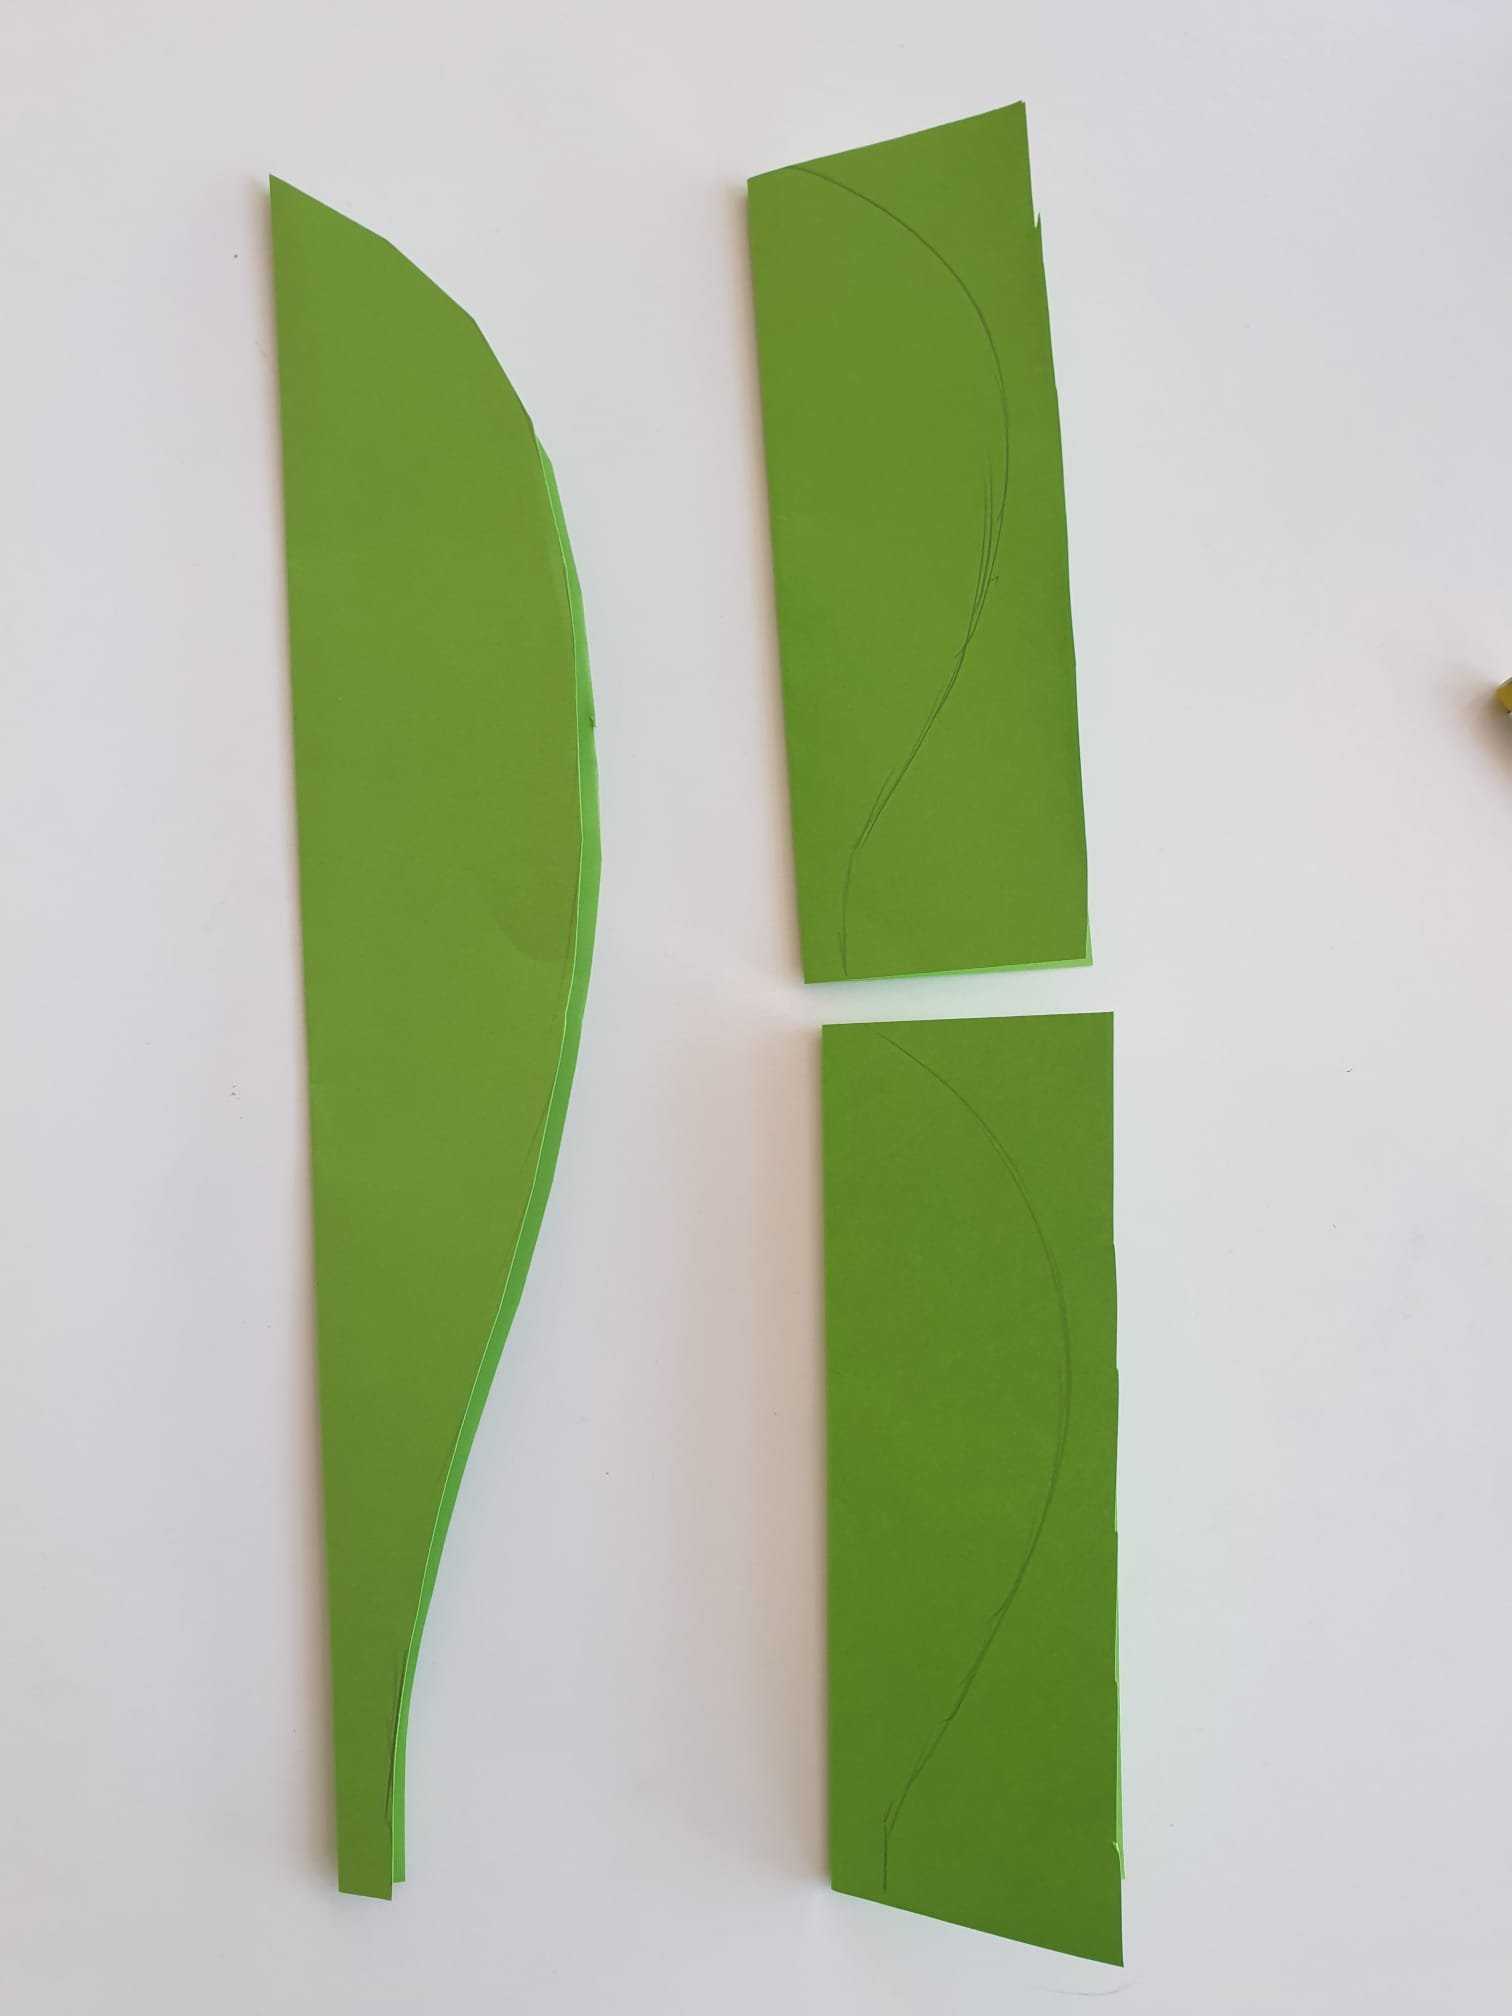
Then fold all three pieces in half lengthways.
Draw on a leaf shape on each folded piece of paper, then cut it out and open up the leaf shape.
Top Tip: Draw half a leaf shape to cut around. Remember to cut away from the fold. You can make this any shape and size and they do not all have to be the same!

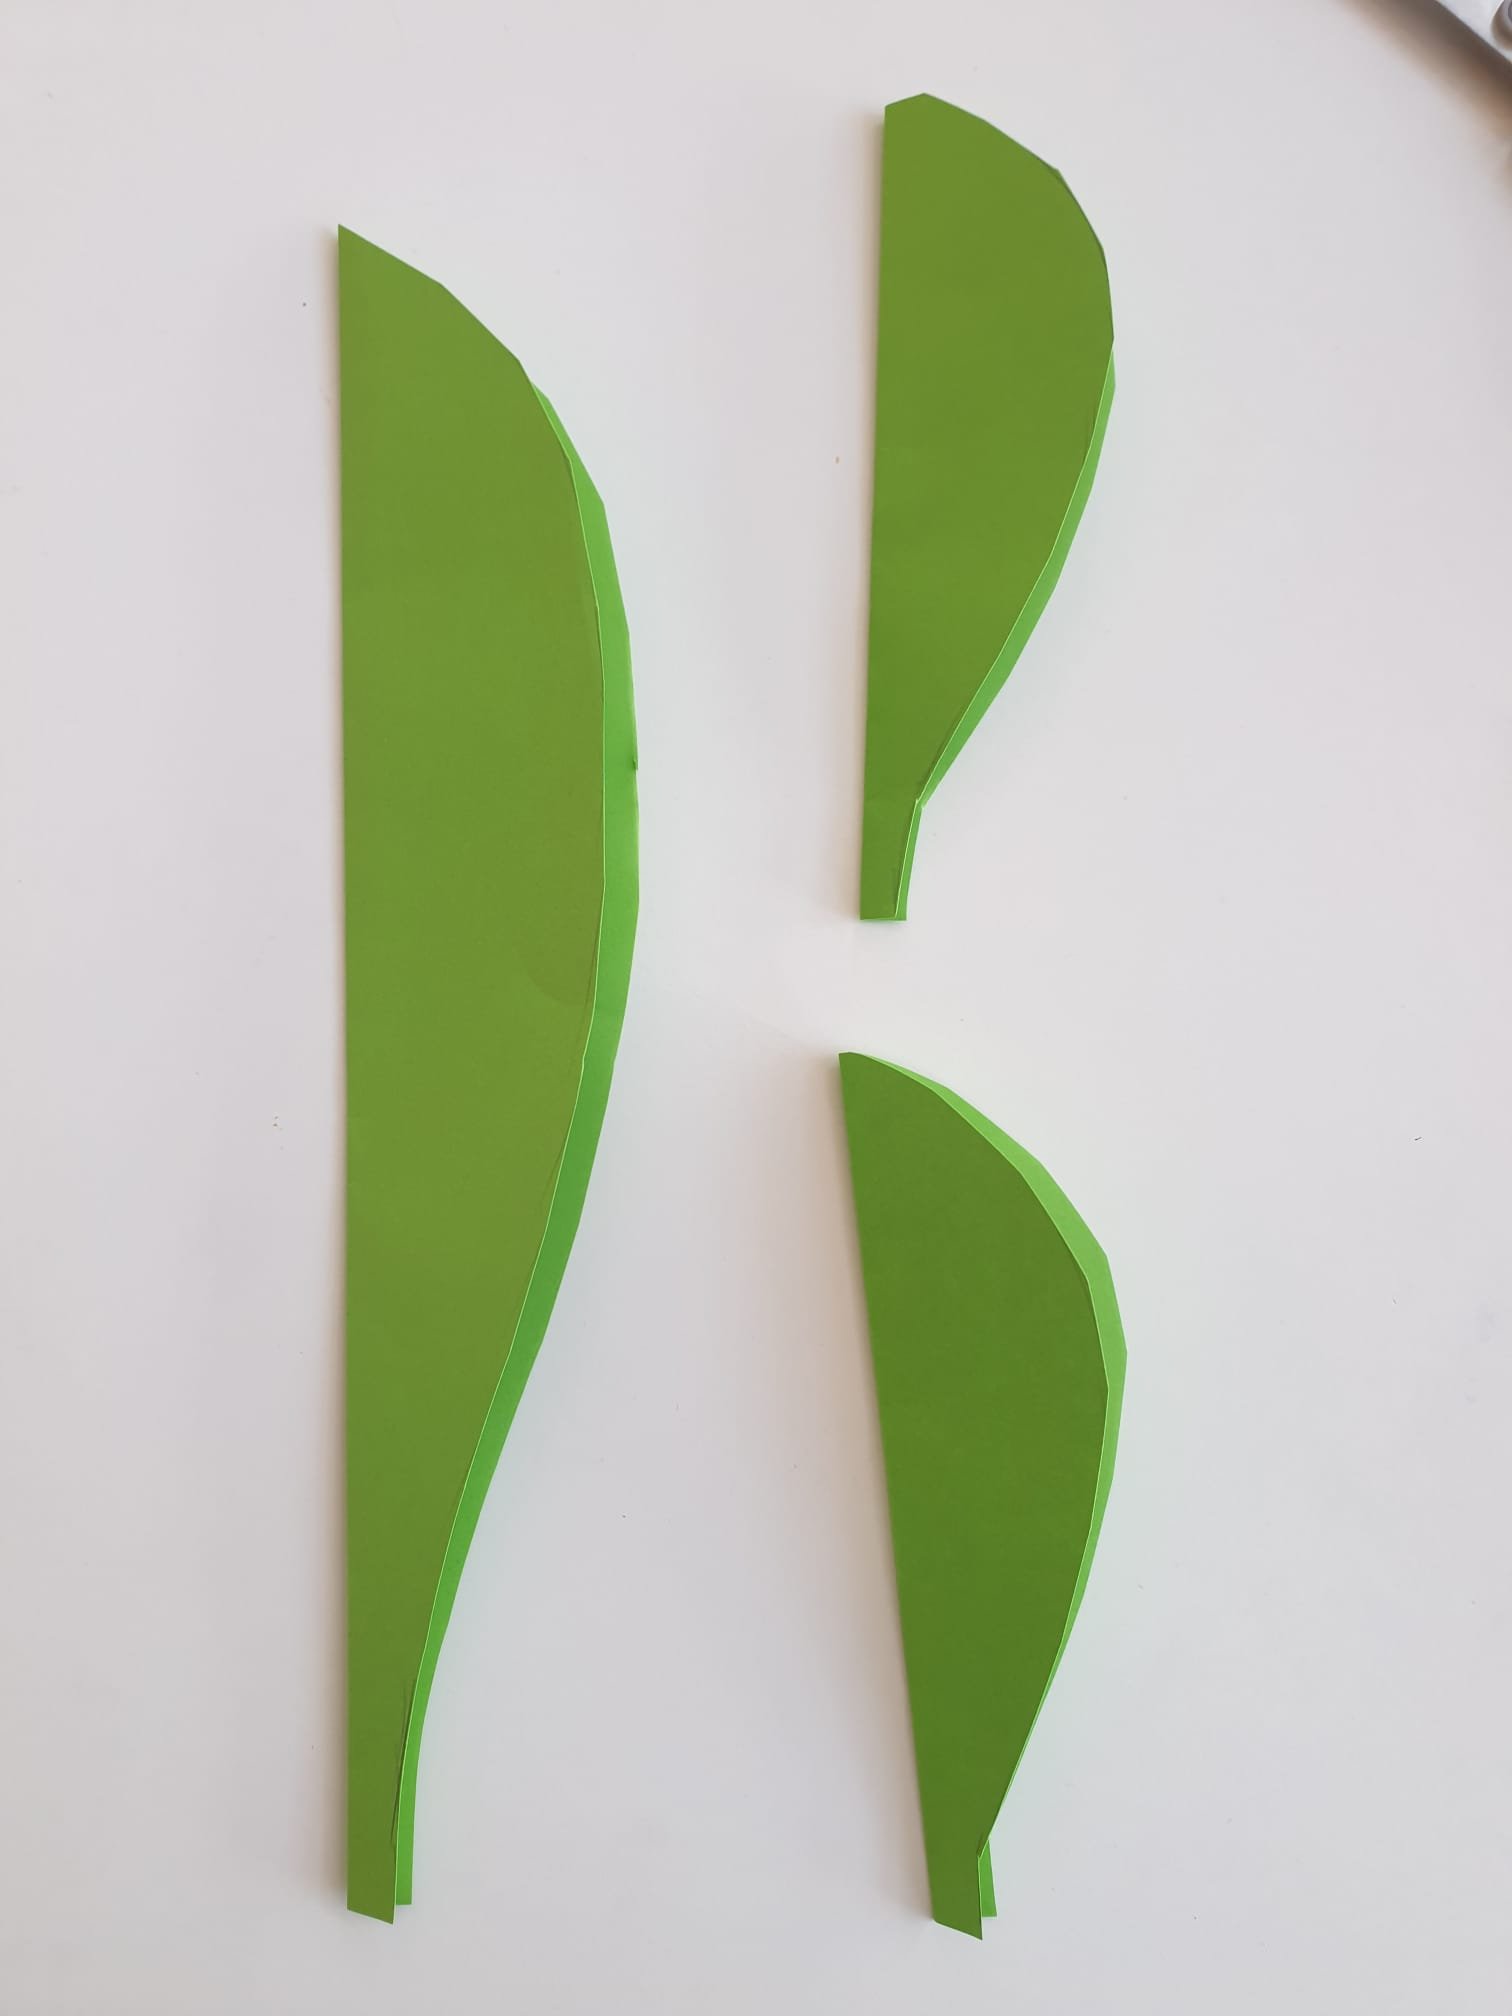
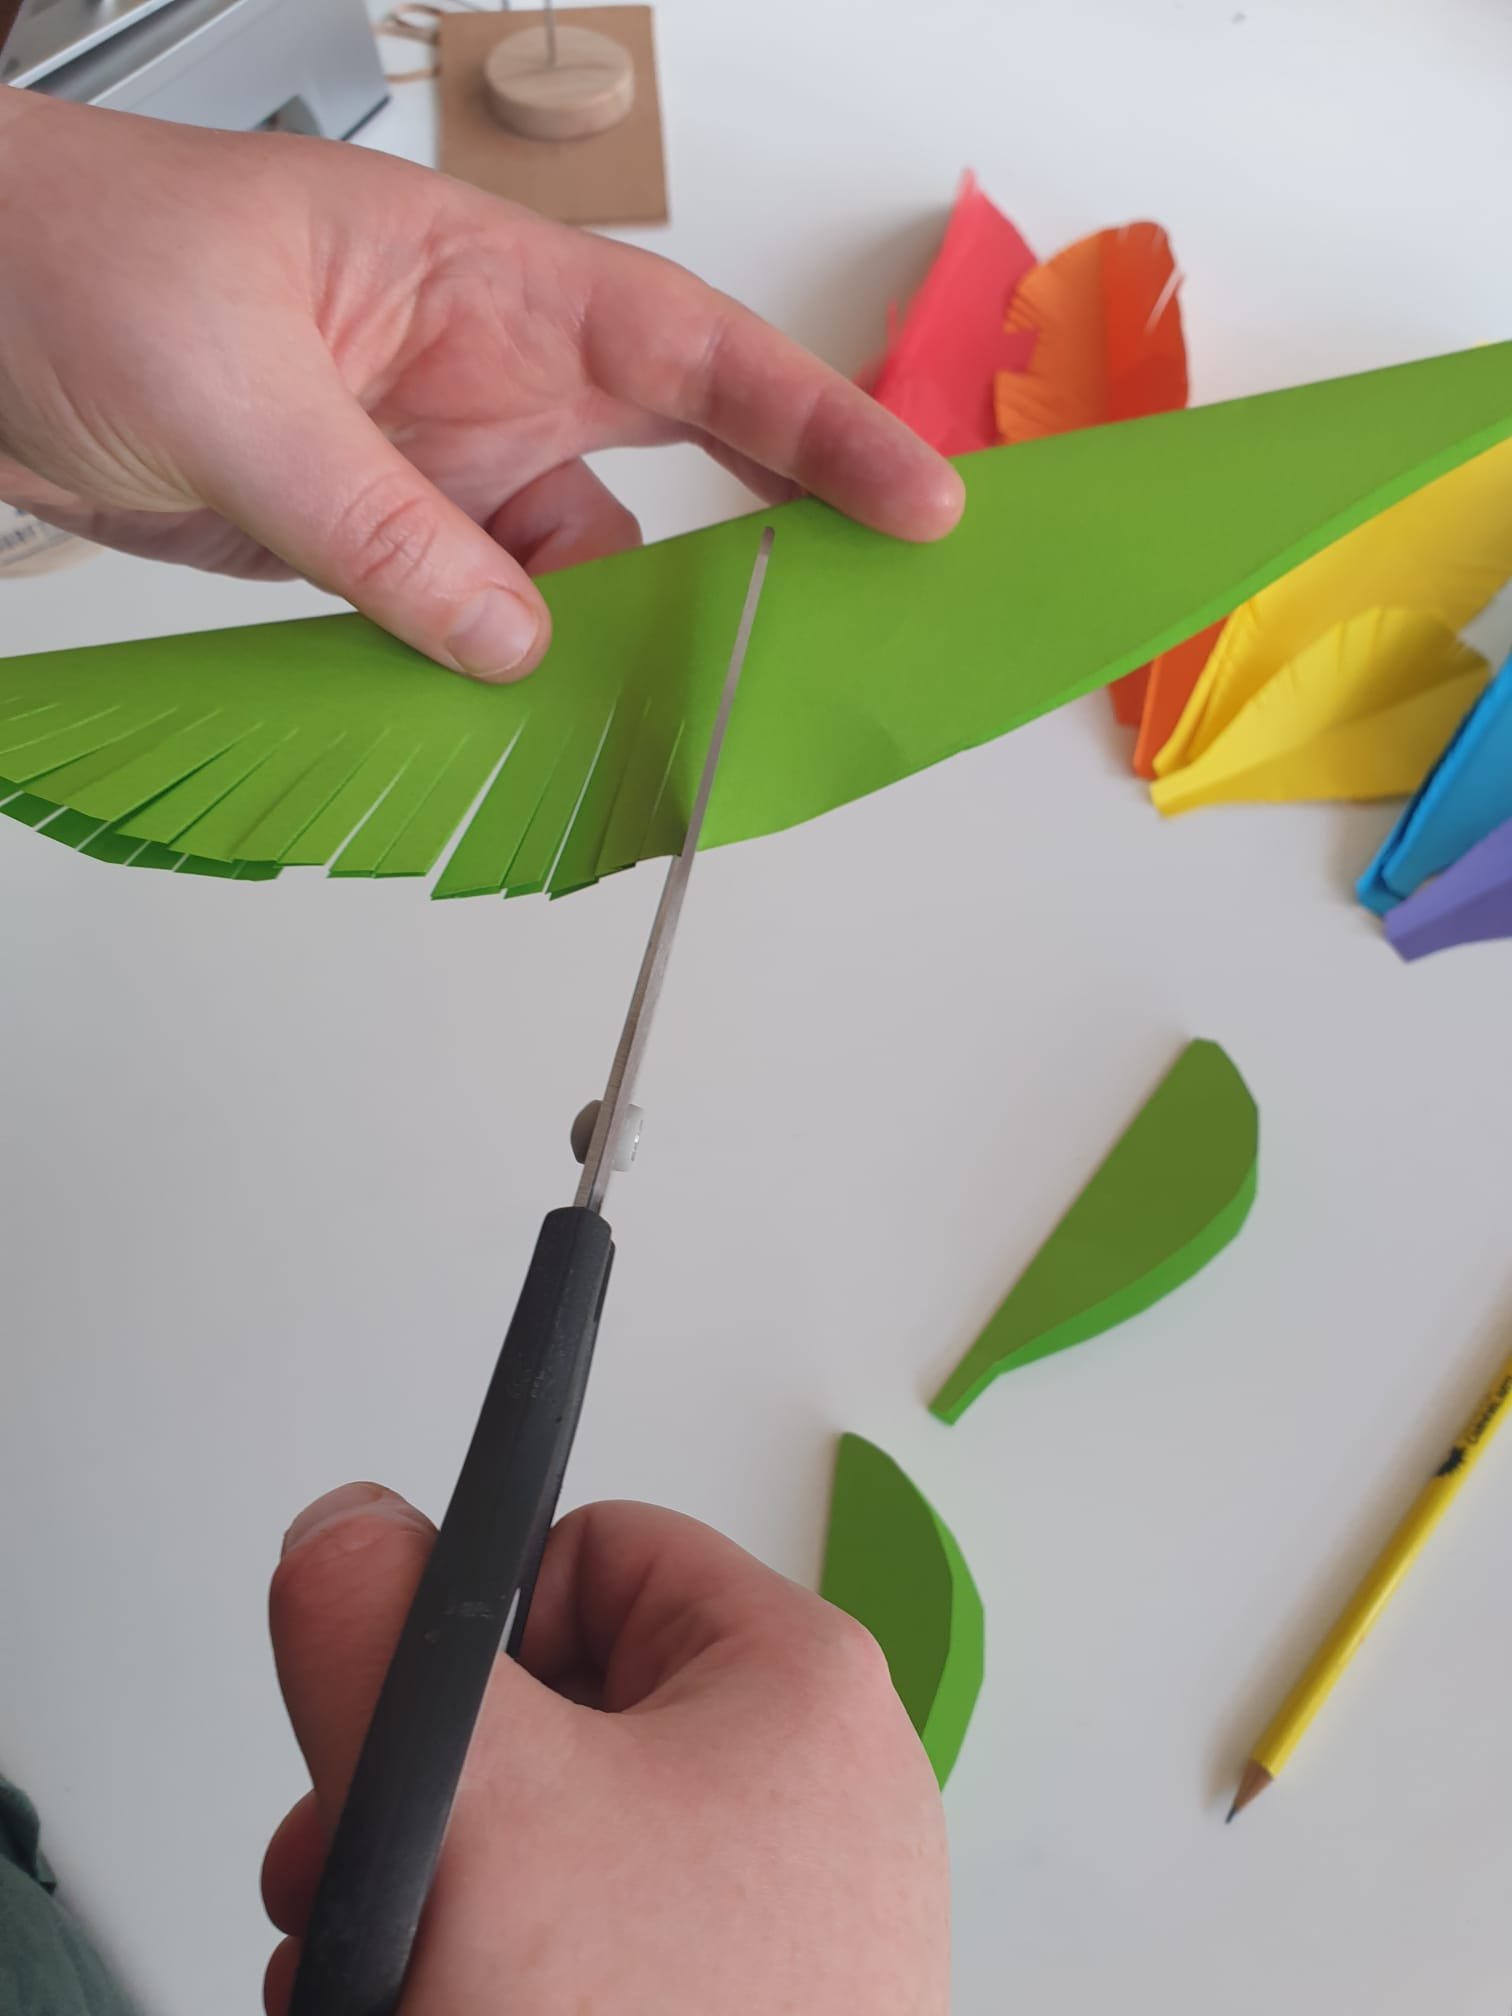
Then hold the folded edge to remind your self not to cut it, make small cuts from the outer edge to the middle all around the edge. Experiment with different thickness and angles to see what different feathers you can make.
Cut out the headpiece and stick together
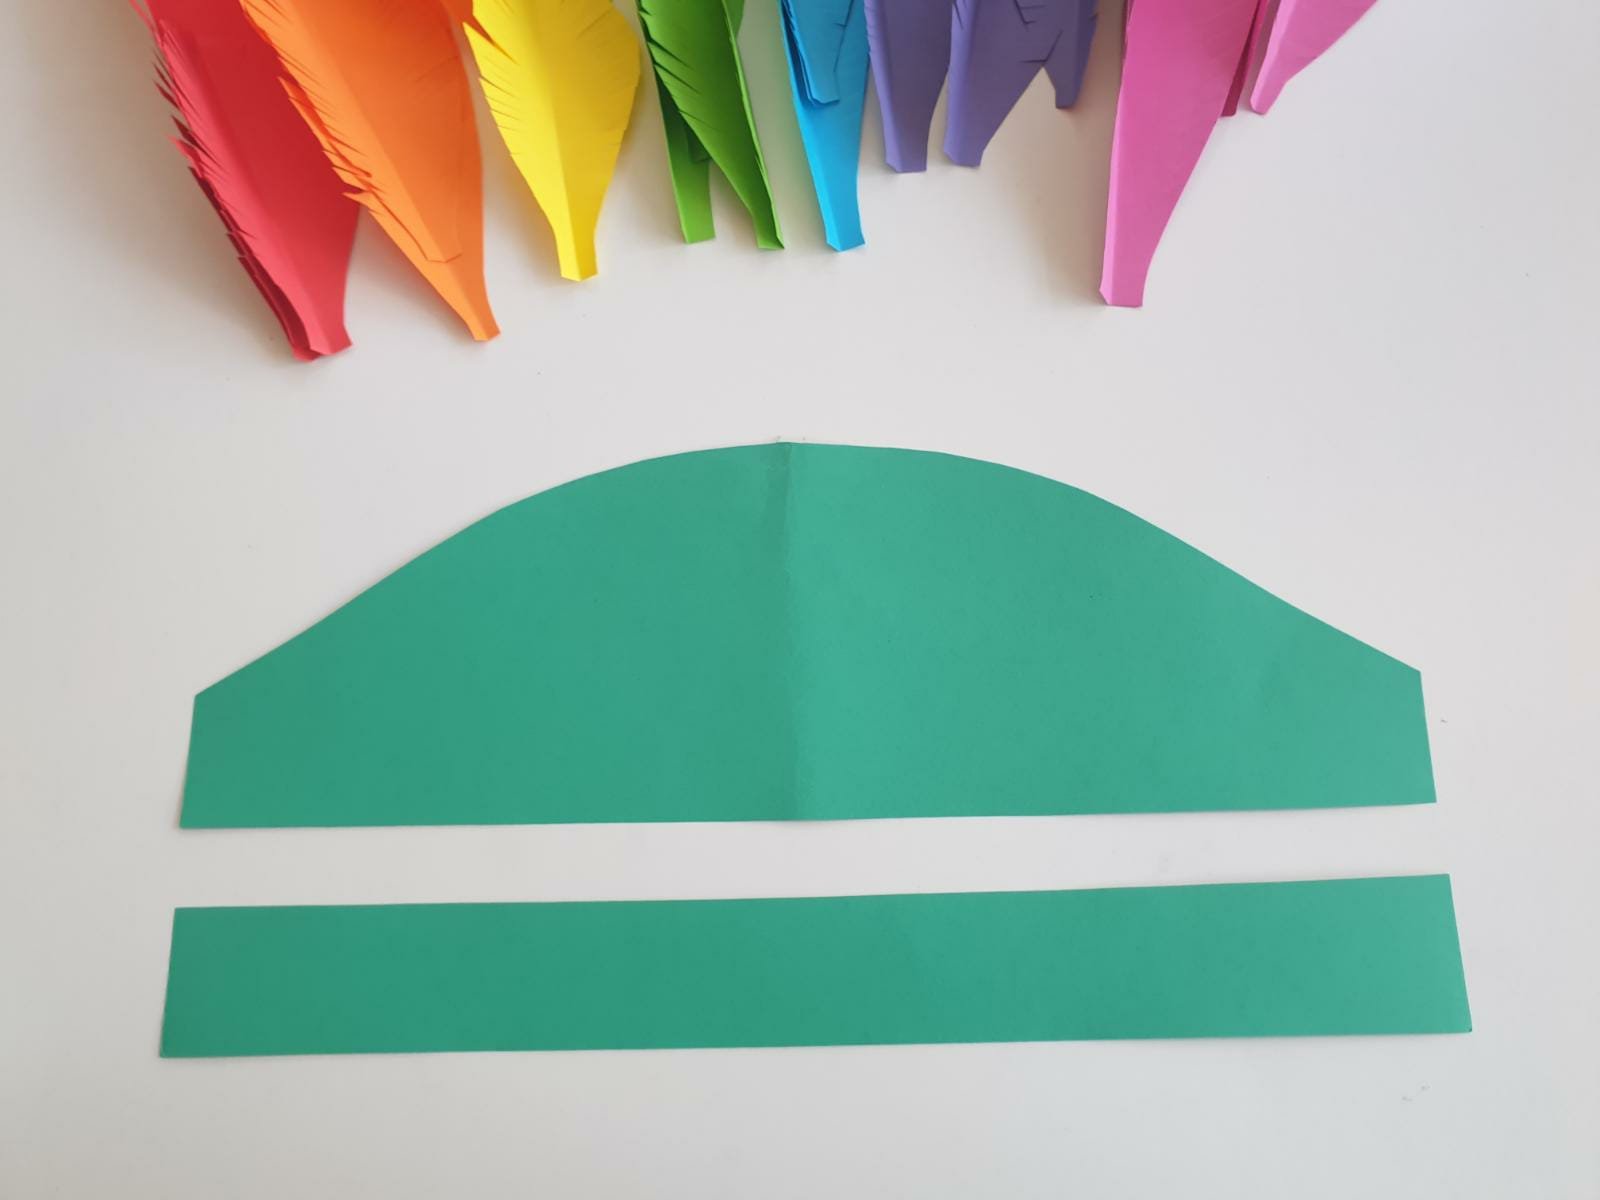
Once you have created all the feathers you want, you can cut out the pieces for the base. You will cut out four pieces, but you need to glue them together to form two pieces, like you see in the picture below. Alternatively, if you have access to an A3 printer, you can print off an A3 full size version.
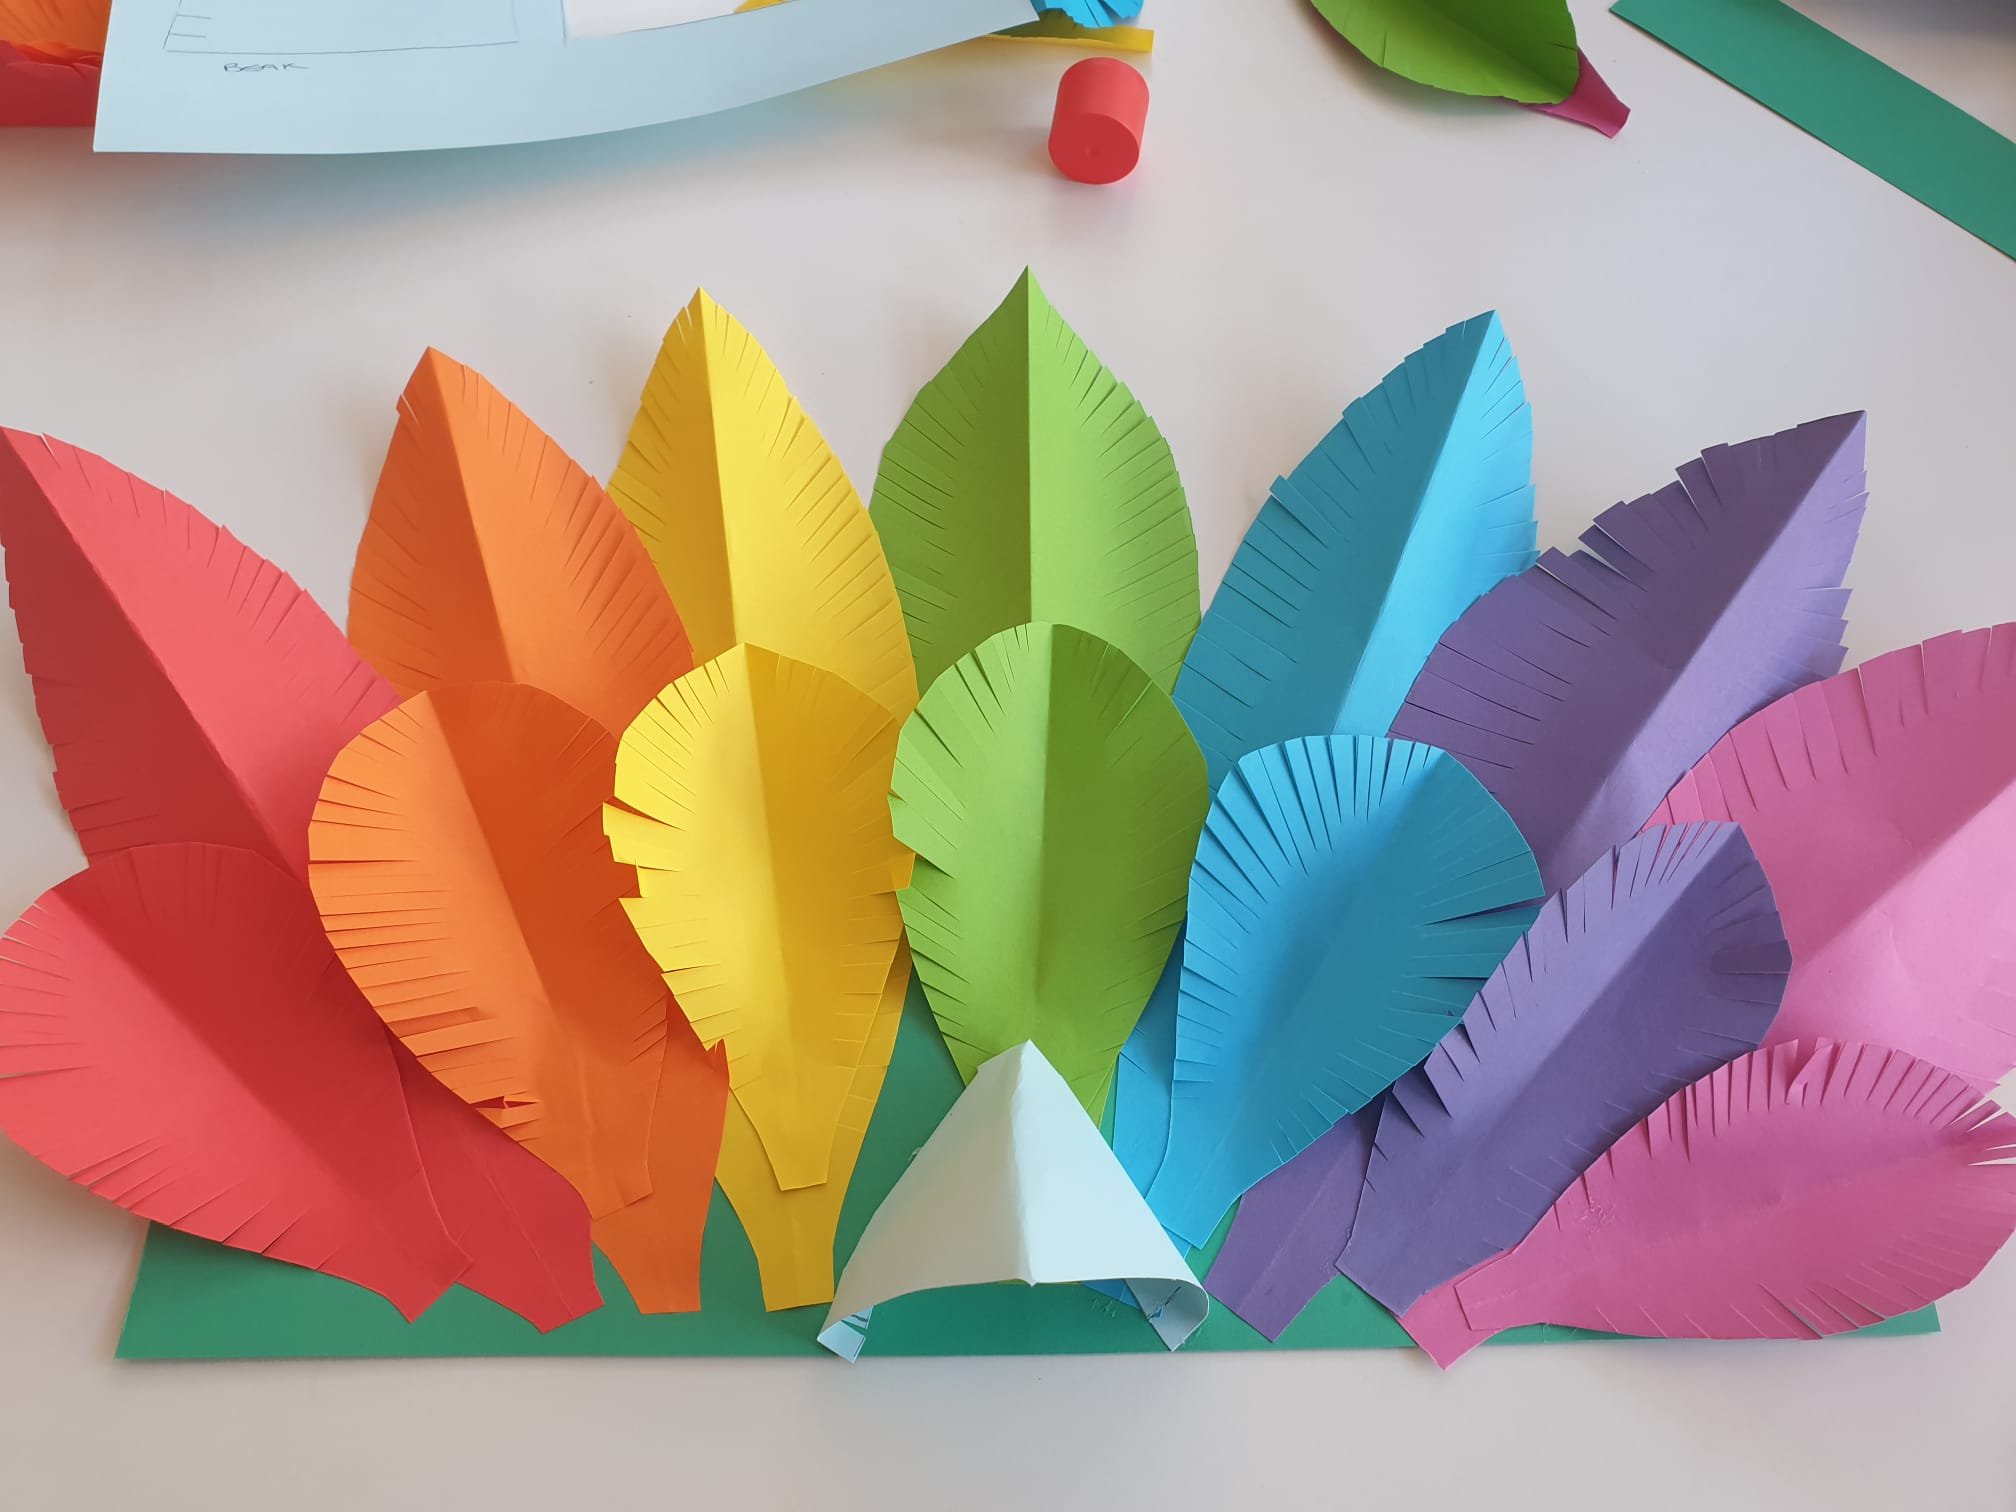
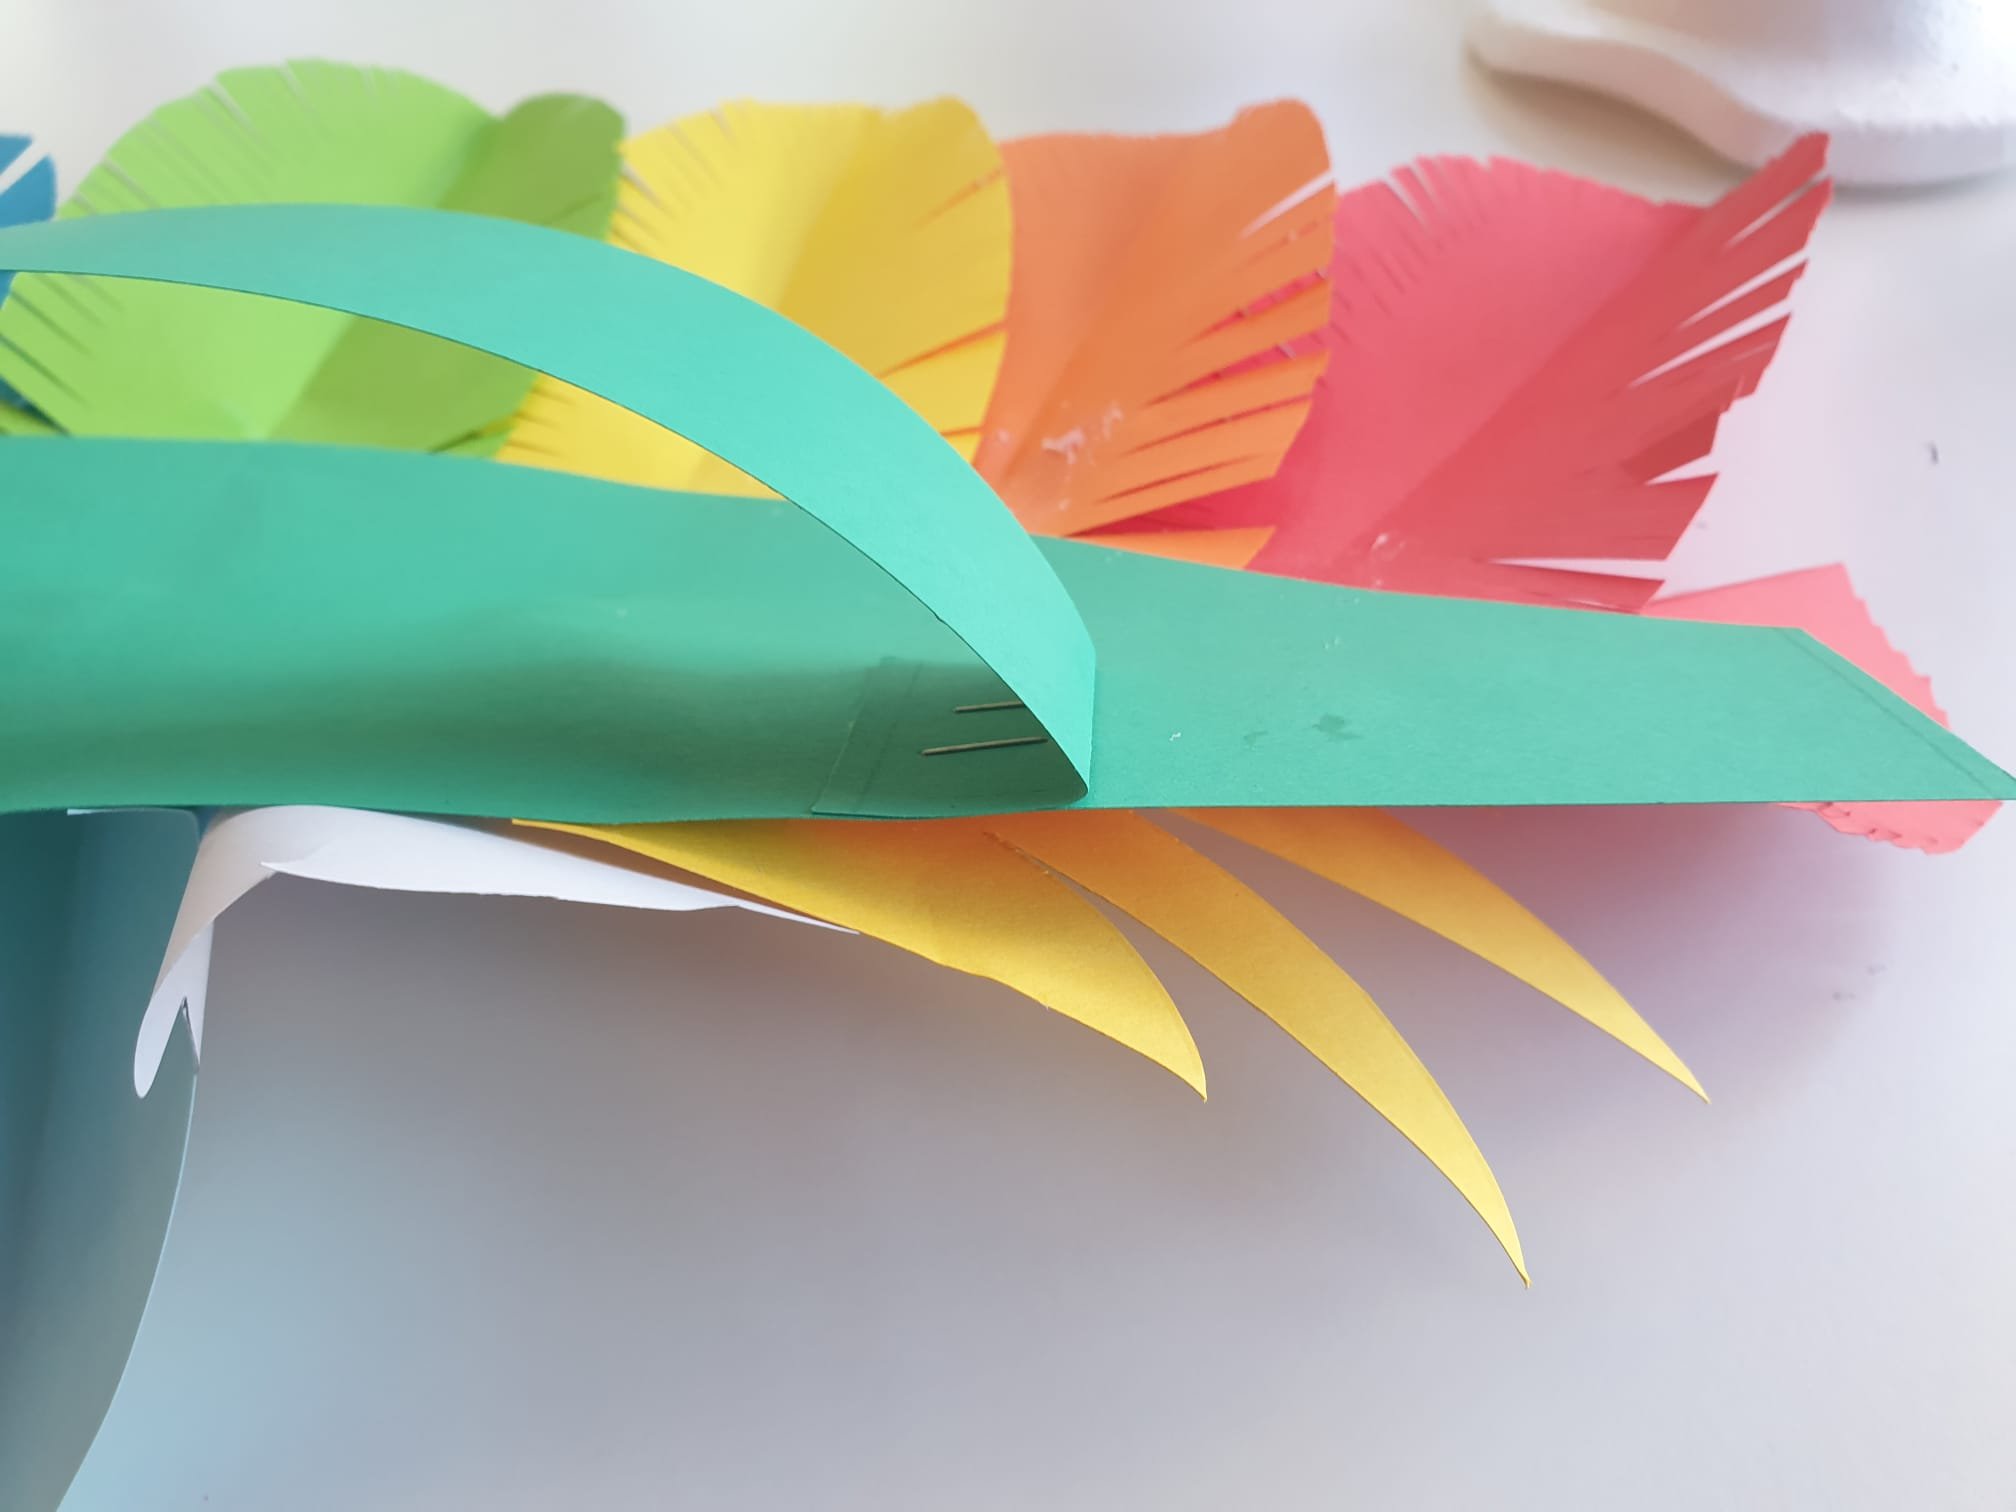
Stick on the feathers
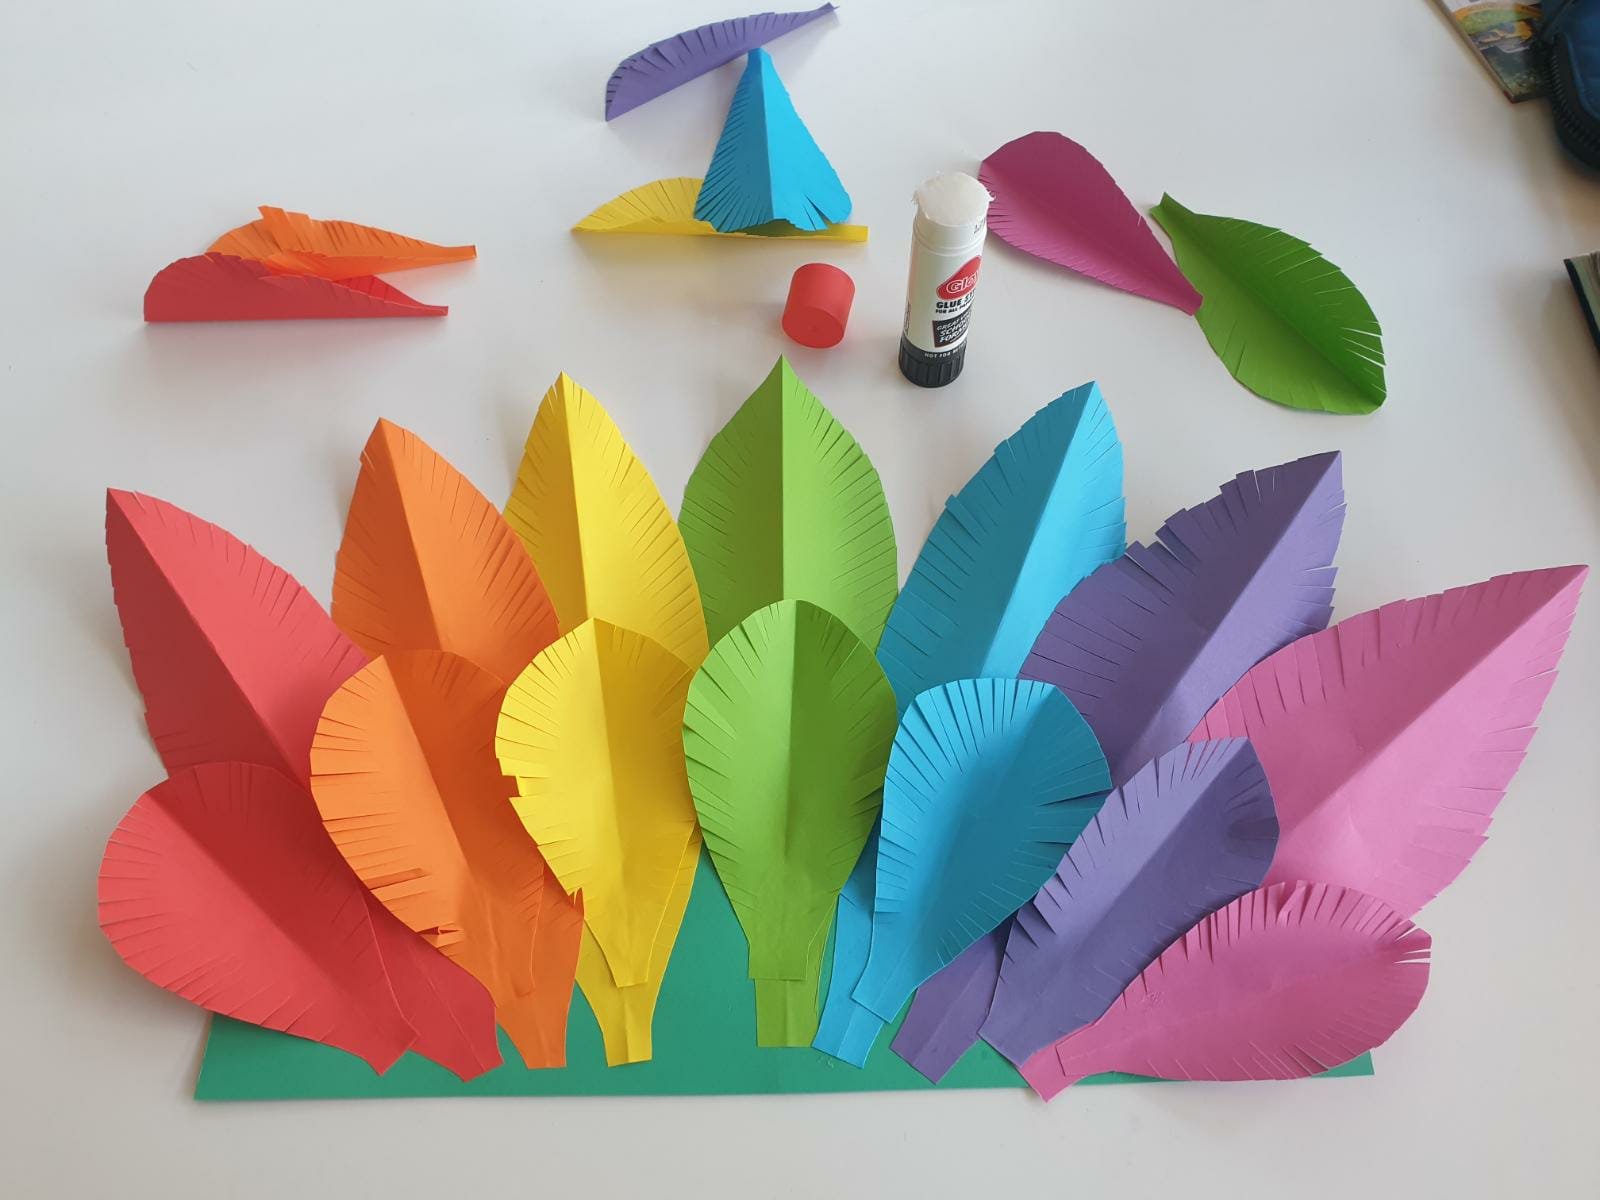
You can then stick on your feathers in a fan design on the pain, larger base piece.
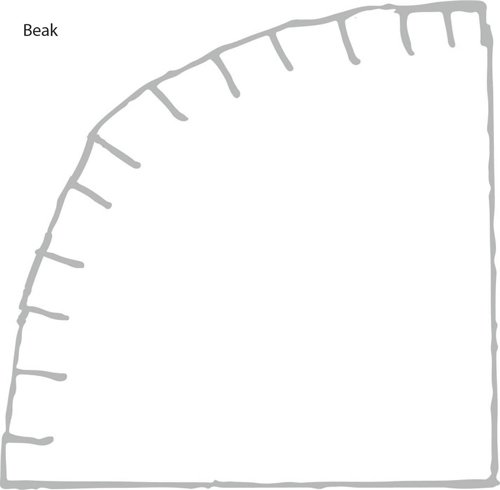
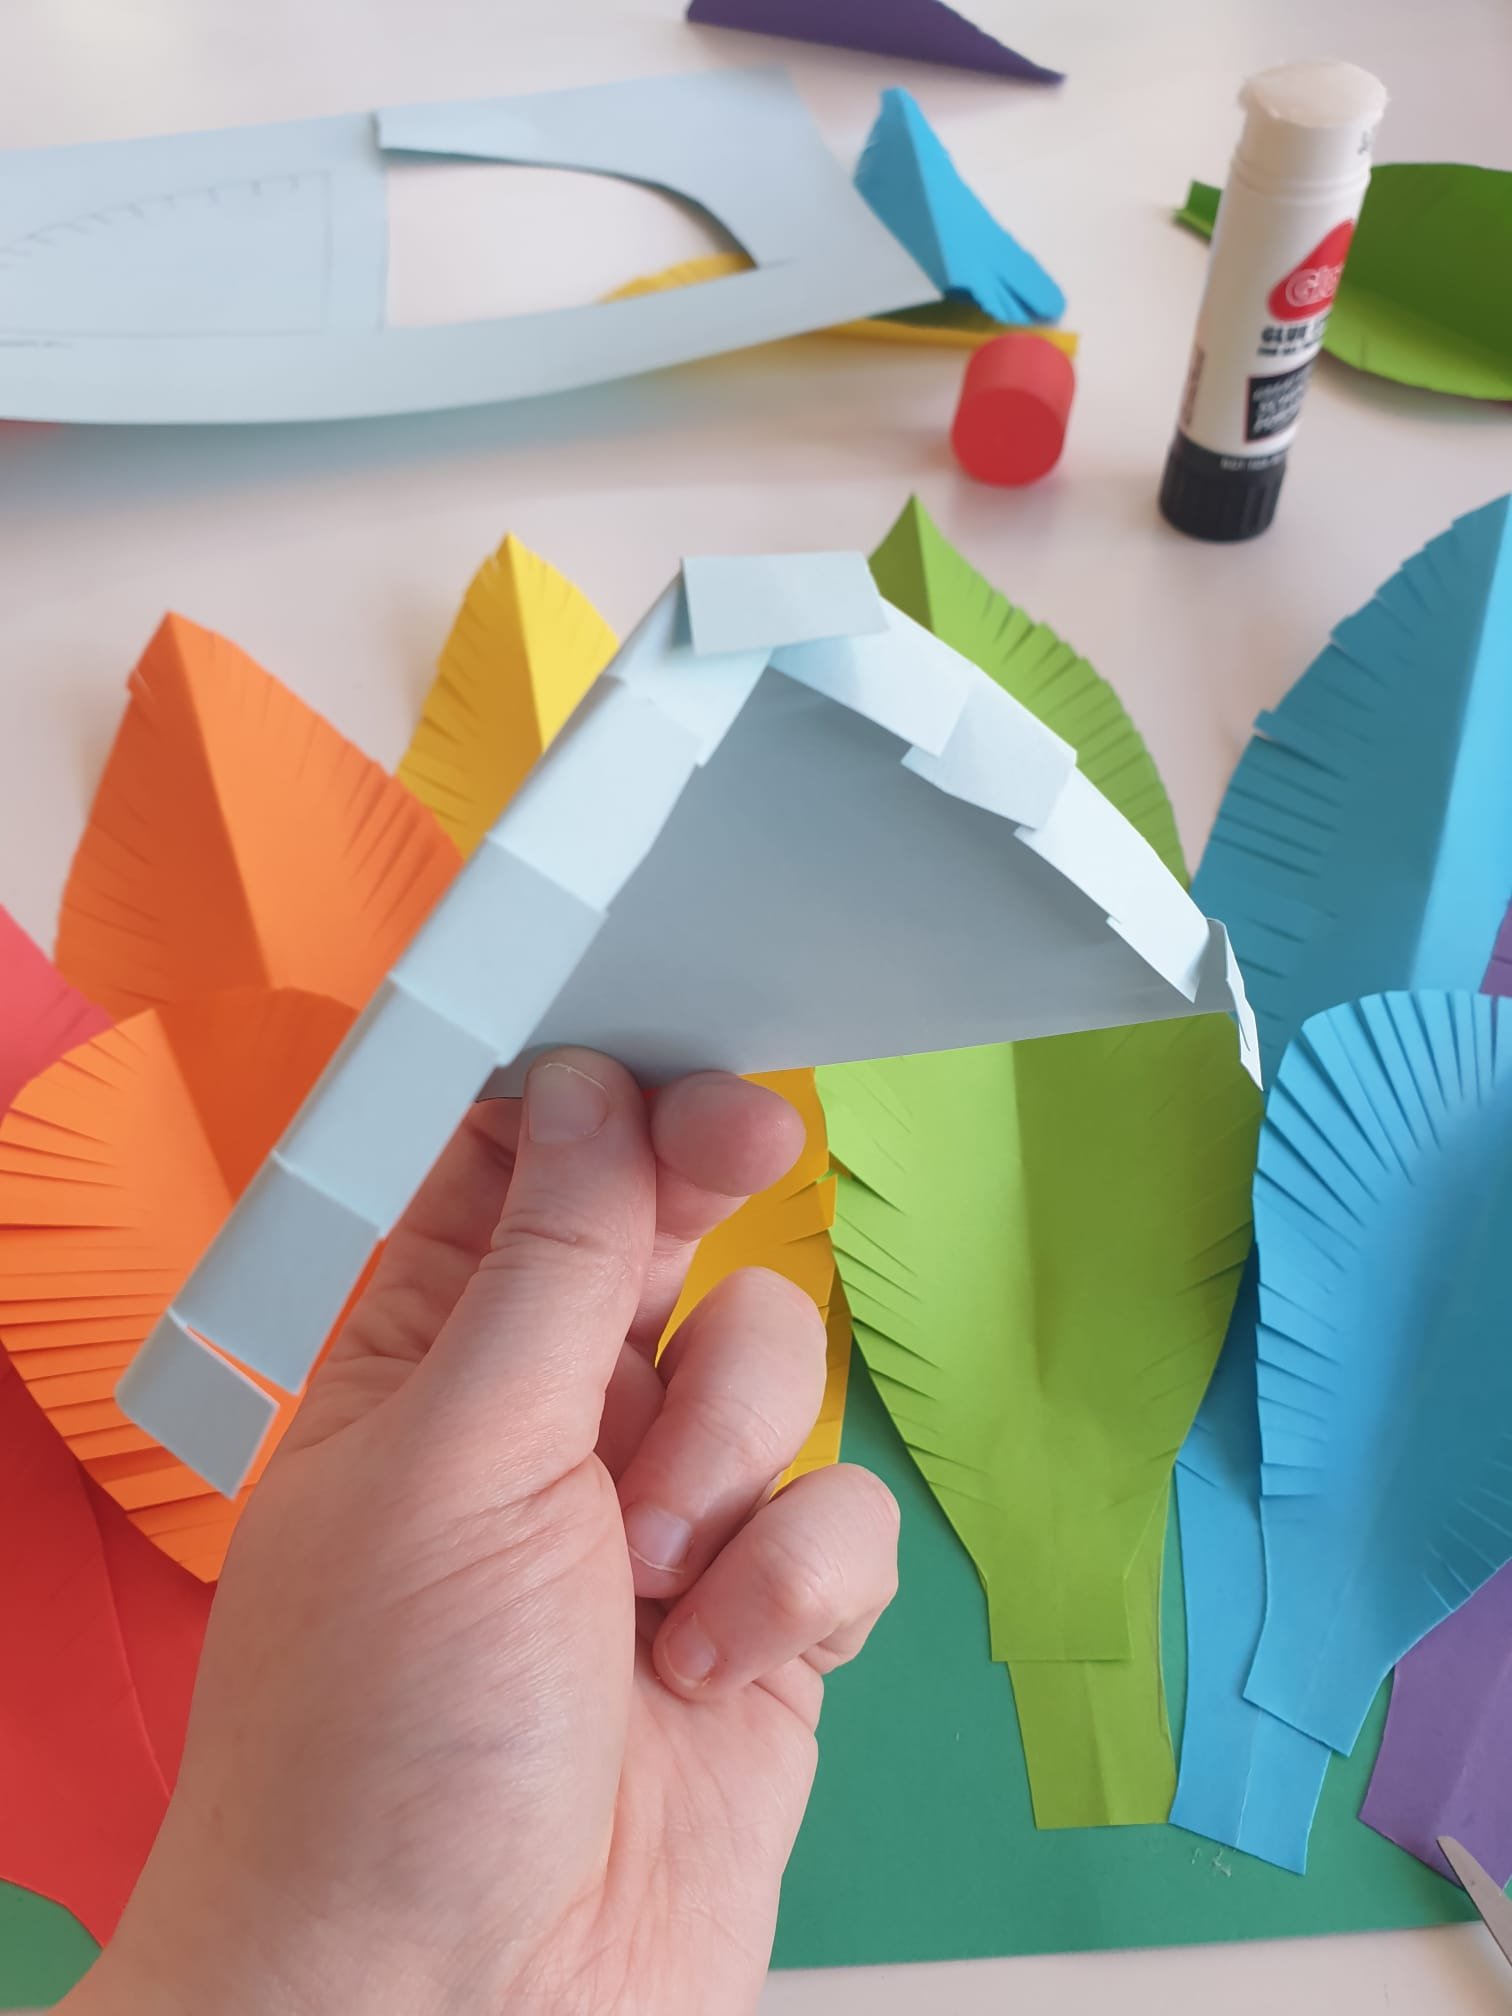
Create the bird ‘beak’ and stick it on
Now it is time to create a bird beak that you can stick to the front of your headdress.
First cut out the template for this.
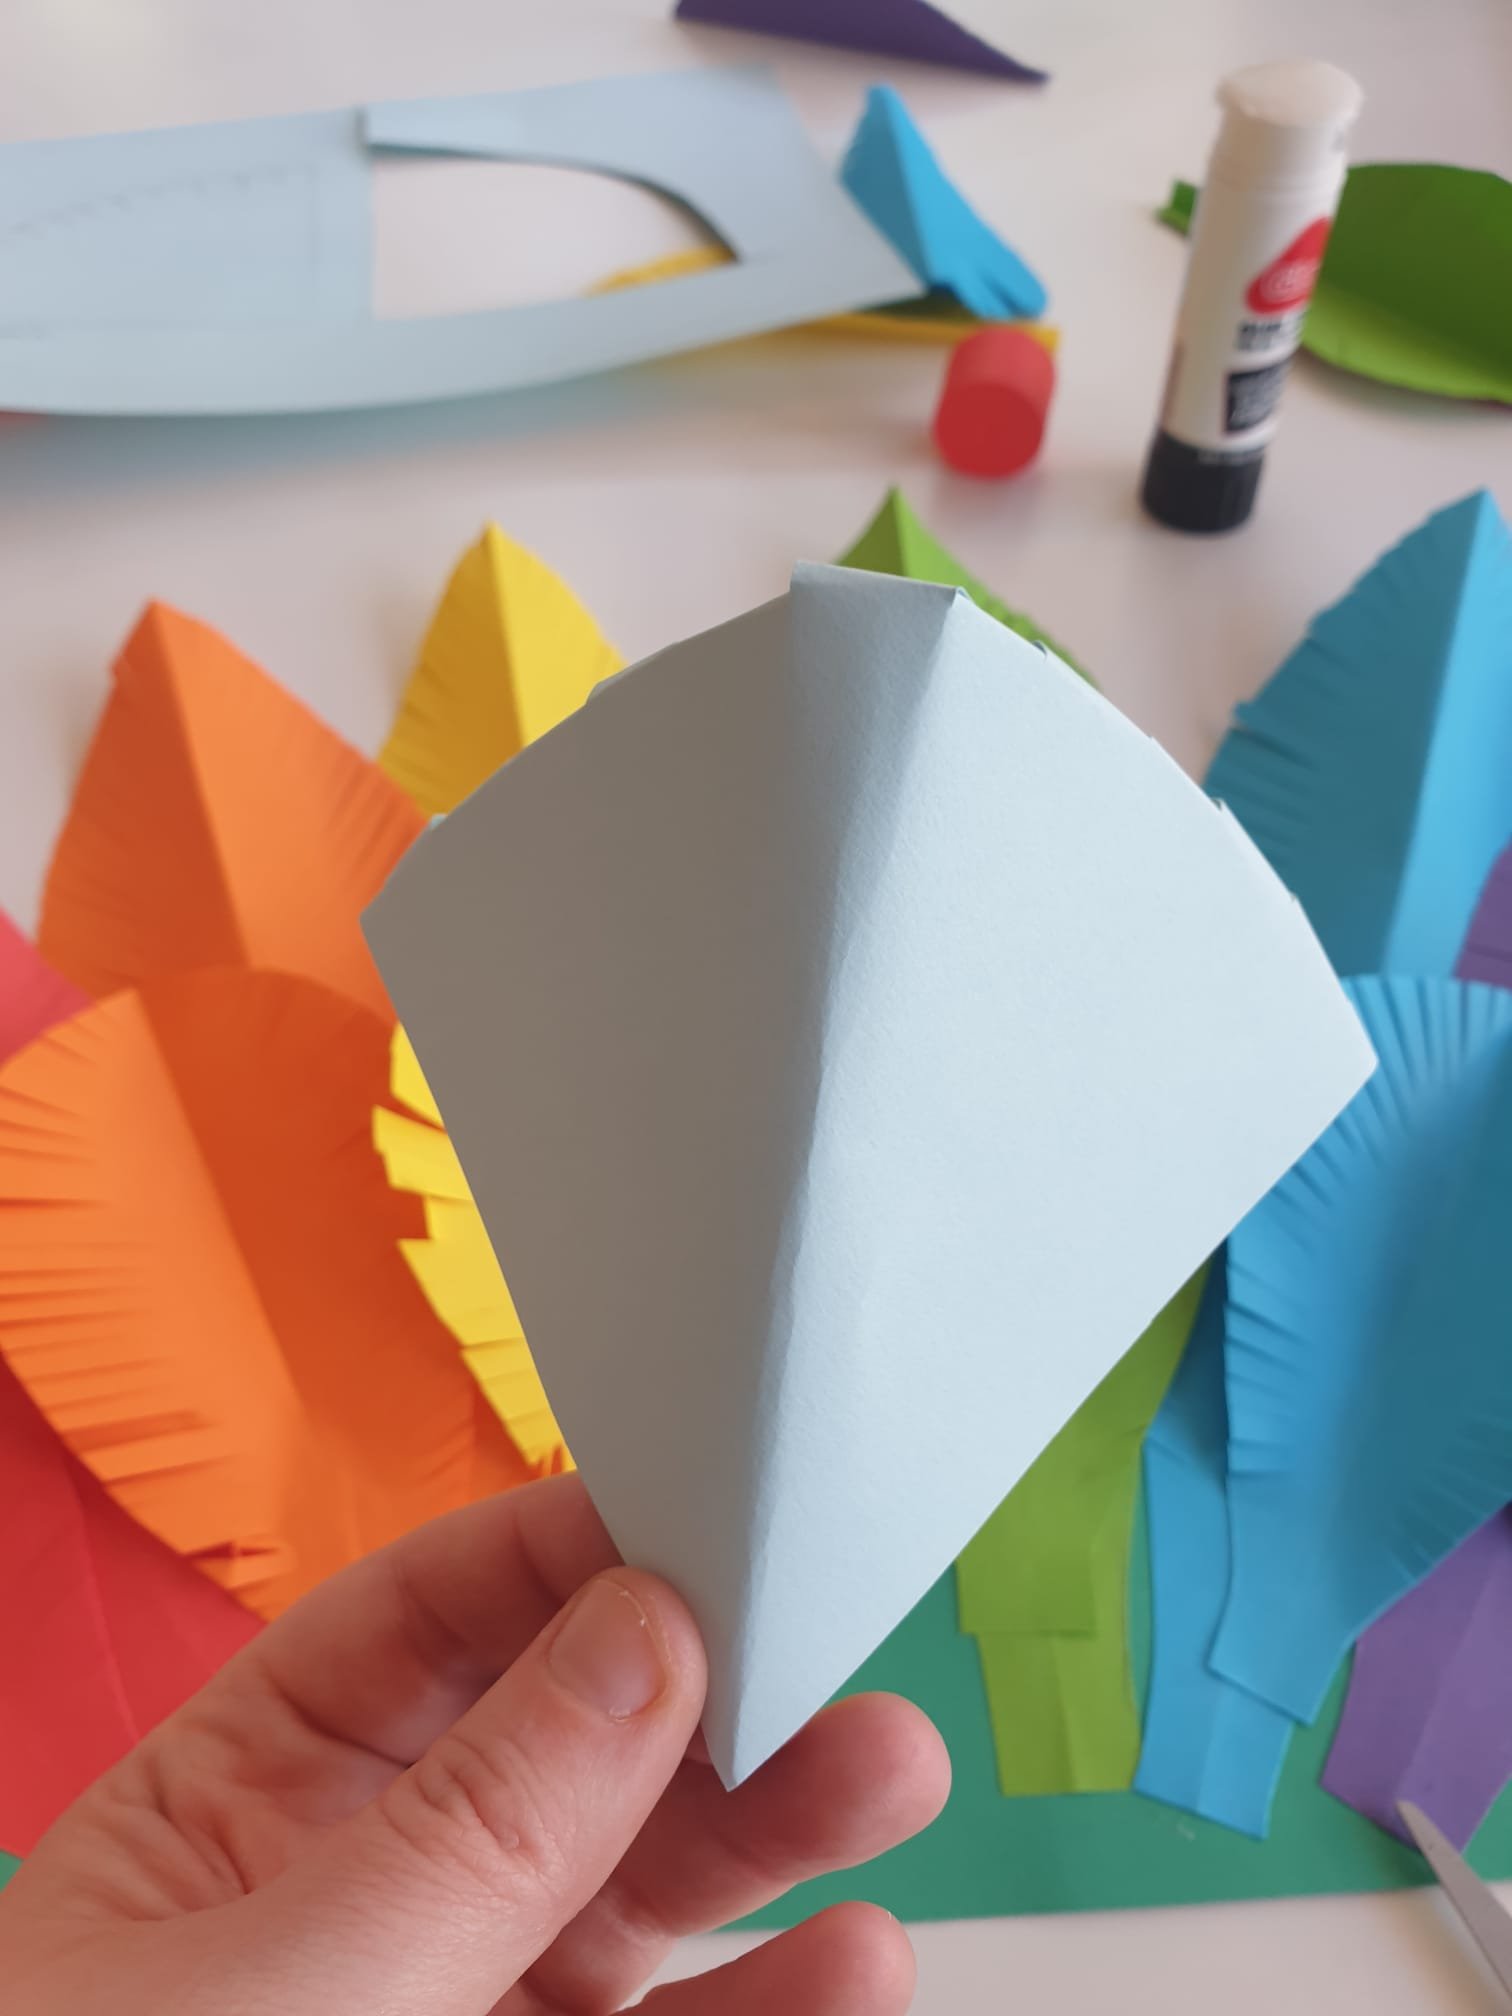
Then fold it down the middle.
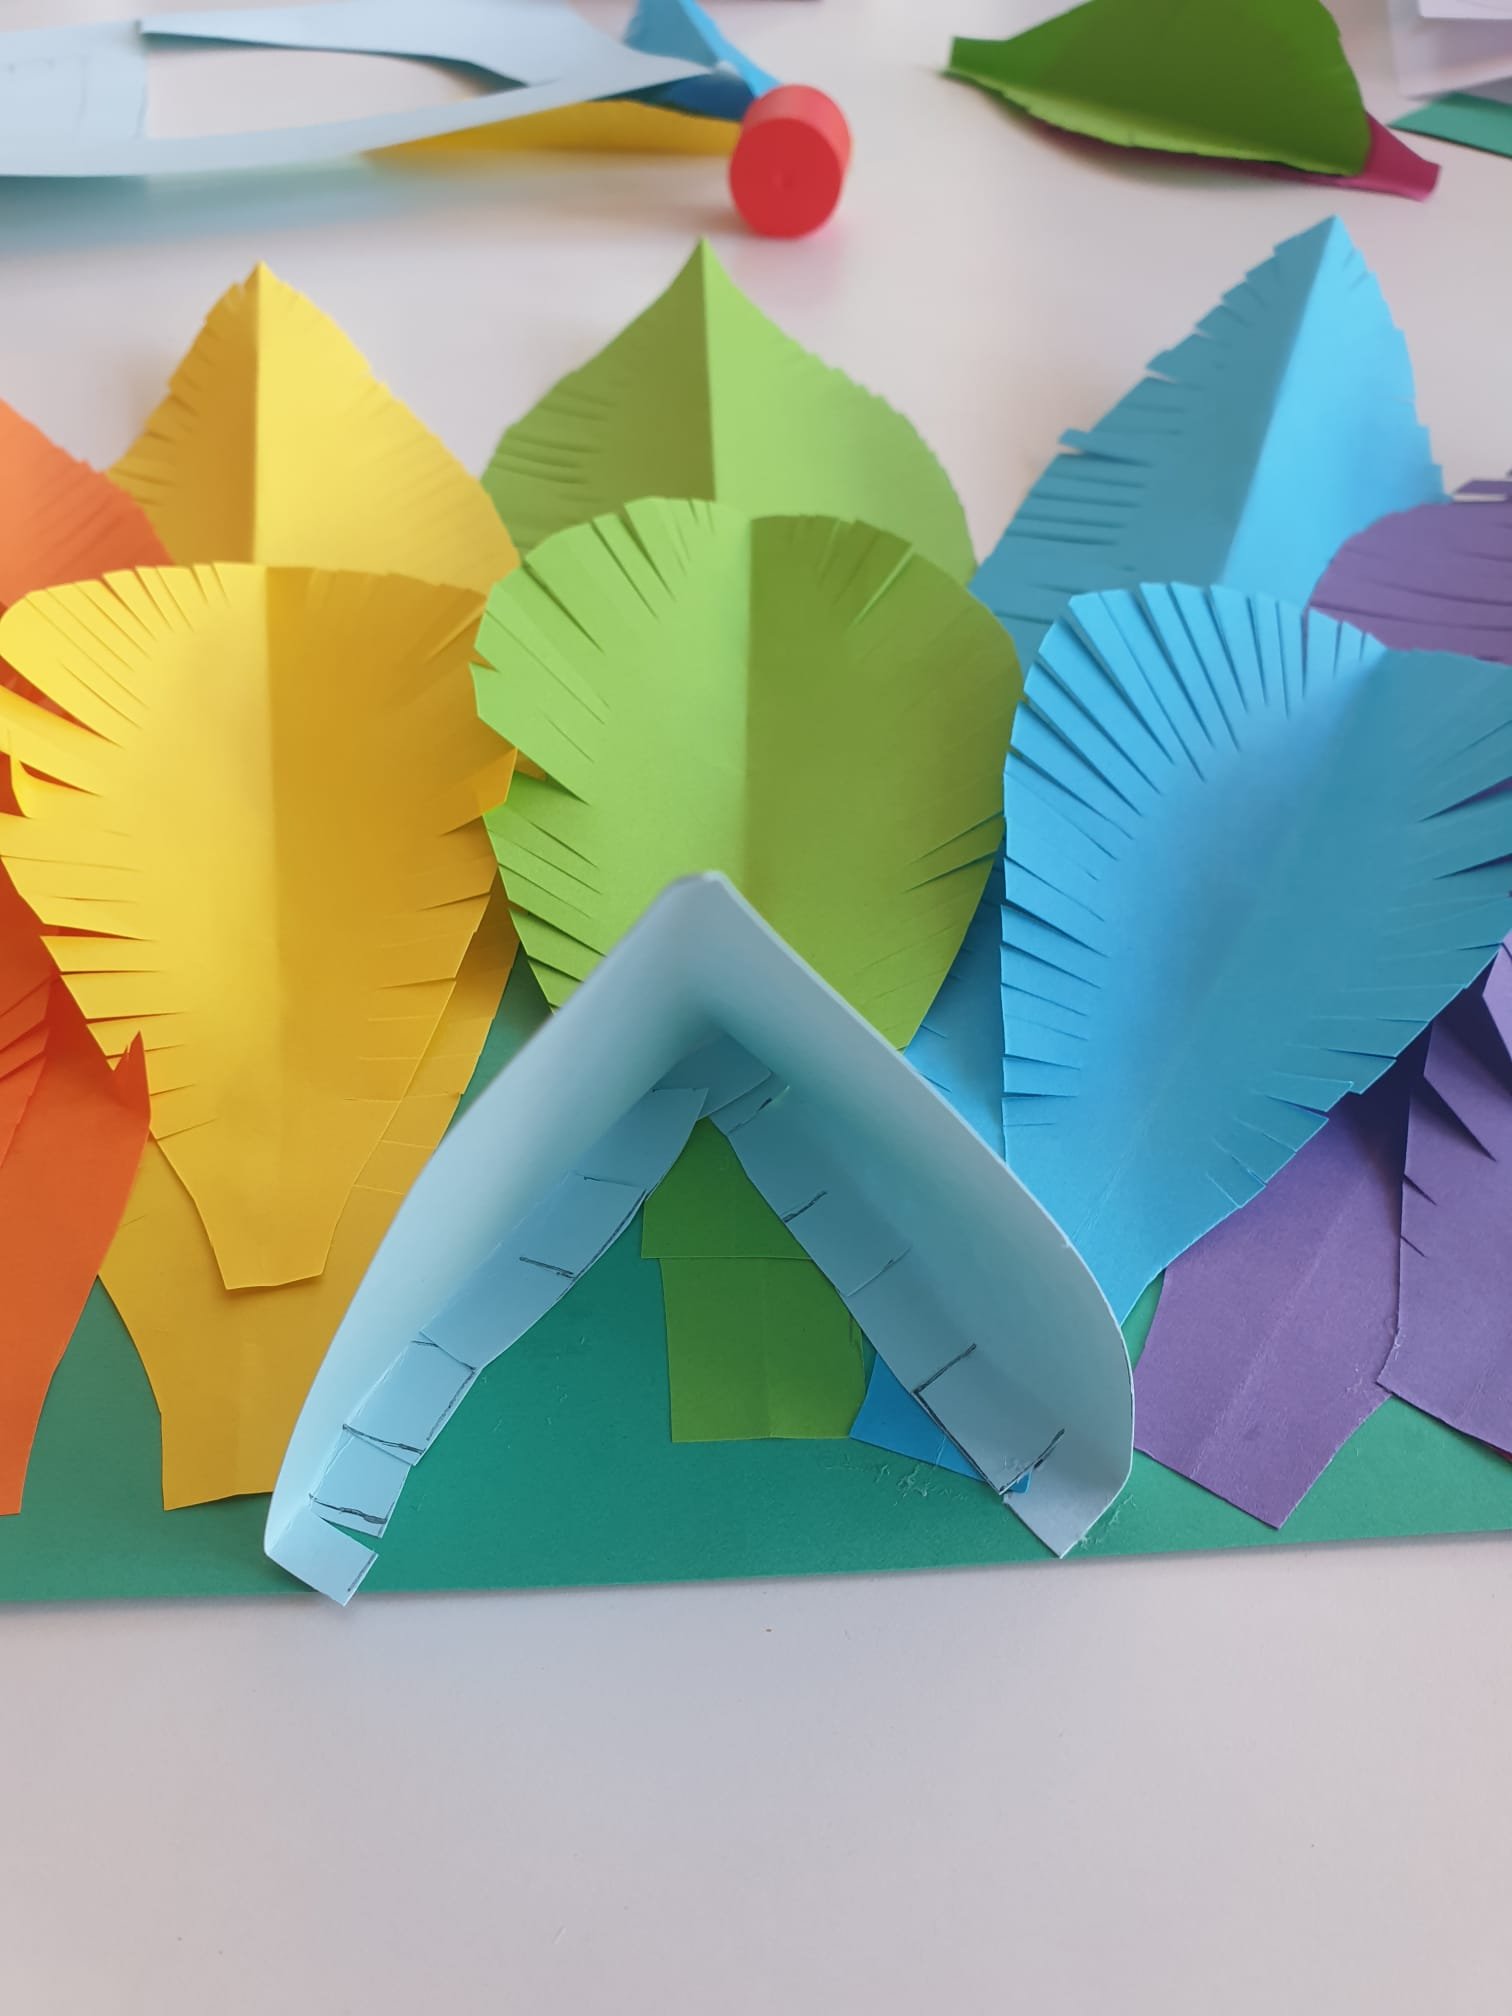
Cut and fold the tabs inwards and glue along the tabs, this will enable you to stick on you beak.
Then stick it to the front of your base, like in the picture below.
Then add your side feathers.

Next take your cut out rainbow, and fold it in half. This will make it stand up better.
Add glue to the back of the clouds and position so the overlap the beak. This will help keep your headdress neat.
It is up to you if you want to add eyes to your bird.
Finally add the base strip to the headdress so you can wear it.
First measure round your head and remove any paper you don’t need - remember to leave around an inch at each end to affix the band to the front of the headdress.
Next fold tabs at the end of you head band.
We recommend you staple it on, but you can also glue it.
That’s it! There is your final headdress, all ready for pride!