Make a Safari Carnival Costume.
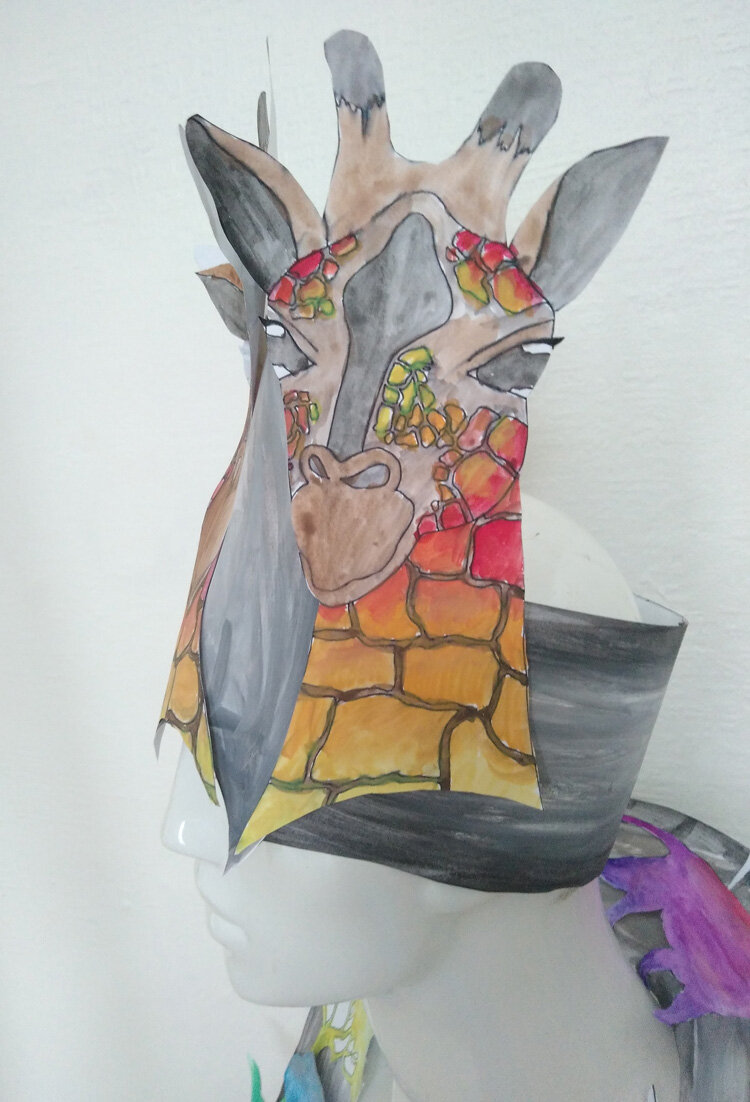
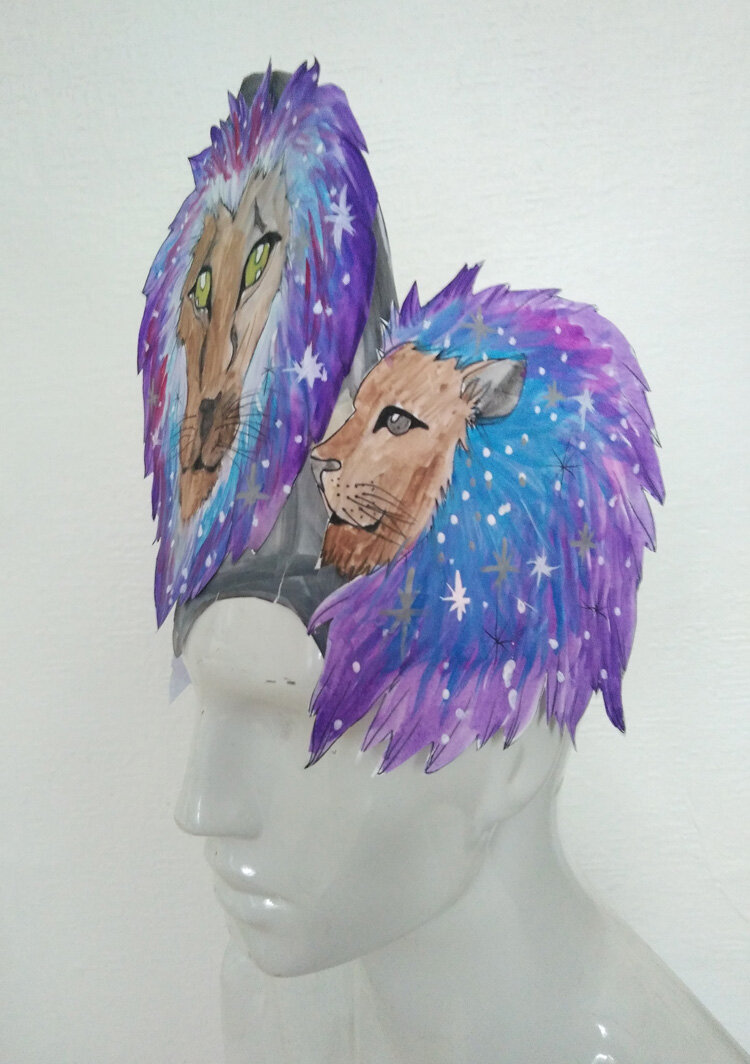
This workshop offers instructions to making a headdress and collar in a safari design. For the headdress there are four different designs to choose from - lion, giraffe, elephant and zebra. The collar can feature any safari designs you like, and makes a great addition to the costume.
Prefer to download a booklet with the full instructions and templates? Simply click the button below to download.
You will need
A4 paper (and preferably a printer)
Scissors
Glue
Paint and paint brushes or coloured pens
First create your headdress & collar base
The first step for all the designs is to create the headdress base. You can do this with two pieces of A4. Download and print out the template (the first two pages are the base pieces - the rest of the pages are the different animal designs).
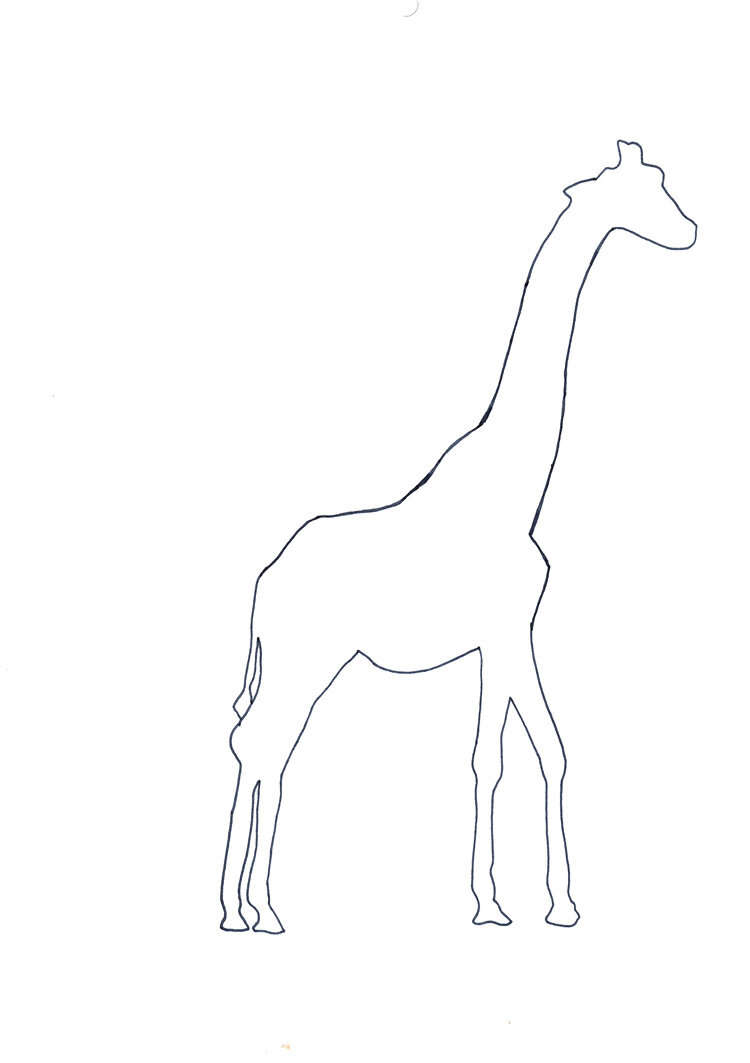
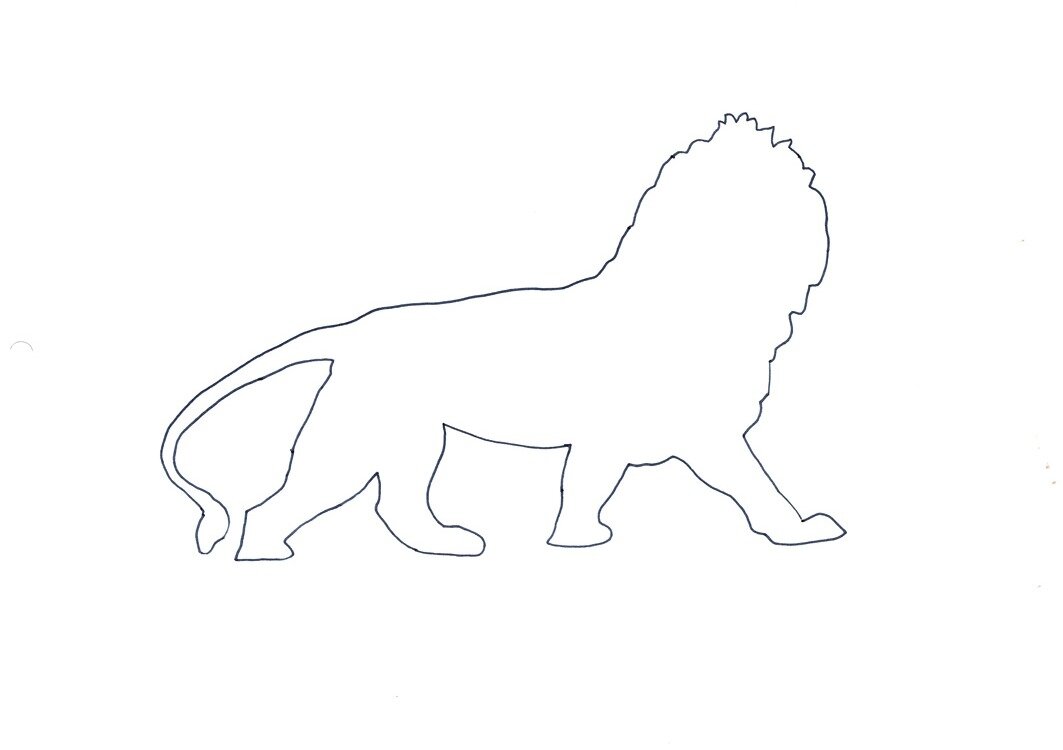
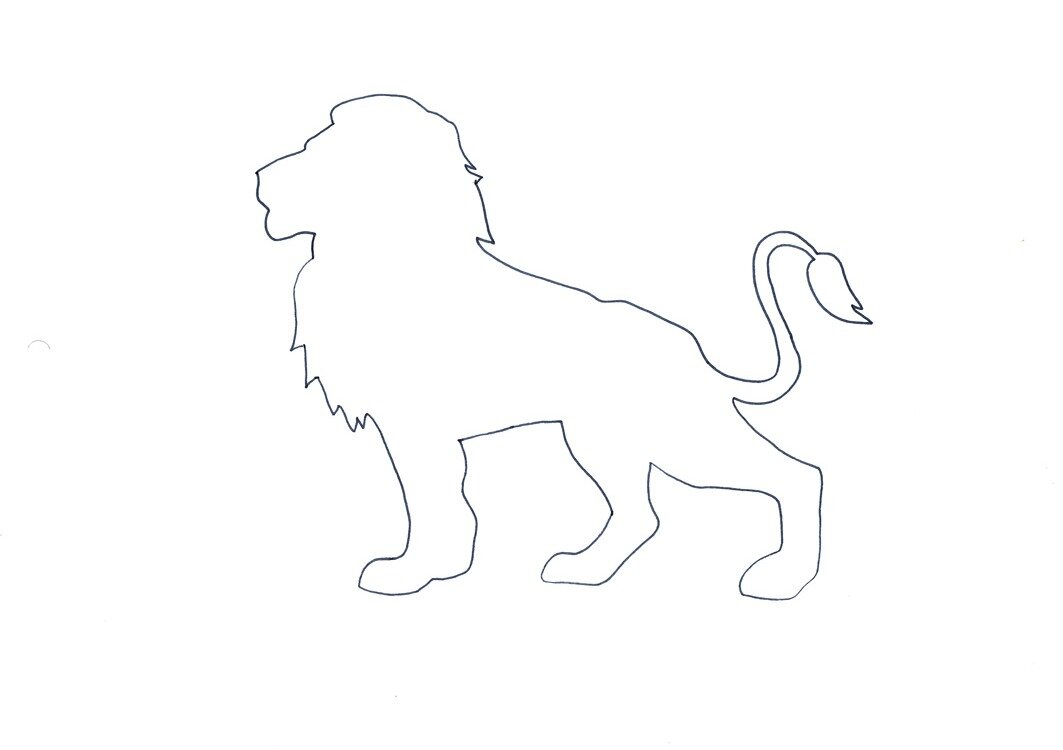
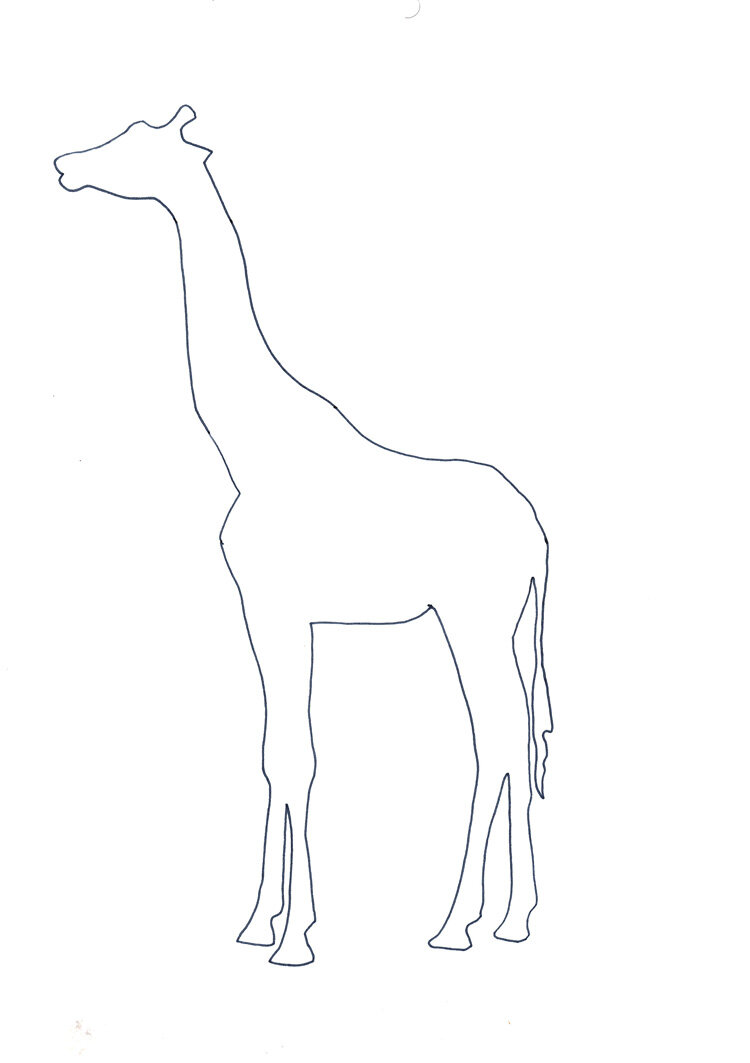
No printer? No problem - you can copy the shapes in the pictures below.
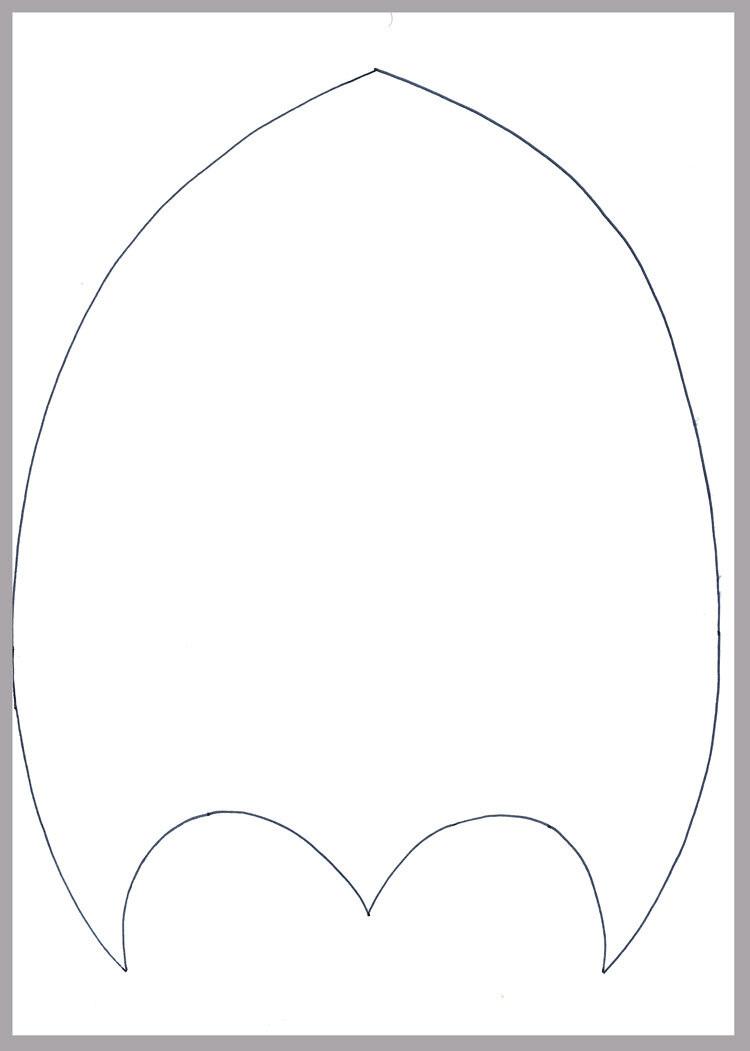
To put your headdress base together you first cut out the oval shape, and then cut an A4 piece of paper lengthways in half. You will be sticking the two strips to the front oval shape to fit around your head. The half-heart shape you see at the bottom of the picture is the part which sits on your forehead.
For the collar base:
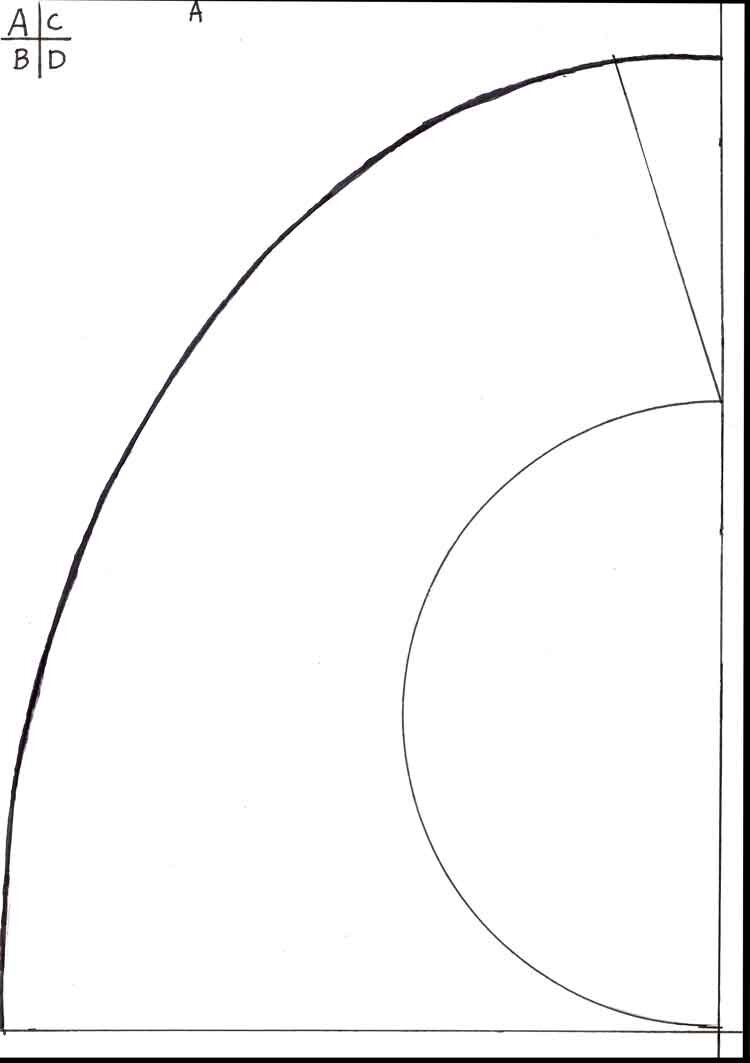
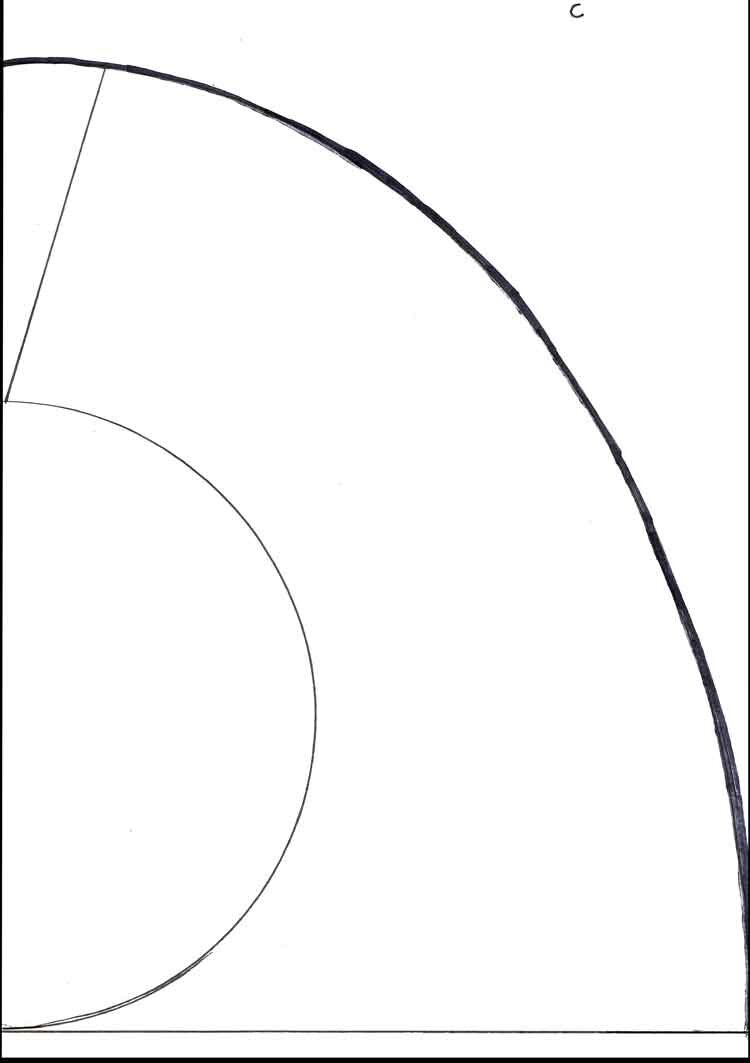
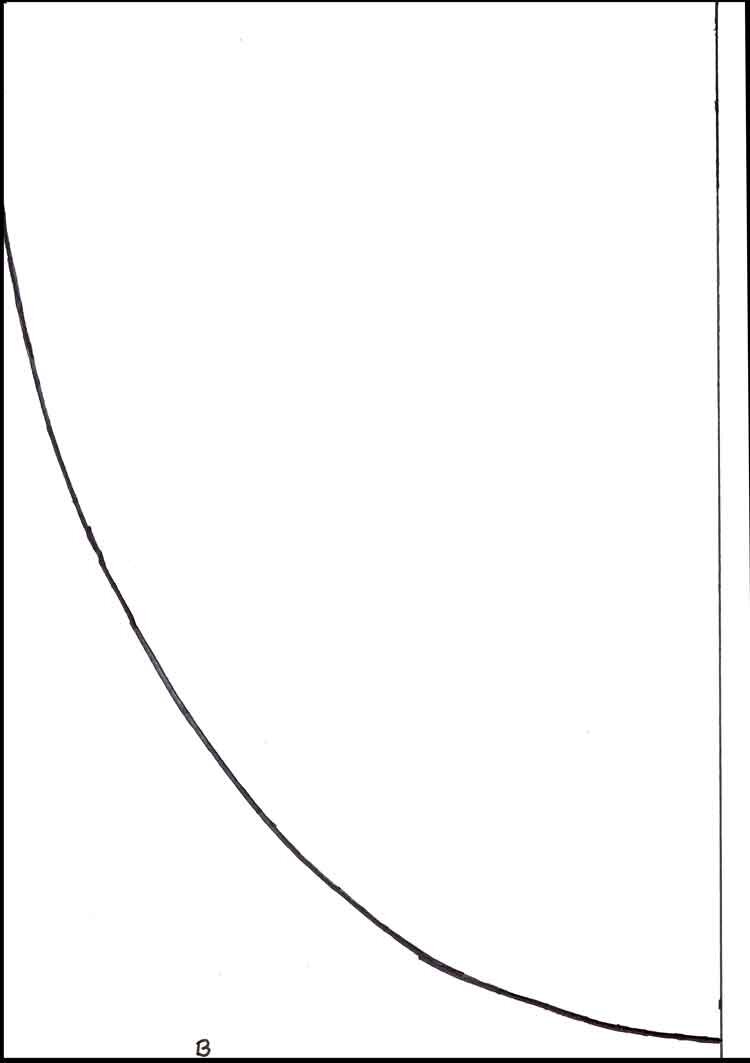
Print out the templates in this PDF download (or draw them, copying the shapes in the picture below)
The first four designs in the PDF form your collar design. Cut them out and then clue each piece together. As you can see in the picture below, there are 4 shape - A, B, C and D. Fix them together, by folding and using the tabs in the template, then you will end up with the correct shape!
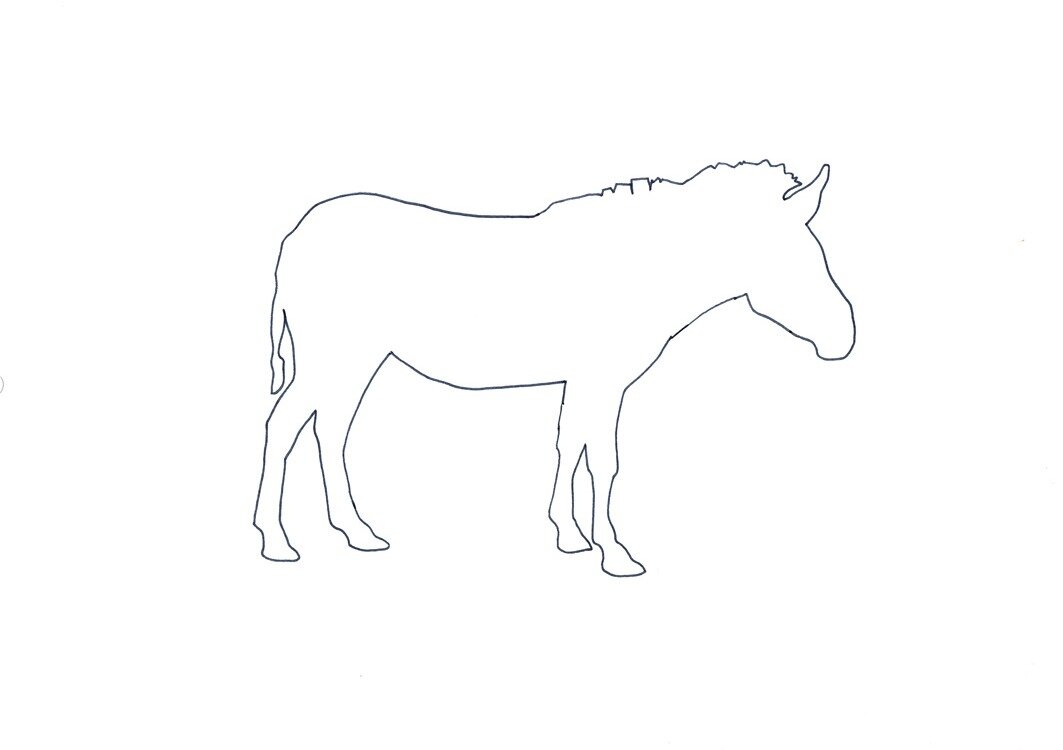
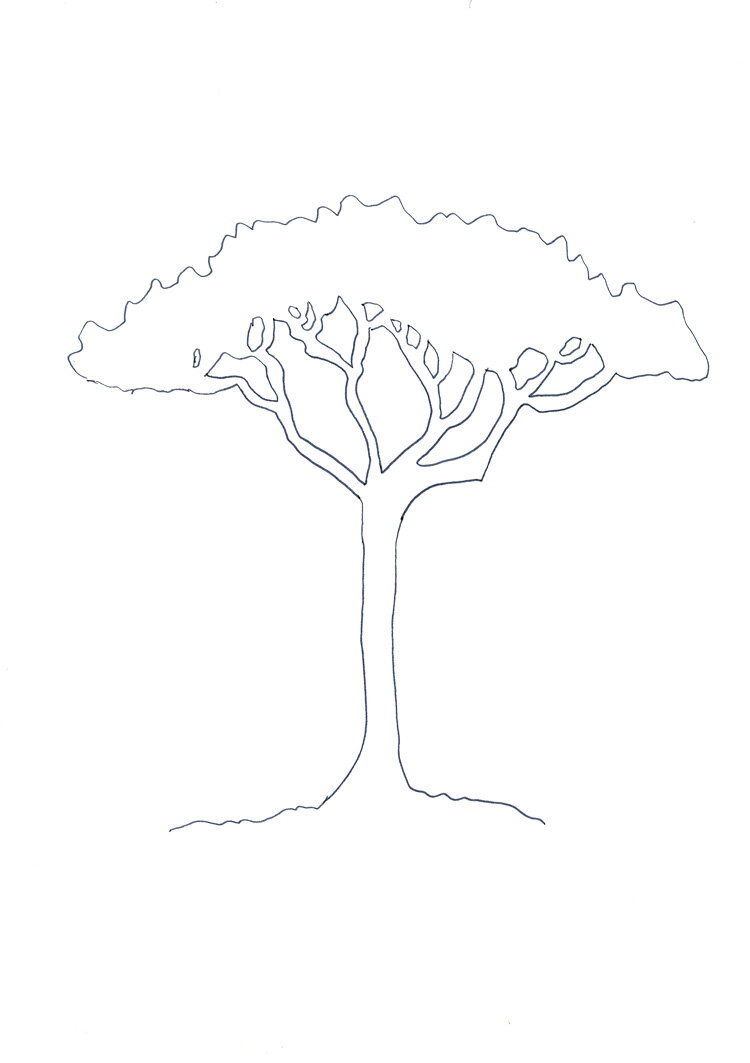
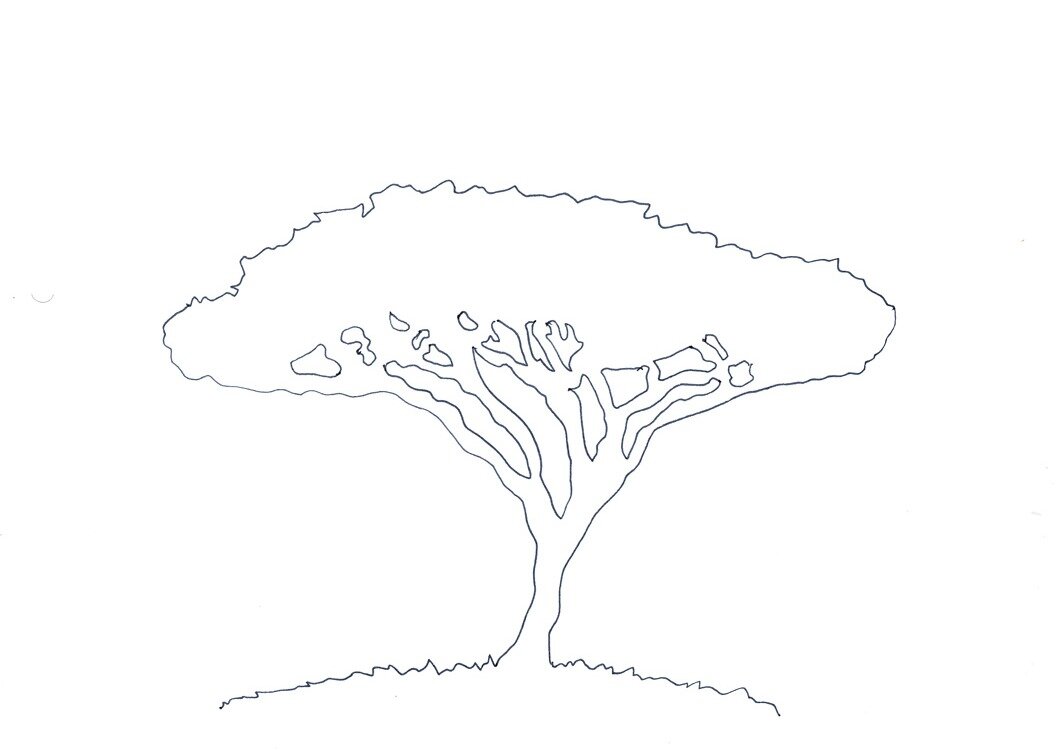
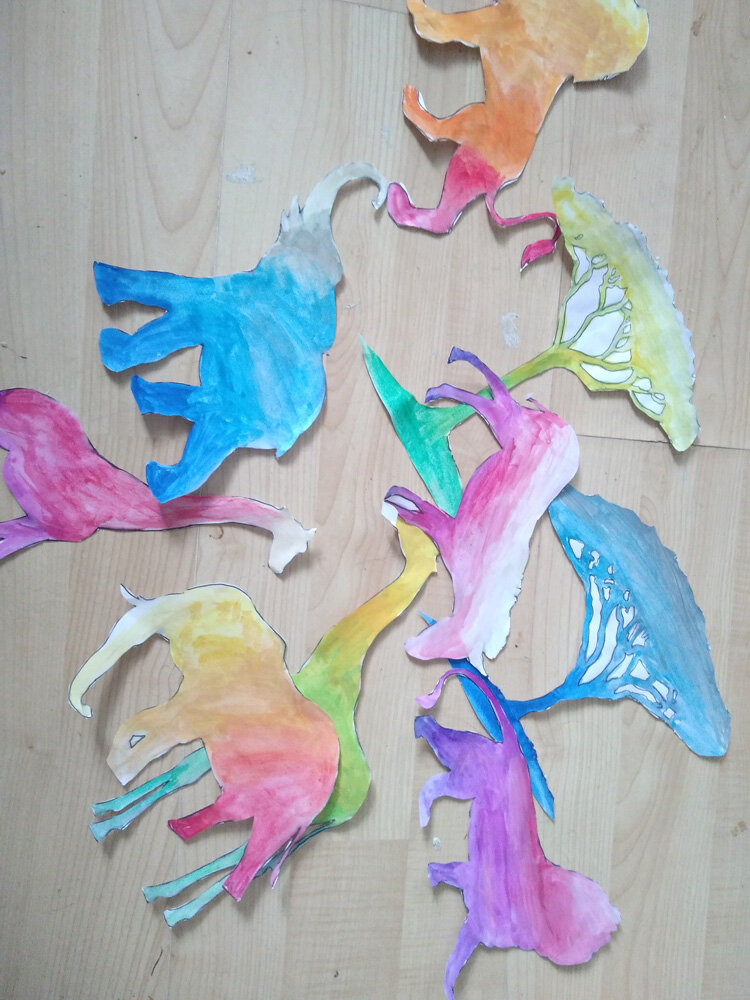
The PDF also contains templates of safari animals and trees which you can use to decorate your collar. No printer? No problem! You can copy some of the designs below, or even draw your own safari animals.
Paint your base pieces
When you have stuck together your collar, and cut out your base pieces for the headdress, we recommend you paint them so that the background works with the finished designs. Here we have painted them grey, but you can go for any colour which works with your chosen animal and colour scheme.

Painted pieces for safari carnival costume
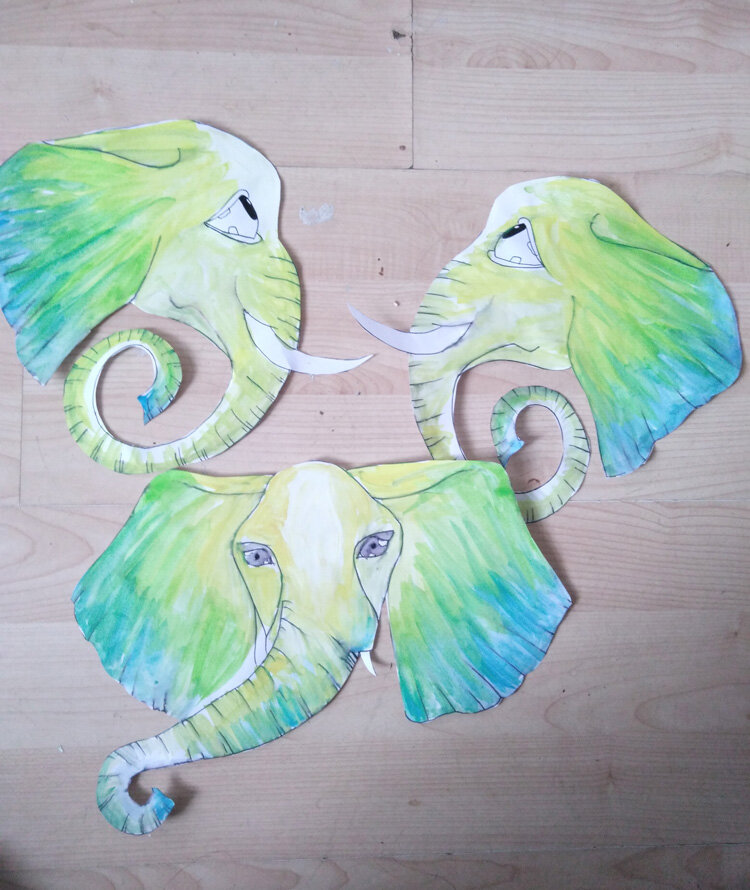
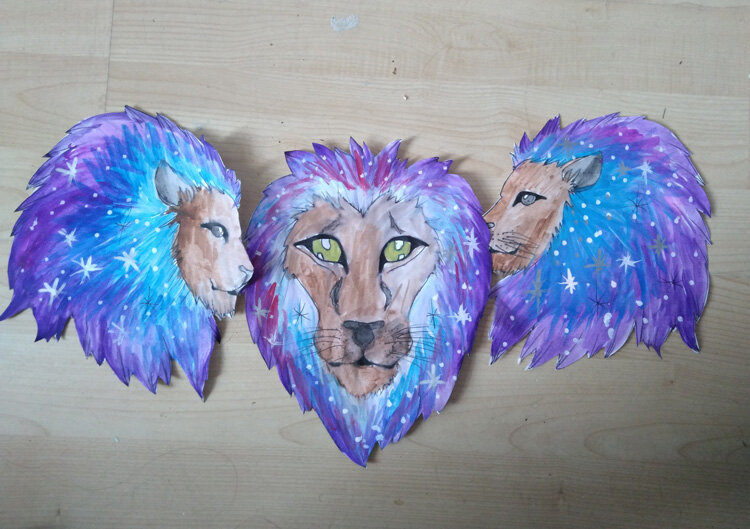
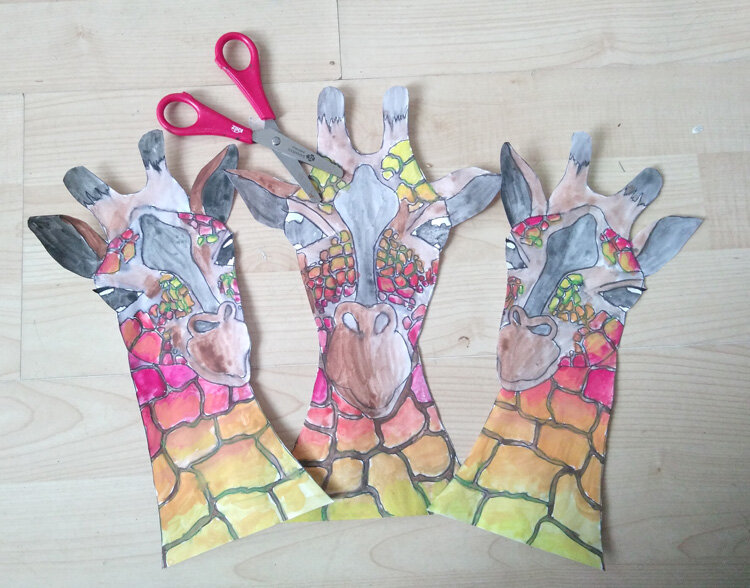
Paint or colour your designs
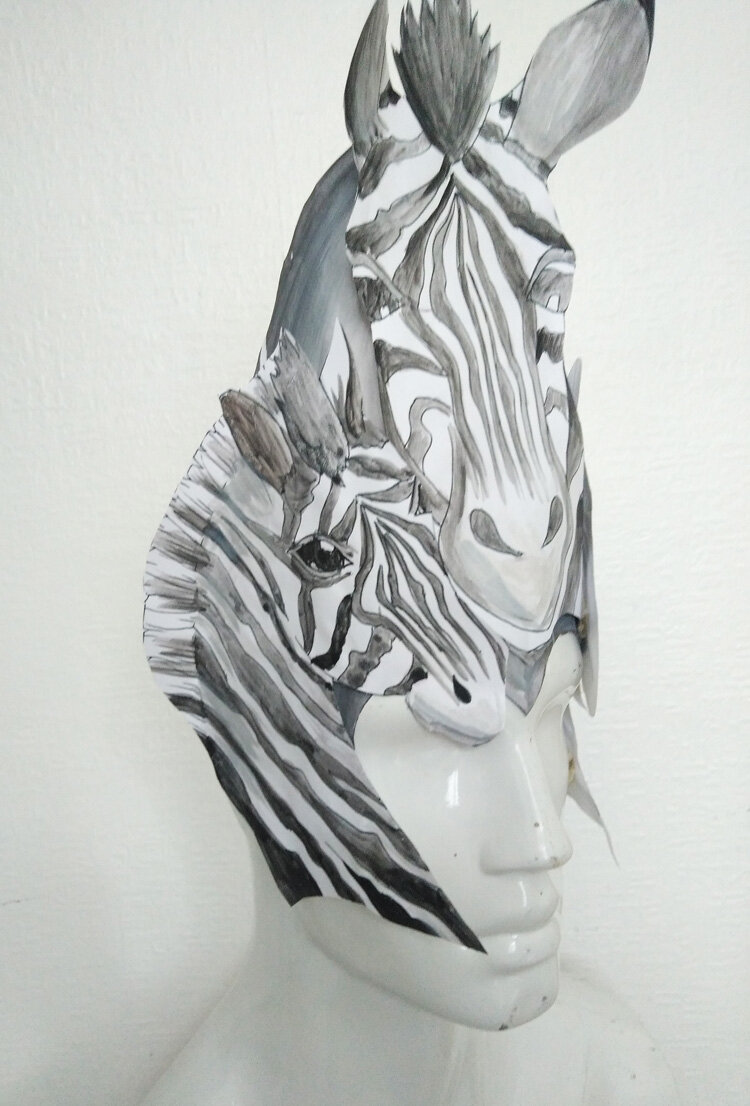
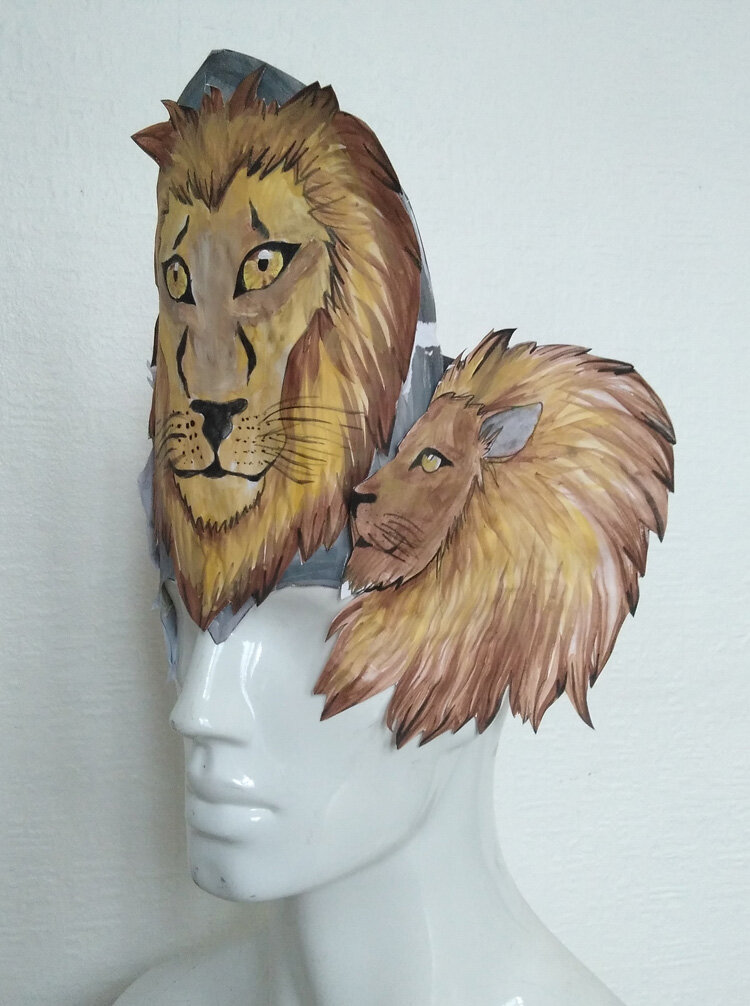
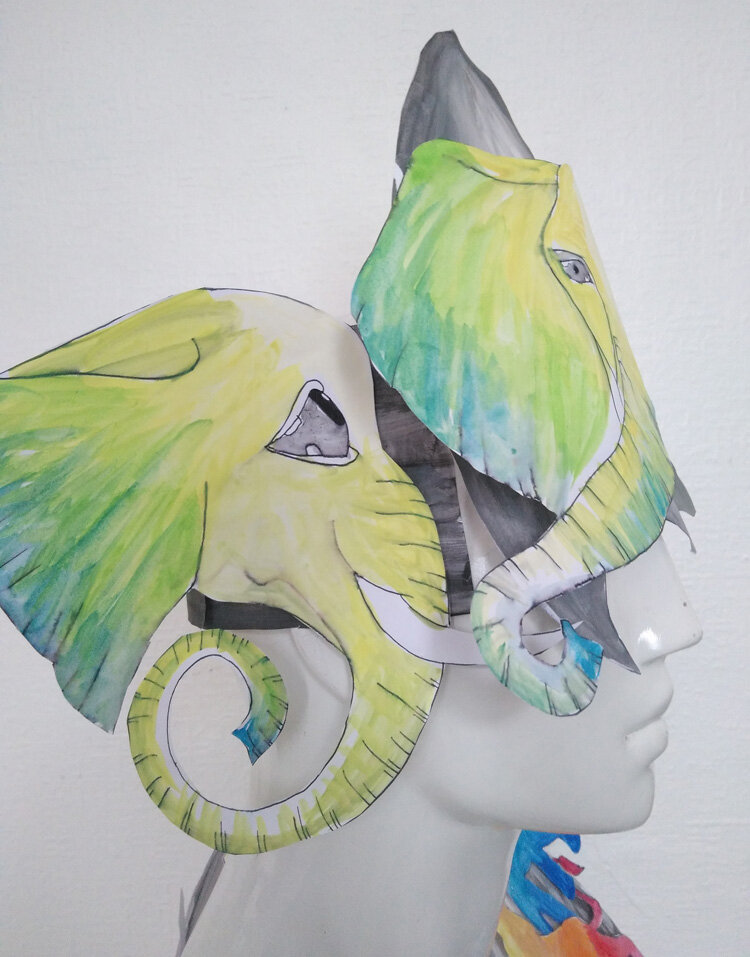
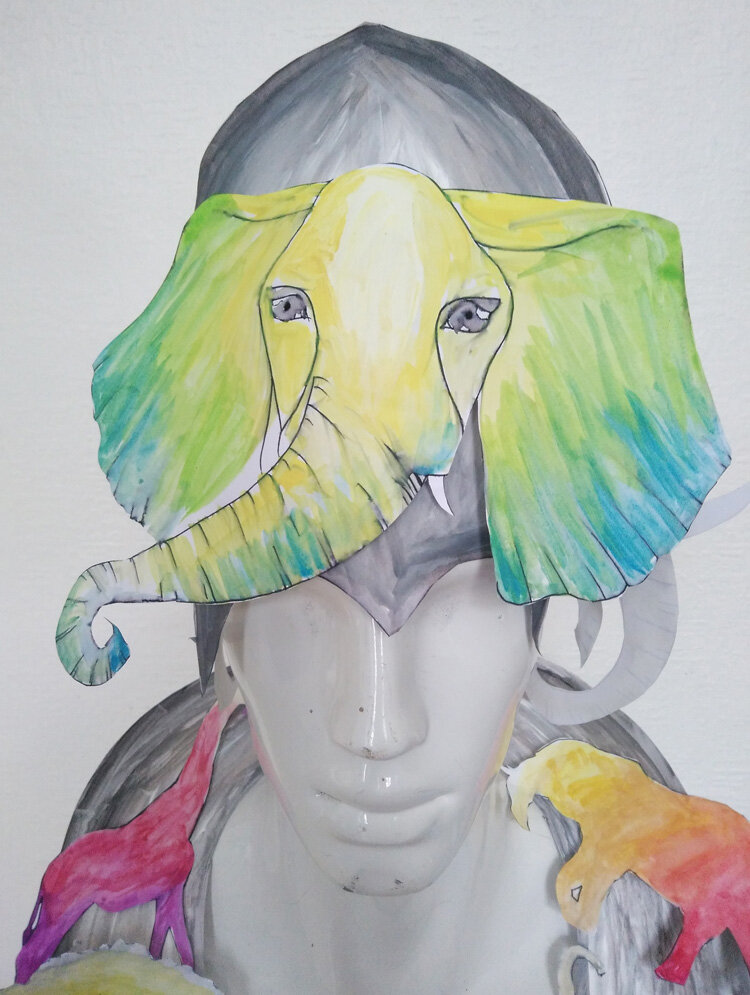
The examples below show you how you can either go with traditional colours, like in the pictures above, or you can use your imagination and creativity to try some more unusual safari colours!

Fix the headdress base together, then glue on your designs
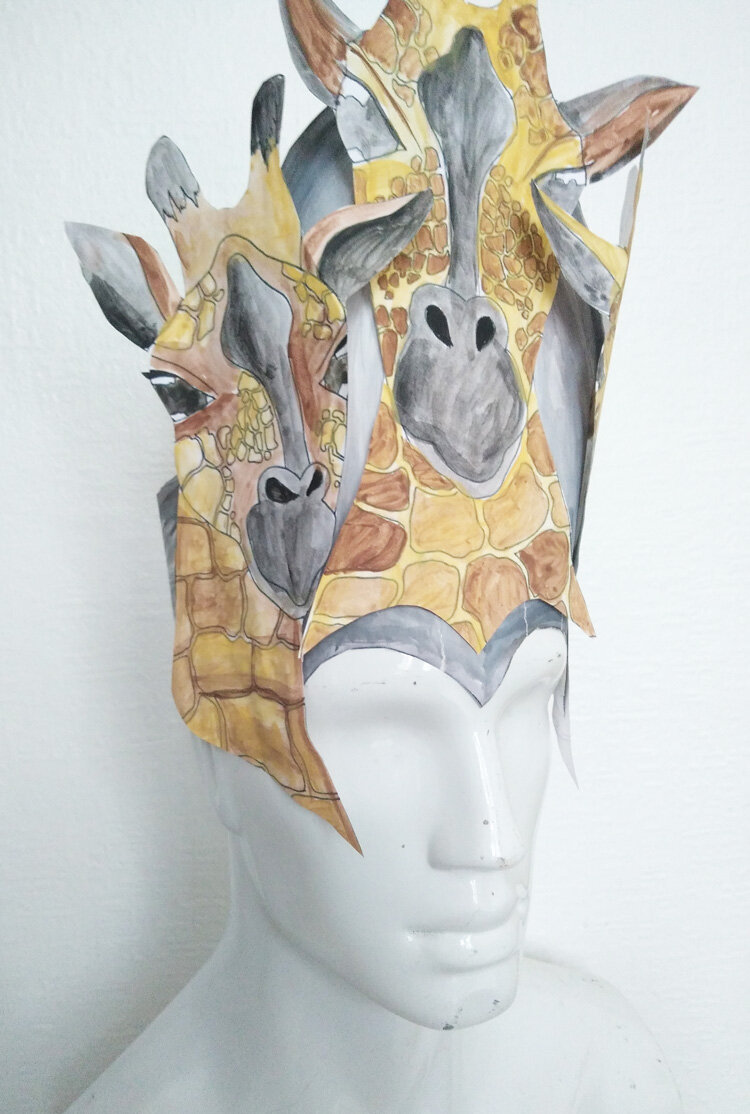
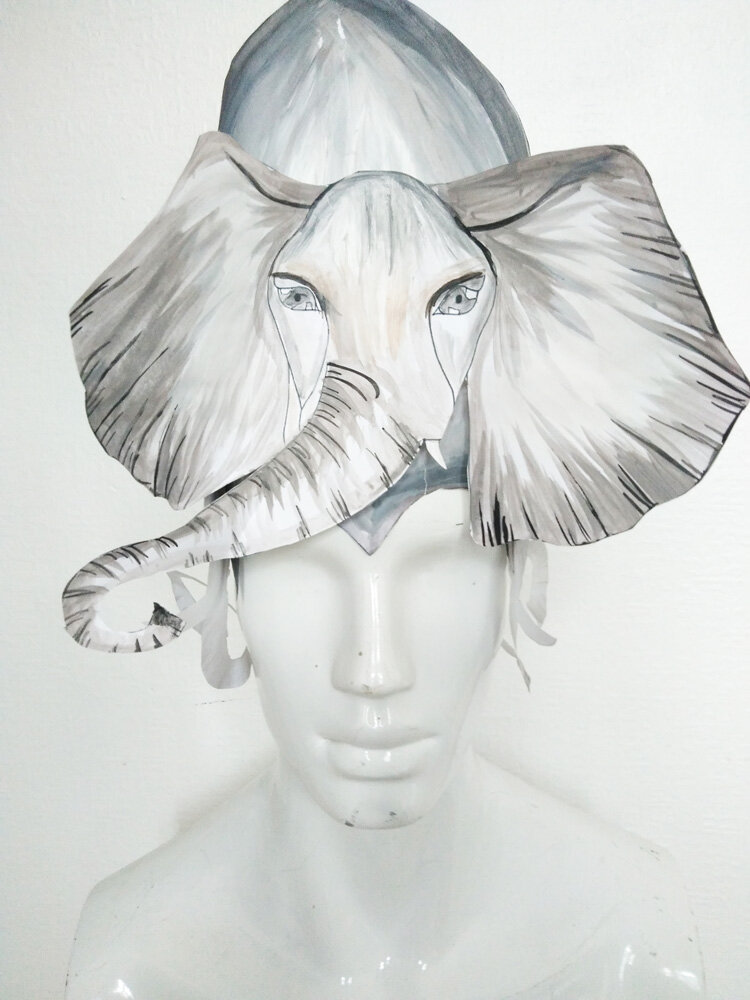
Once you have stuck the strips to each side of the headdress base front piece, you can measure it around your head and fix it. You can then stick on your animal heads. You want the front facing one stuck to the front, with the left and right facing ones stuck either side of the headdress on the strips, like you can see in the pictures below.

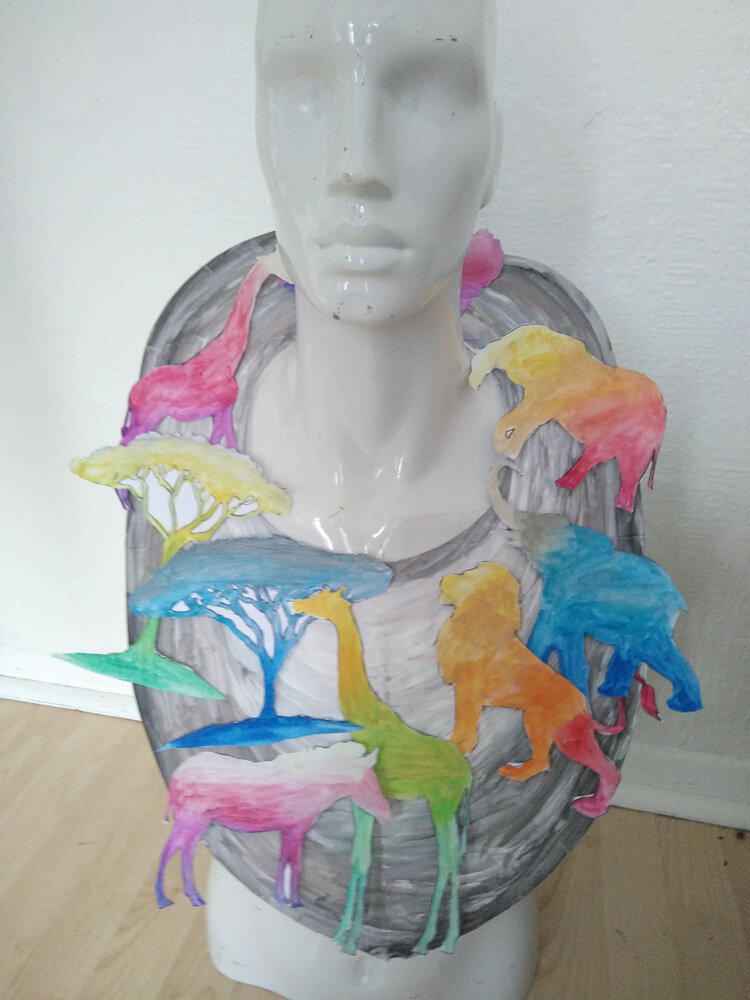
Decorate your collar!
Finally you can cut out the smaller safari animals and decorate your collar. Be as creative as you like here! You can even print out more large animal heads to stick on to your collar - as well as the smaller animals and trees. Really make your collar ROARsome!
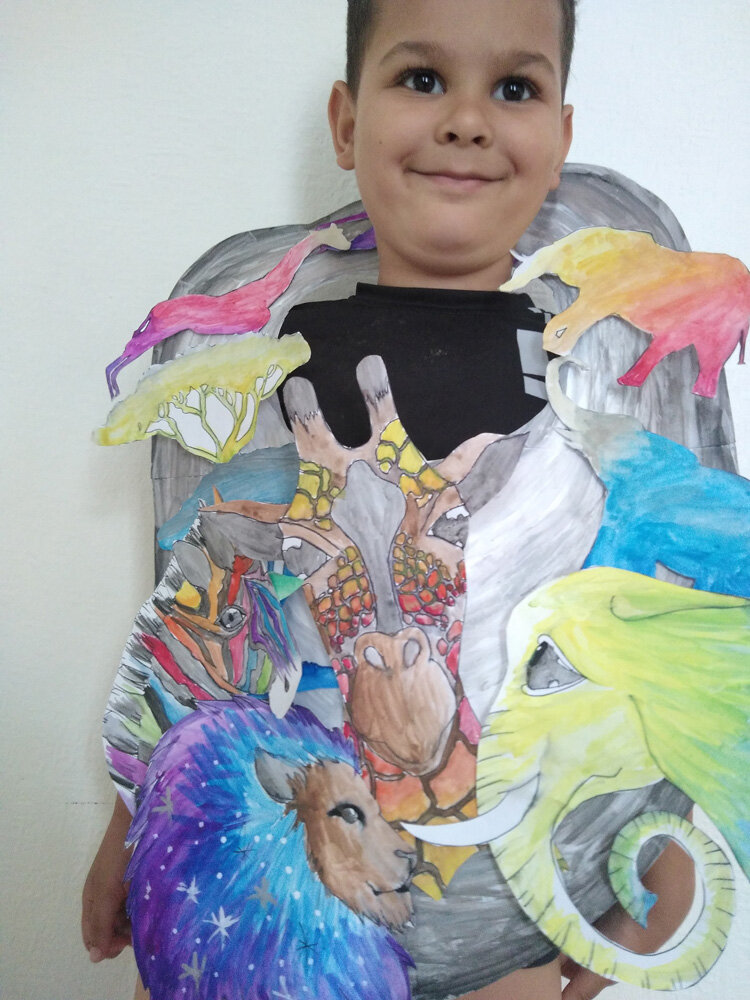
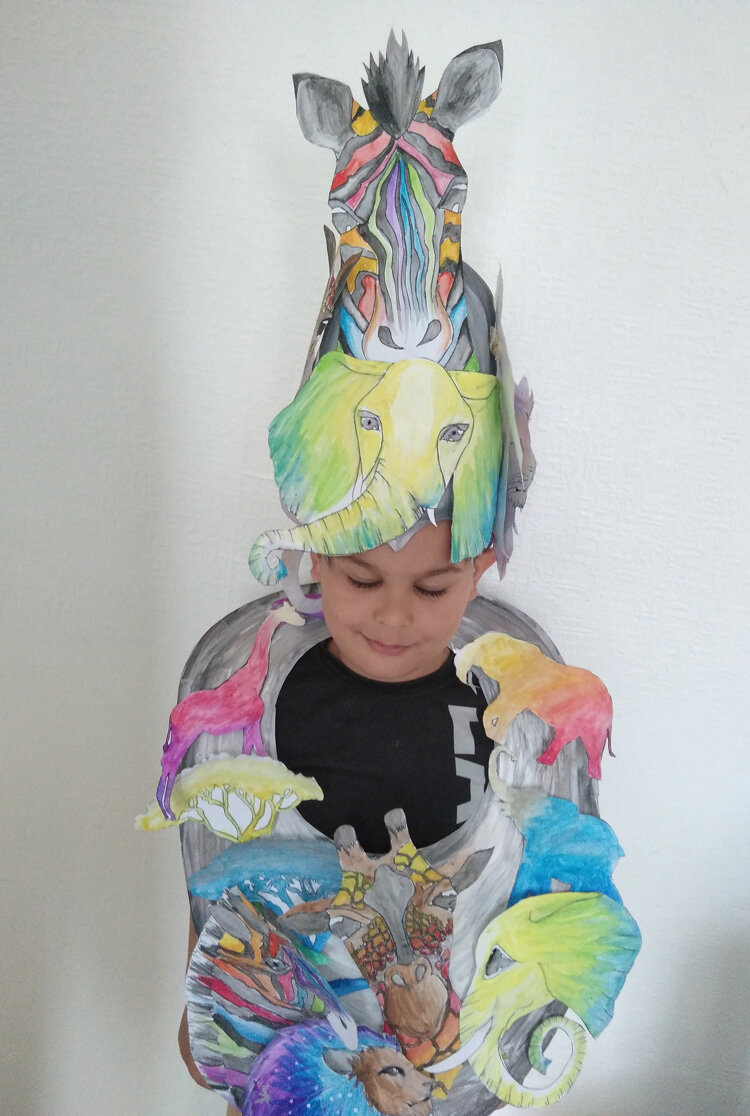
So here is your finished costume! In this final example our artist has made the headdress even more exciting by putting more animal faces on there - really building up the height and making it a spectacular and fun headdress.
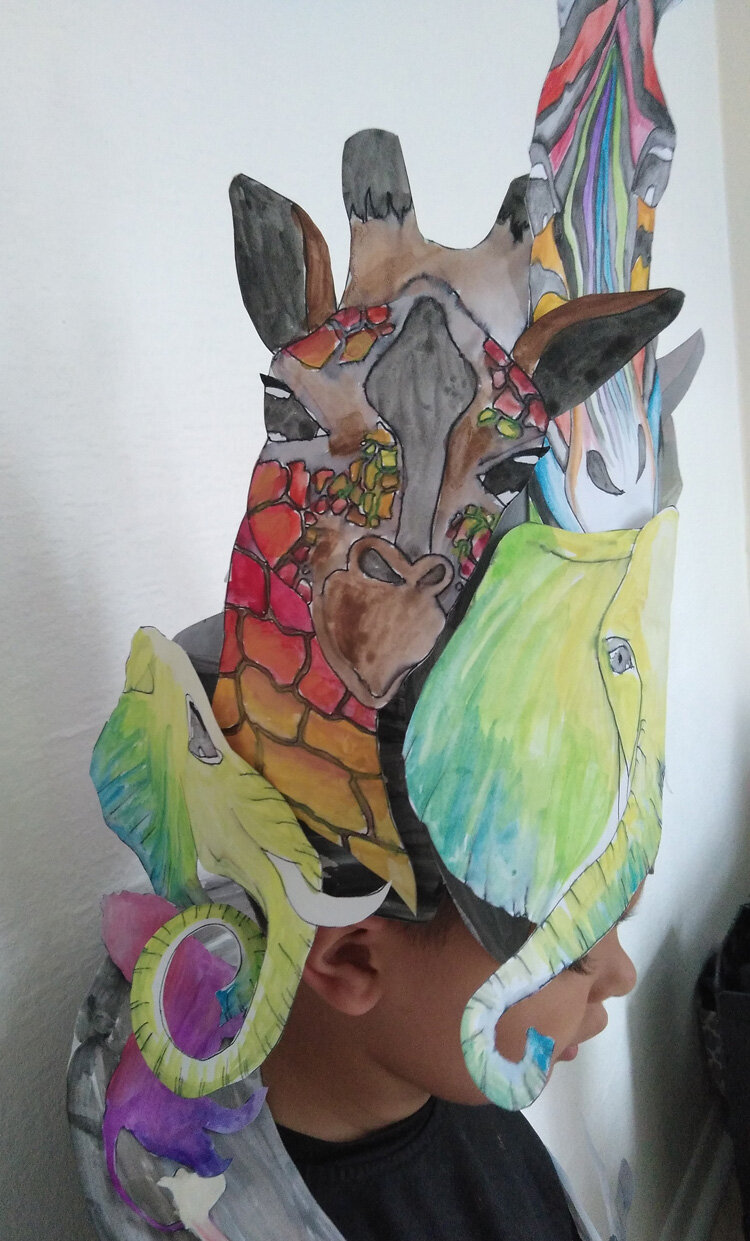
We think they are fantastic and hope you enjoy making your very own carnival safari costume!