How to make a tiger mask
This workshop provides you with templates and instructions for making a really fantastic carnival tiger mask from paper.

You will need
A4 paper (and preferably a printer)
Scissors
Glue
Paint and paint brushes or coloured pens/pencils
Print out your templates
We have created a handy instruction and template booklet in PDF format which you can download and print. Click on the link below.
The templates you need are on pages 7 to 11 so if you are following the instructions online you only need to print out these pages.
Please note that there are two different tiger faces to choose from (pages 10 & 11) so if you are making just one mask you don't need to print out both of these.
Cut out all the template pieces
First cut out all the template pieces. You should have 8 different pieces to make up your mask. You also need to create a strip for your base - you can see this at the top of the picture below. This can be made by folding an A4 piece of paper in half down its length, then cutting it in two. You can then join the two pieces together to make a longer, thinner strip of paper.

All the pieces you need to make your tiger mask
Paint or colour in your pieces
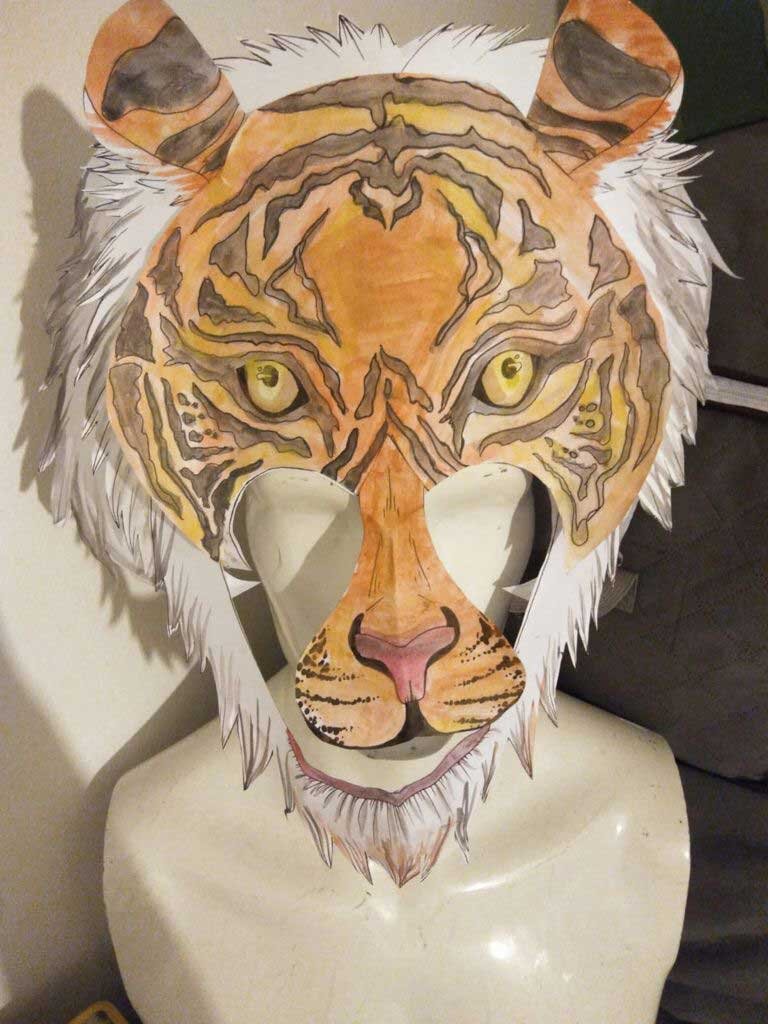
It is easier to colour or paint your tiger mask before you fix it together, so do this next. In our example we have gone for realistic tiger colours, but you can be as creative as you like. Try to do the stripes in a darker colour than the base. For the mane (pieces 1, 2, 4 and 5 in the picture above), you can just colour in the edges to make it look like realistic hair.
Fix your pieces together
Now you have all your pieces it is time to fix them together to make your mask. First you need to stick the back part of the mane (piece 1) to your base strip. Try not to glue the edges down yet, as you will need to tuck other pieces under it.

Next stick on the tiger face of your choice to the mane, like in the picture below. Line up the bottom part of the face piece to the bottom of the mane piece. If you can, try to not glue down the face piece at the bottom. This will be so you can tuck in the bottom mane piece next.

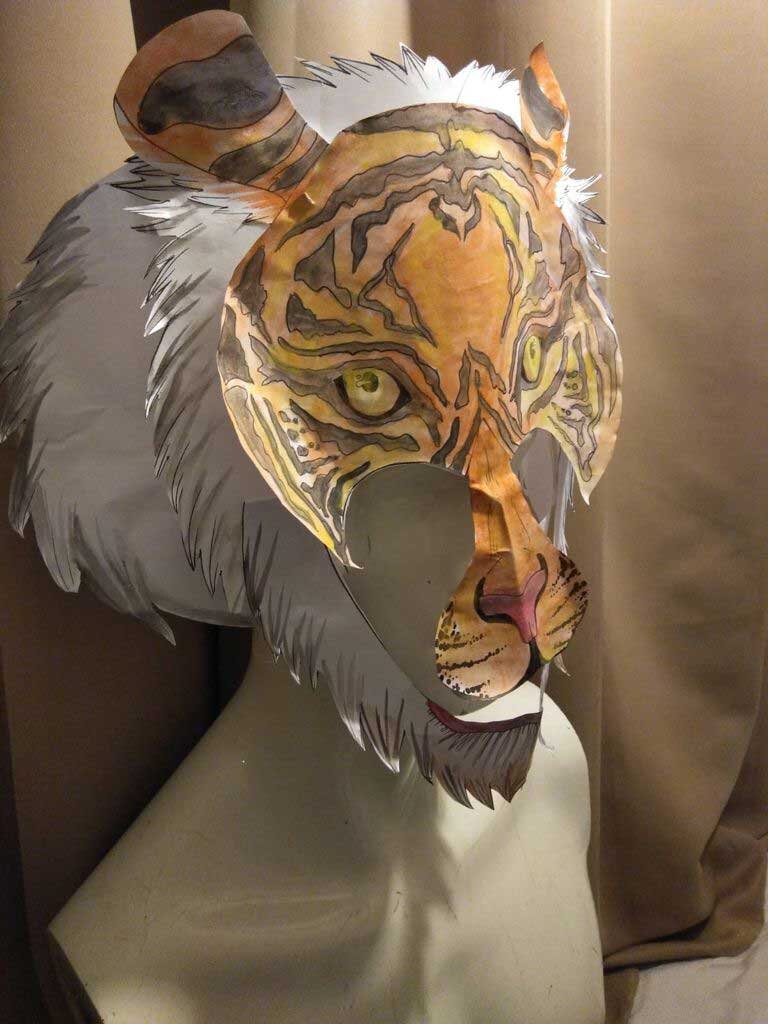
Now, you need to take the two side pieces of mane (which are pieces 2 and 5 in the first picture) and the bottom piece of mane (piece 4) and tuck them under the pieces you have already fixed together, like you see in the picture below.

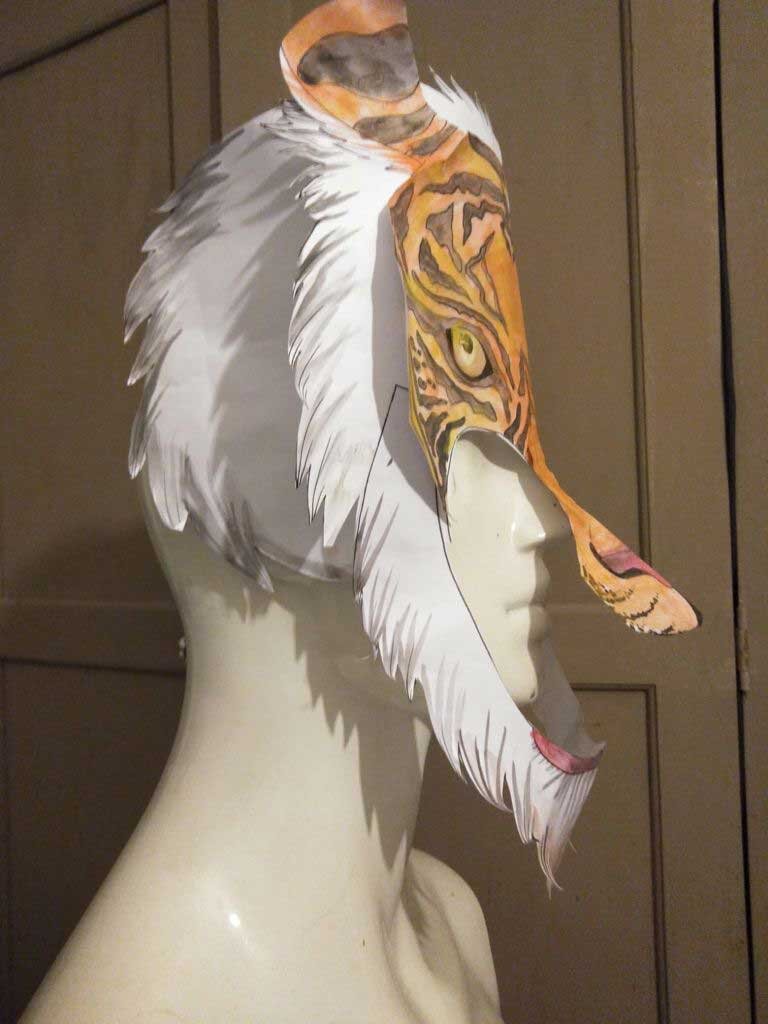
Finally you can fix on your nose and ears! Once complete, all you need to do is to join up the base strip to complete the mask.
Tip: Get a friend or teacher to help with this part, as you will want to measure it around your head and check that it fits properly.


Enjoyed making this mask? Why not check out this great tutorial on creating fantastic safari carnival costumes!