Easter Bonnets - Carnival Style!
An old tradition is to wear new clothes at Easter, and the Easter bonnet became a part of this in the 19th Century when women - who all wore a kind of hat called a bonnet - would get a fancy new bonnet, or spruce up their old bonnets with ribbon, flowers and lace, all in time for the Easter parade. Children in modern times will often make Easter bonnets as part of celebrating this festival, and many places in the UK have Easter bonnet competitions! We have designed some carnival headdress' inspired by Easter bonnets for you to enjoy creating this Easter.
Check out the video for instructions on how to make these fabulous spring flower and Easter egg designs. You can pause the video at each stage, or follow (or download) the instructions below instead. The download pack also contains templates you can print out.

You will need:
A4 paper
Scissors
Glue
A ruler
Black felt tip or marker
A pencil
Coloured pens or pencils
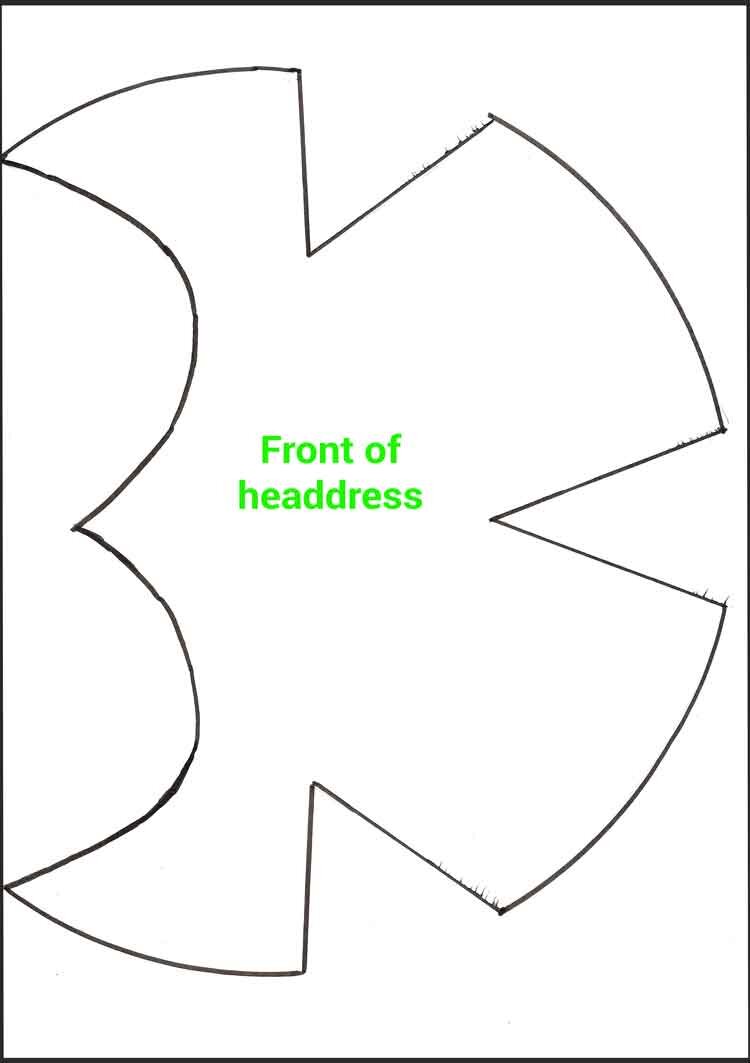
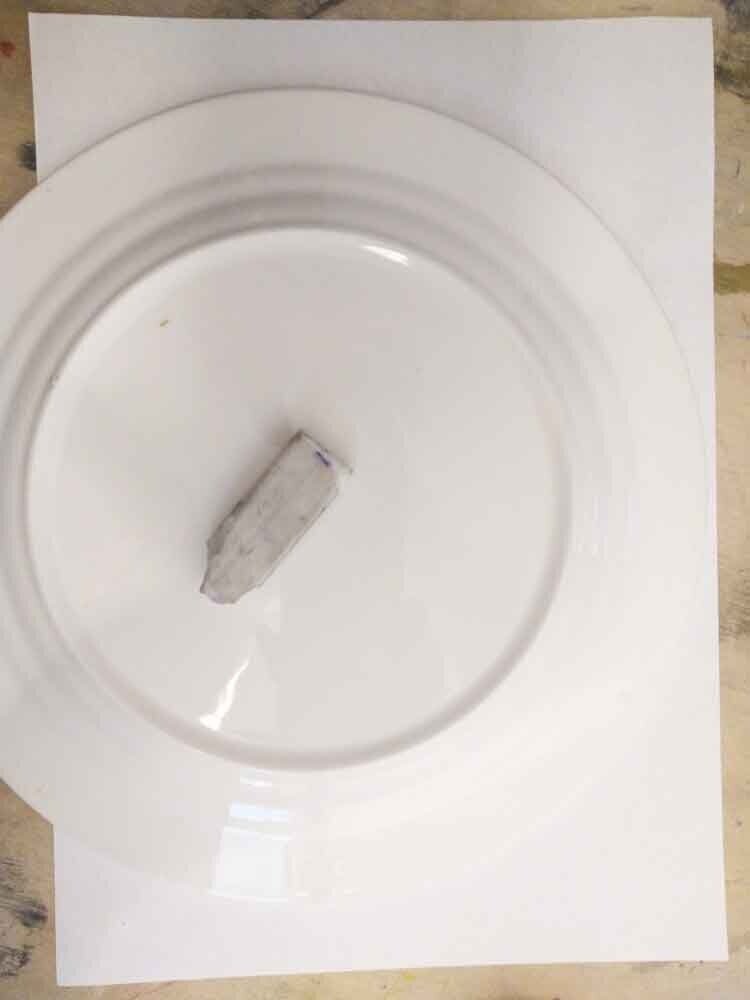
Make the base
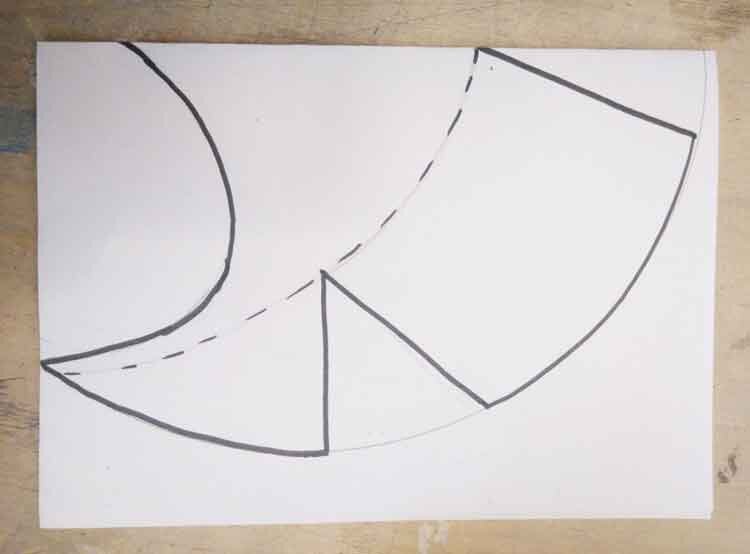
First take a piece of A4 paper and draw a shape like you see in the picture below (or download our template). If you don't have a printer to print out the template, then a good way to create this shape is to use a plate to draw around (but not the whole plate - just like you see in the picture below). Then fold your paper in half from top to bottom. You can then draw another circle, using your plate as a guide, like you see in the dotted line below. Then you can draw the lines from the outer circle to the inner circle in order to create your angles. Then cut out a central oval. Once you have cut it out, it will now be the correct full shape!
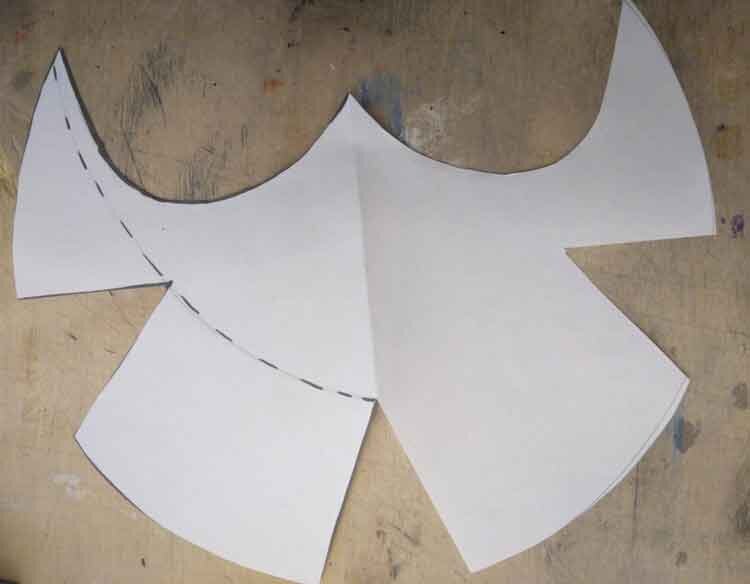
Next pick up another piece of A4 paper. Copy the shapes below (or print out the templates) These will form the top of your headdress. You will also need to cut around 4-5cm in from one side to make a strip so you can fix the front around your head.


Fix it all together
You should now have 5 pieces:
The front part
A strip to fix it around your head
A left top part
A right top part
The middle top part
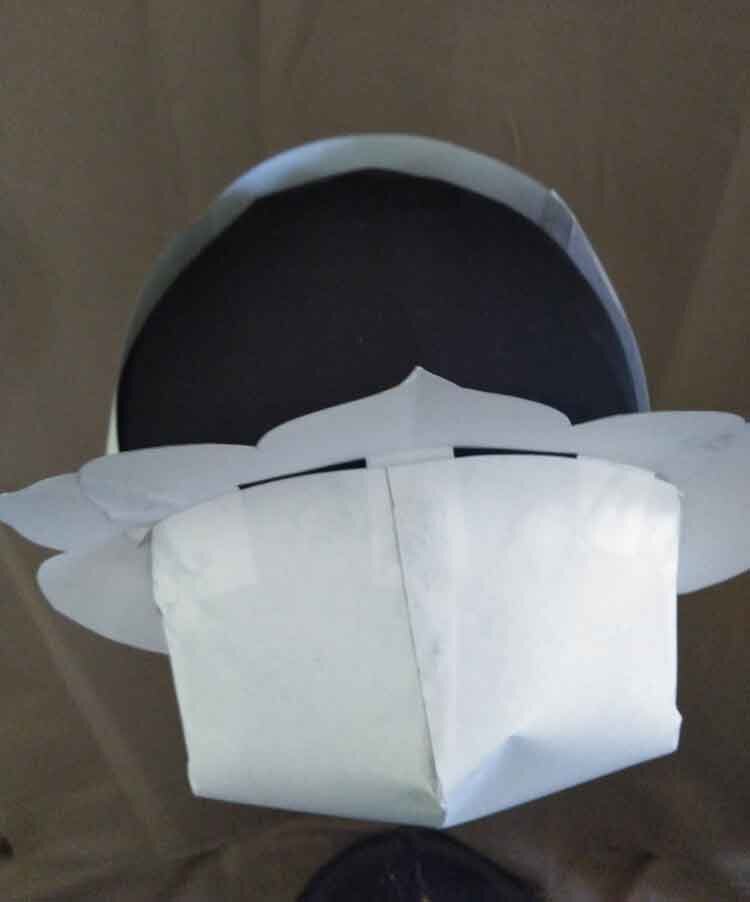
To fix all the pieces together, you need to first take your front piece (1) and cross the two tab sections over, and glue them so that it makes a sort of cone shape - the top-of-a-heart shape will be at the front and the glued together tabs at the back.
Next get your strip (2) and stick it down on both the left and right sides of your front piece so that it can fit around your head. You may need to add a bit more to the strip to make it longer, or trim the strip a bit to make it shorter - it depends on the size of your head!
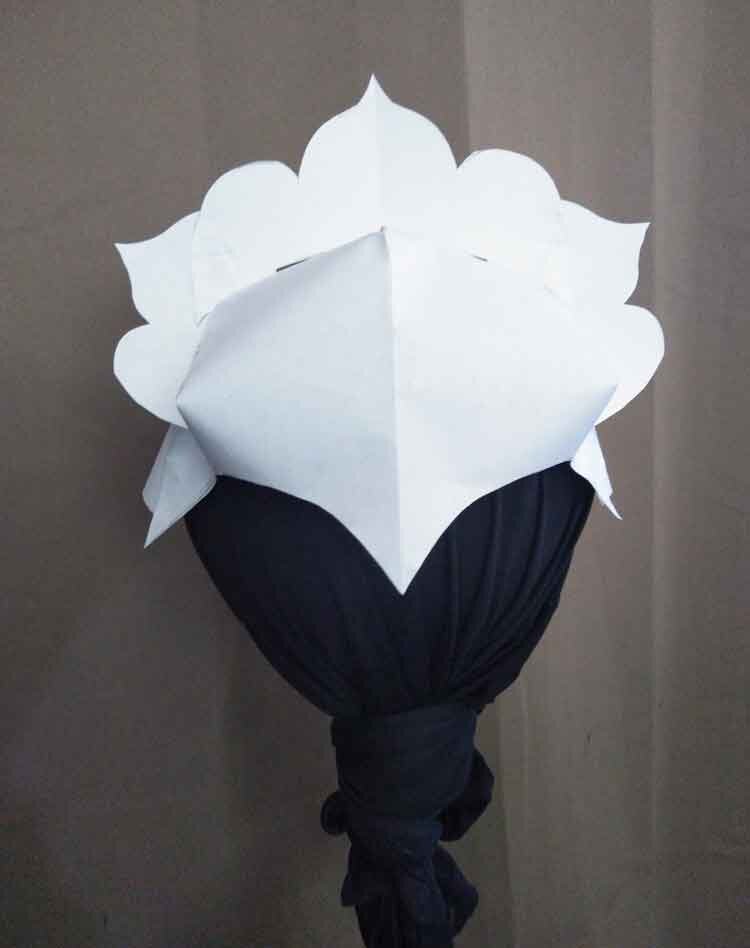
Finally you will fold over the tab shapes on pieces 3, 4 and 5 and use them to fix the pieces to your headdress structure. The largest piece (5) goes in the middle, the two smaller pieces either side.
Your headdress base should end up looking like this:
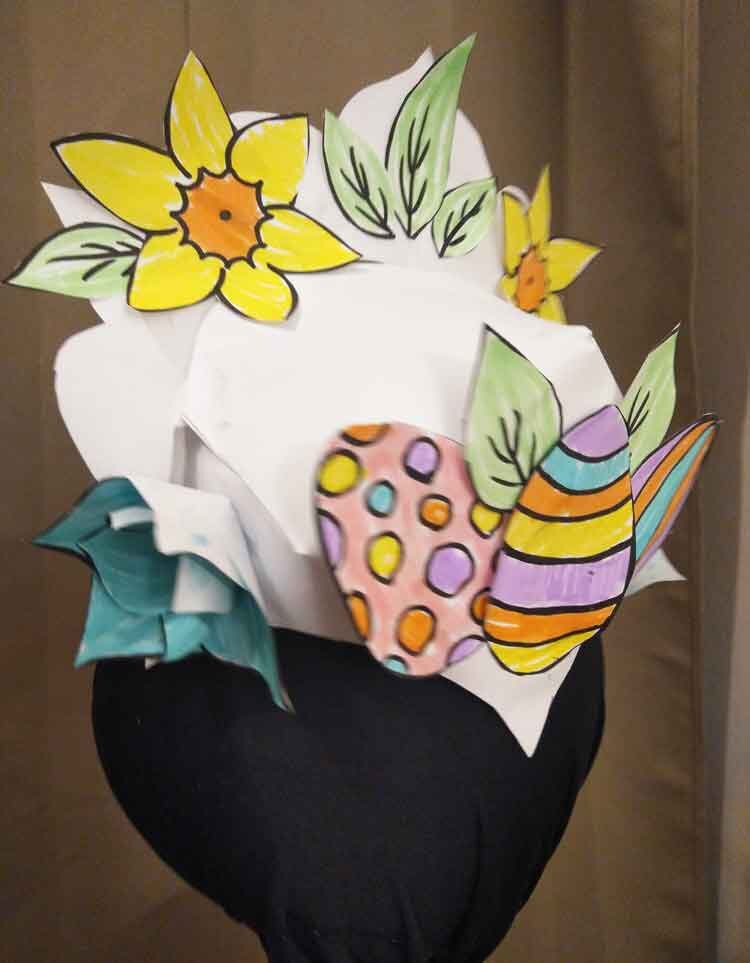
Time to brighten it up!
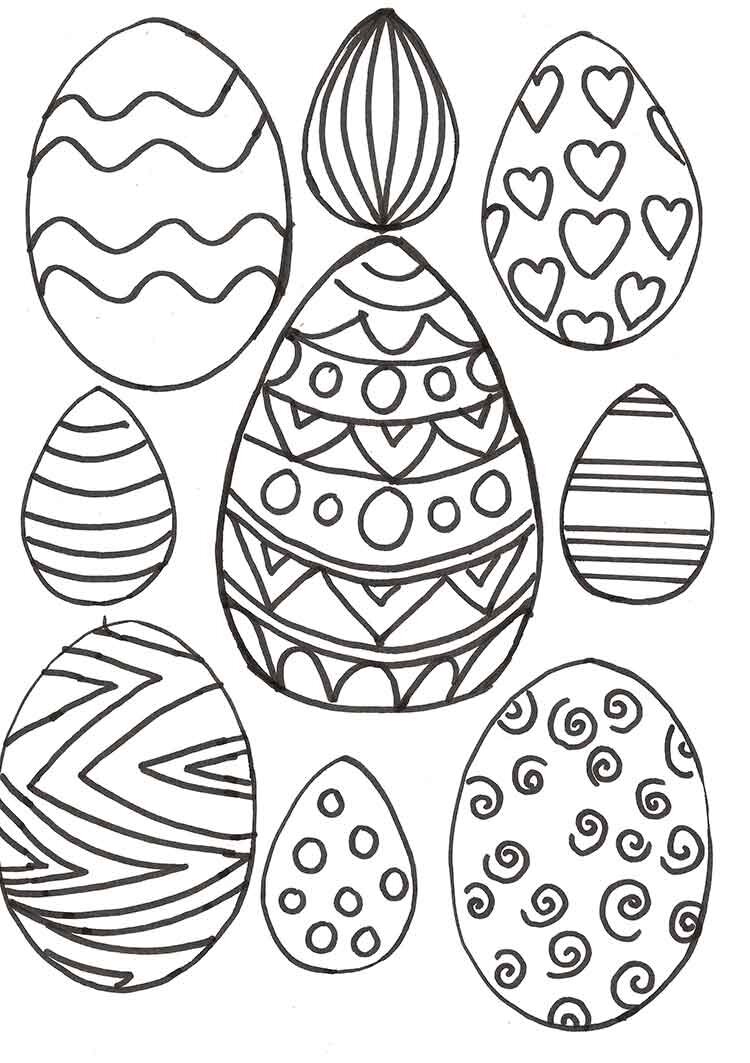
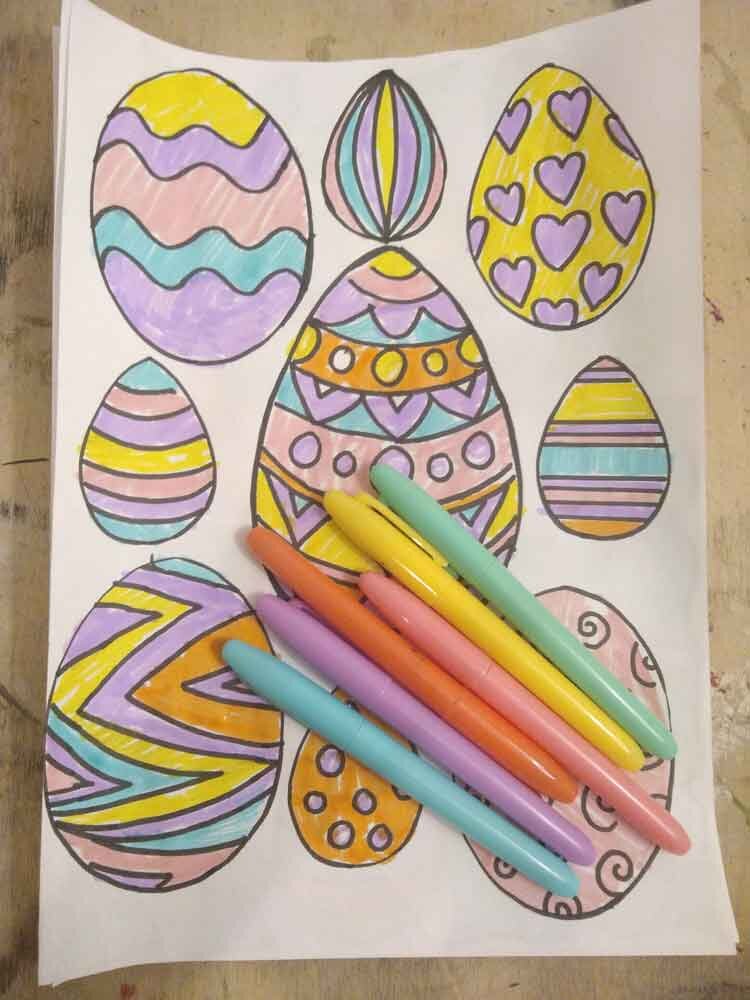
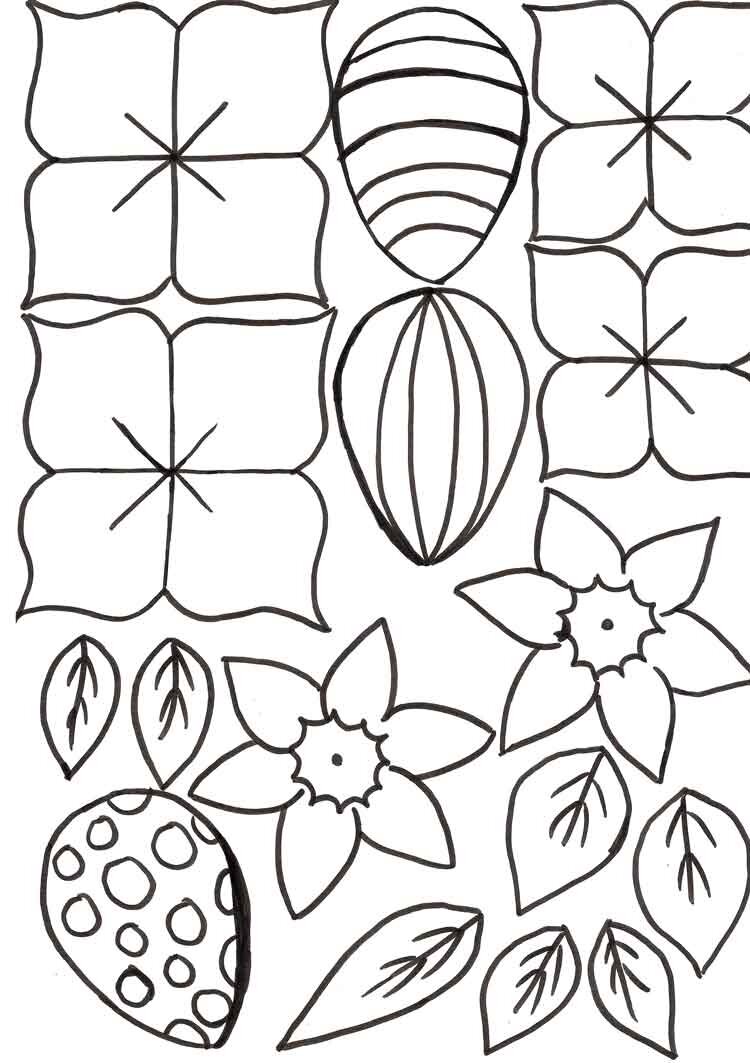
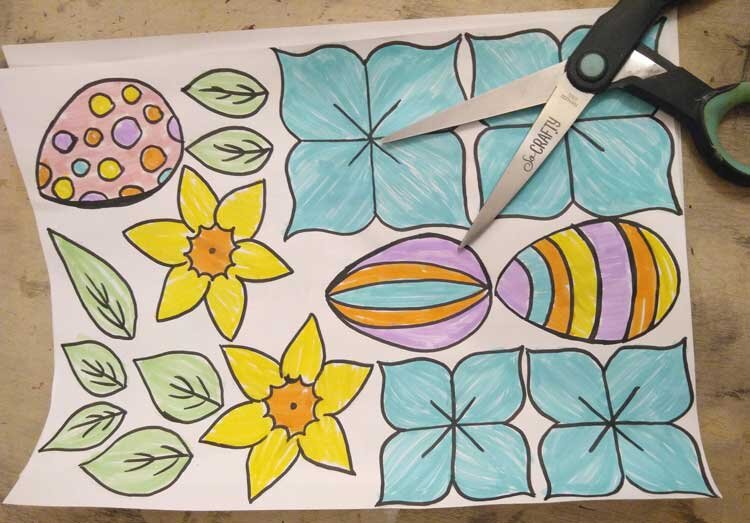
We suggest using bright Spring flowers and colourful Easter egg designs to decorate your headdress. You can print out the templates in the downloadable instruction booklet , or you can get creative with your own designs. Once you have drawn a lot of different flowers and eggs, colour them in and cut them out!
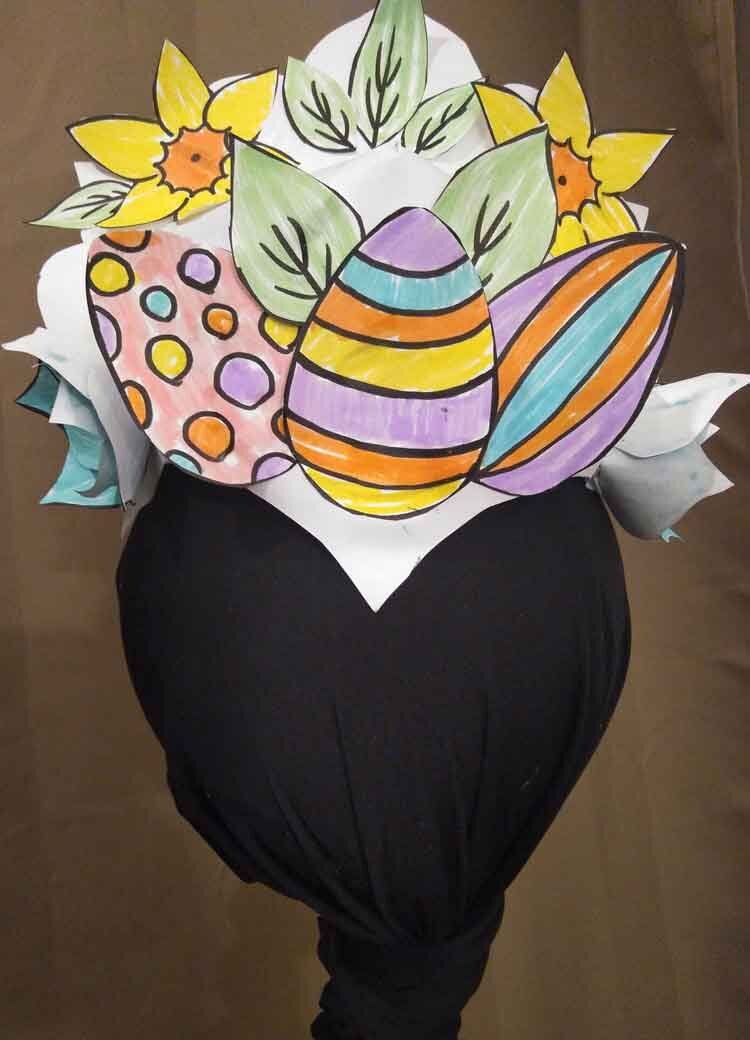
Fix your designs to your headdress
Finally glue your cut out colourful designs to your headdress. This is your chance to get creative and really make your Easter Carnival bonnet stand out!
Happy Easter everyone!