How to make a steel pan carnival head piece

For Black History Month we are celebrating the history of steel pan with this spectacular headpiece that you can make at home or in school.
Full instructions are below, or you can download and print out this instruction booklet.
To find out more about the history of steel pan, click here.
What you need

A4 paper
A ruler
Pencil
Scissors
Glue
Masking tape
Colouring pens or crayons
A plate - you can use a pie dish like the one in the picture or any other kind of plate you have available. The plate we have used in our instructions is 20cm in diameter.
Create the base of your steel pan headdress
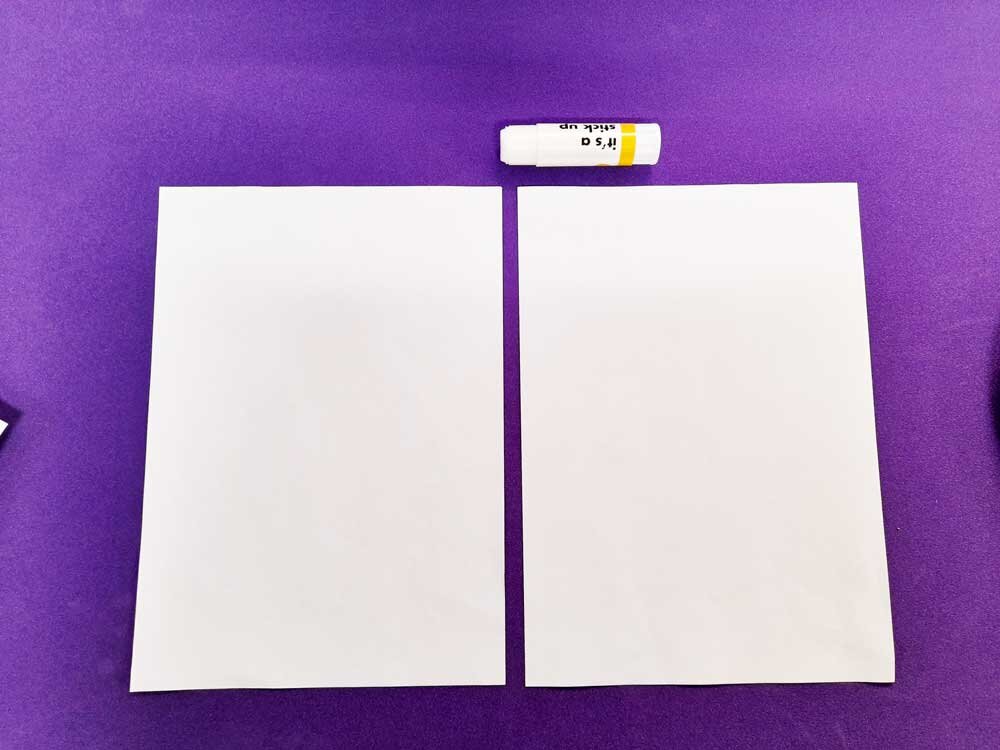
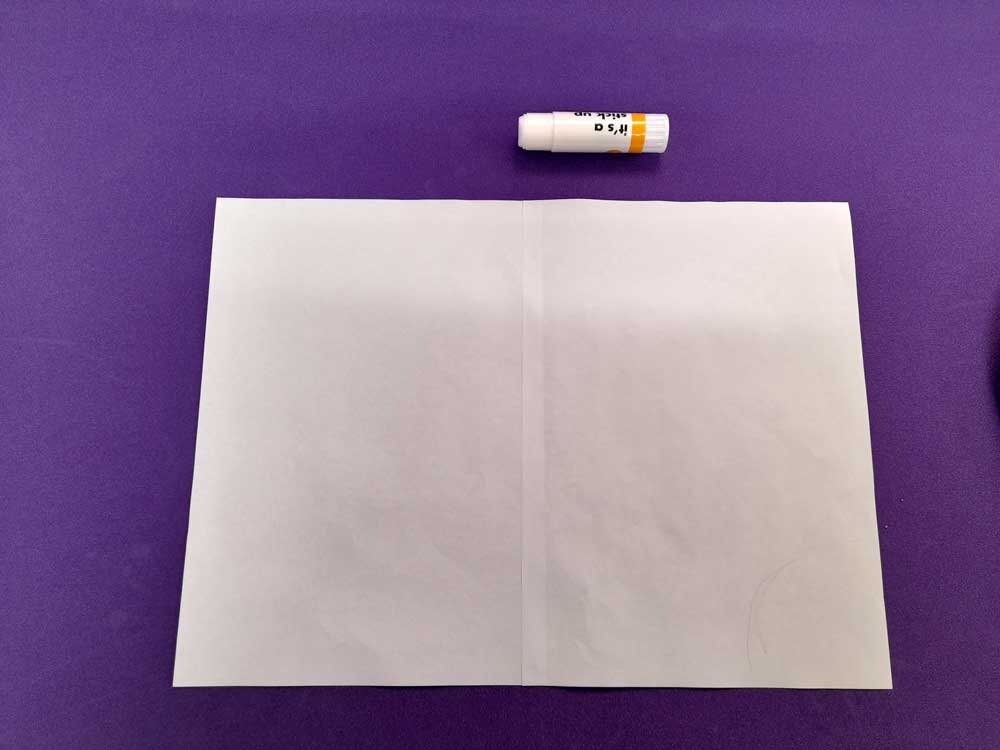
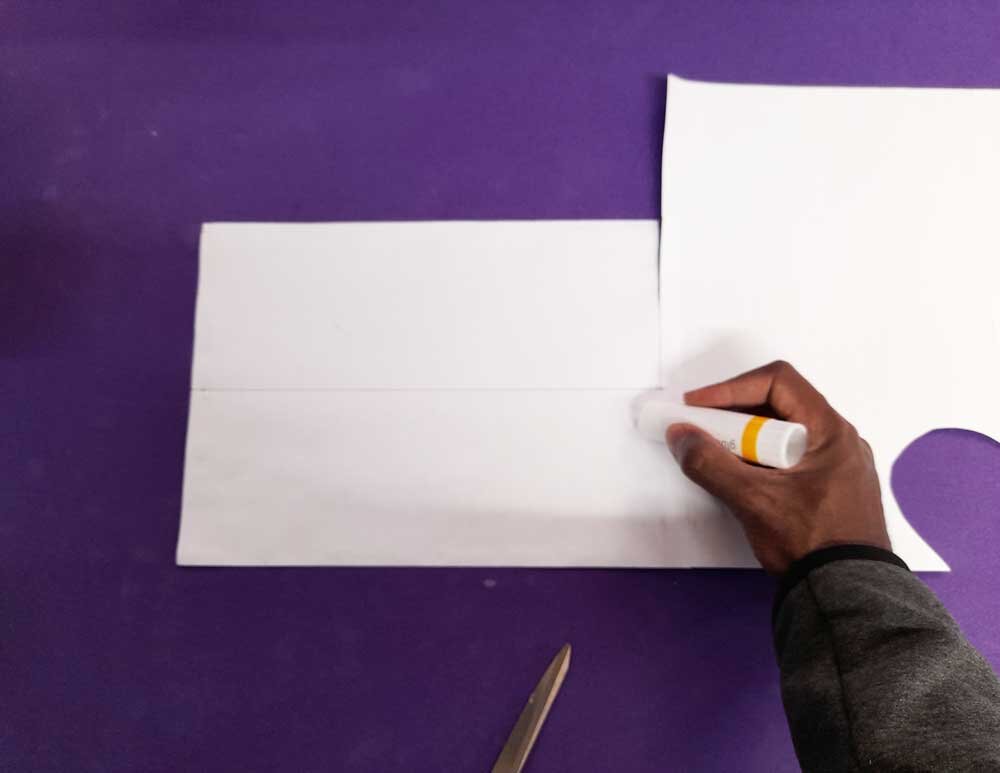
First glue two pieces of A4 paper together, like in the pictures below.
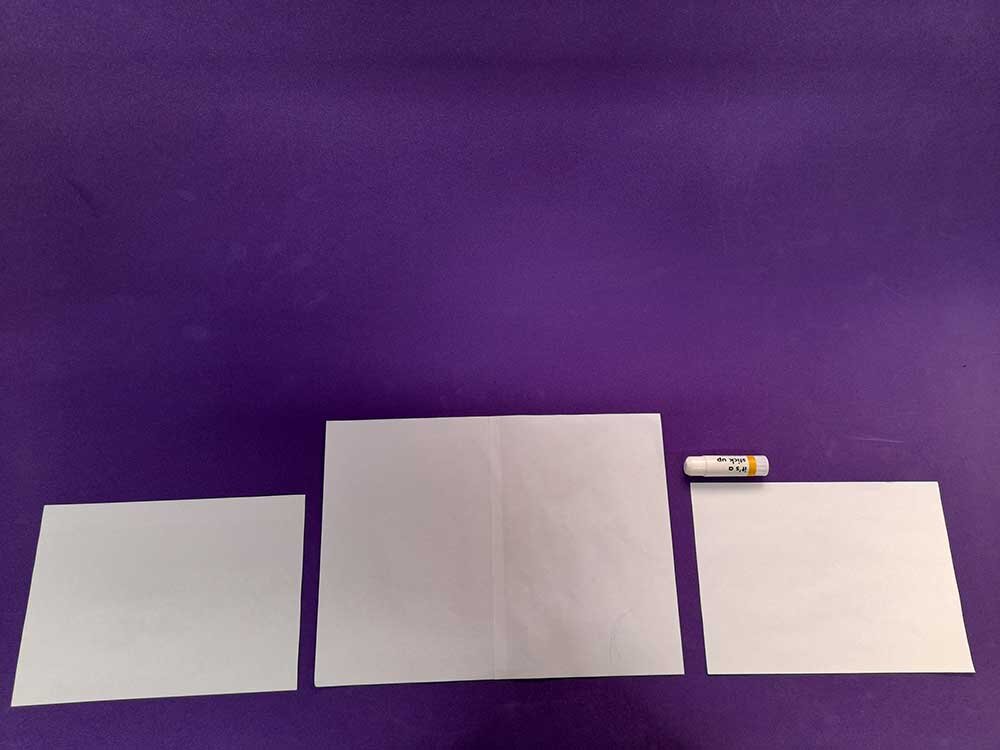
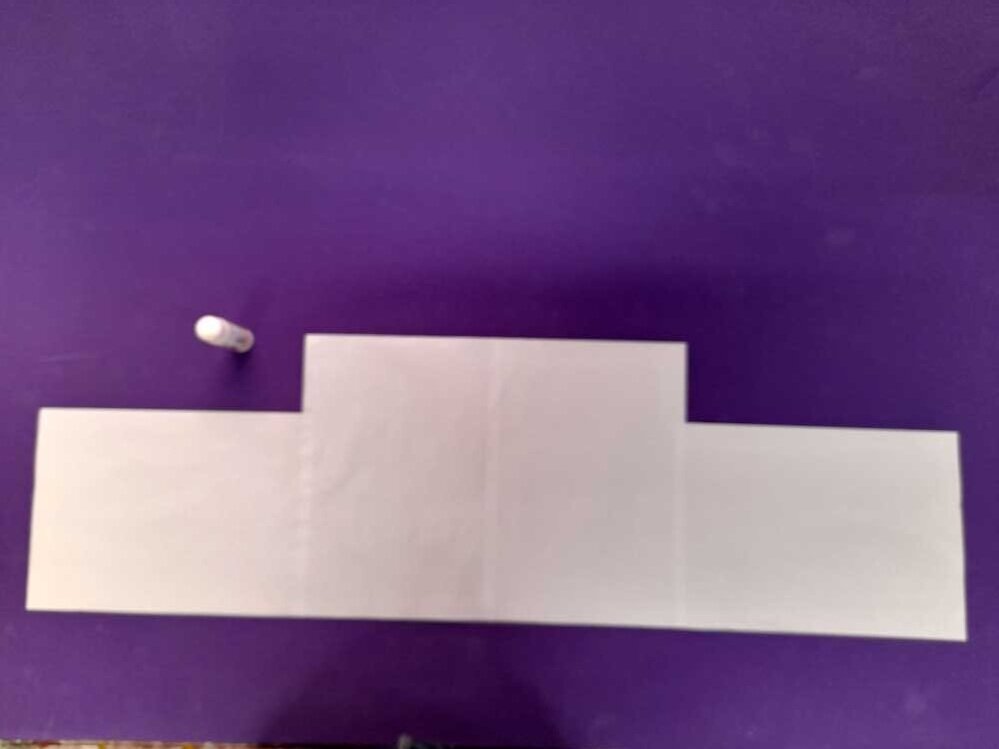
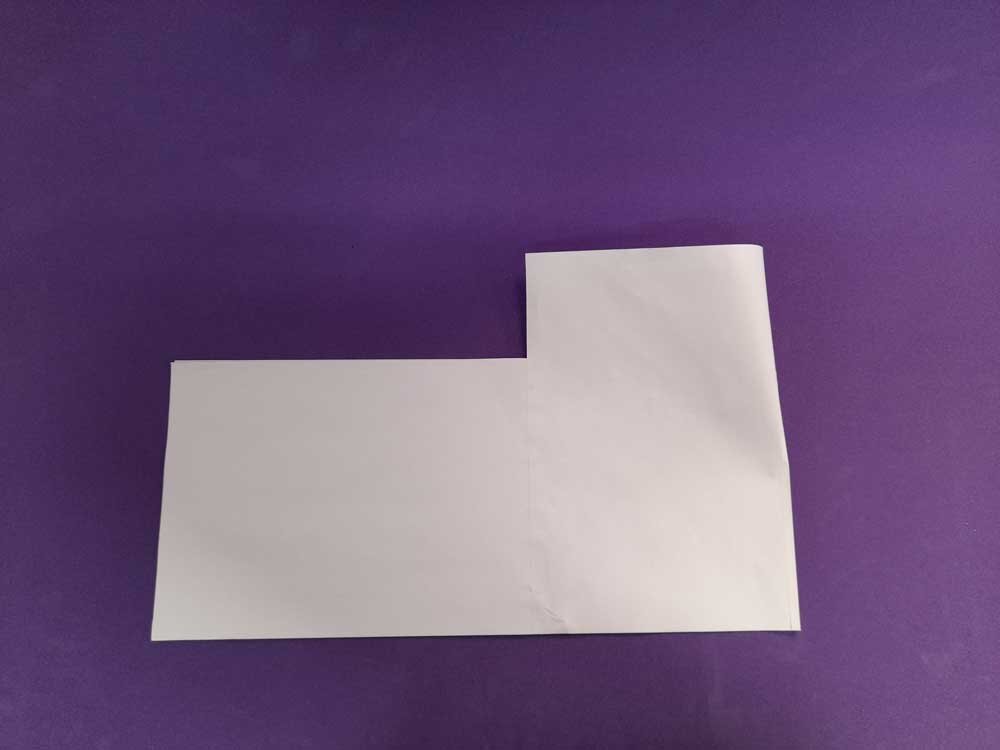
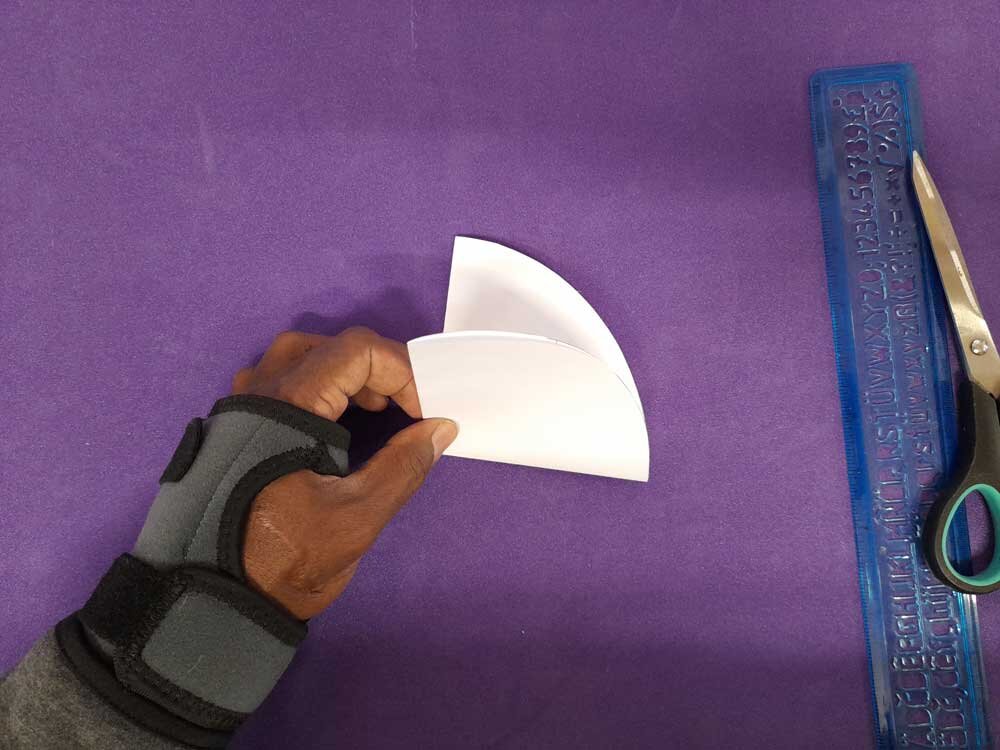
Then take two more pieces of A4 paper, but lay them horizontally aside your central piece. Then glue them together, and fold your finished shape in half like in the third picture below (scroll through the pictures to see how)
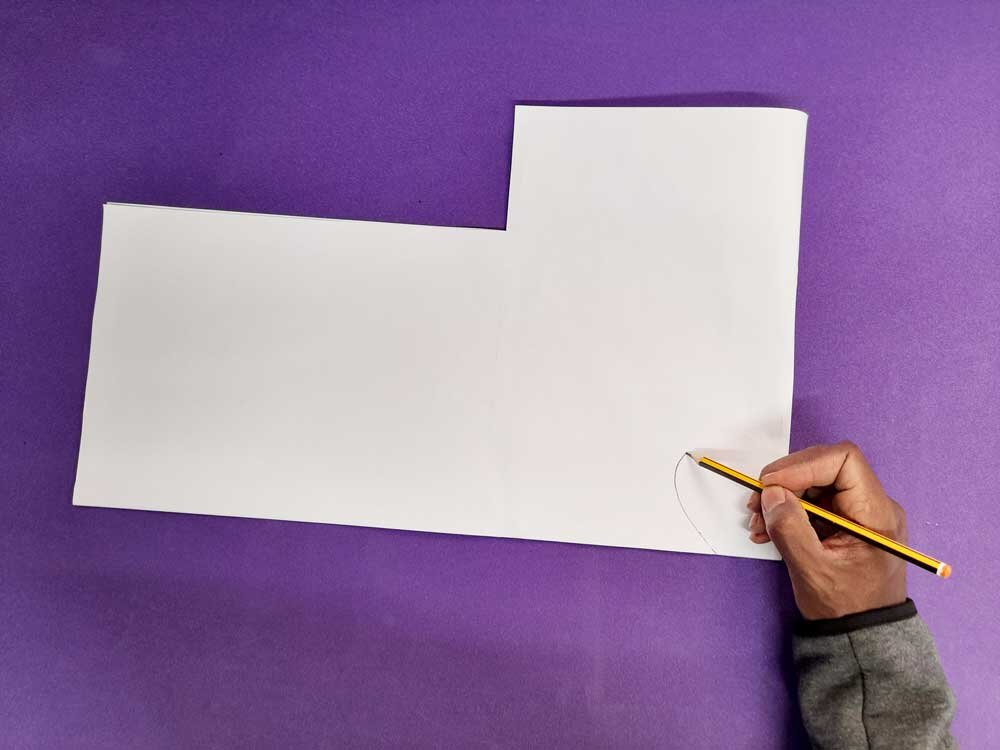
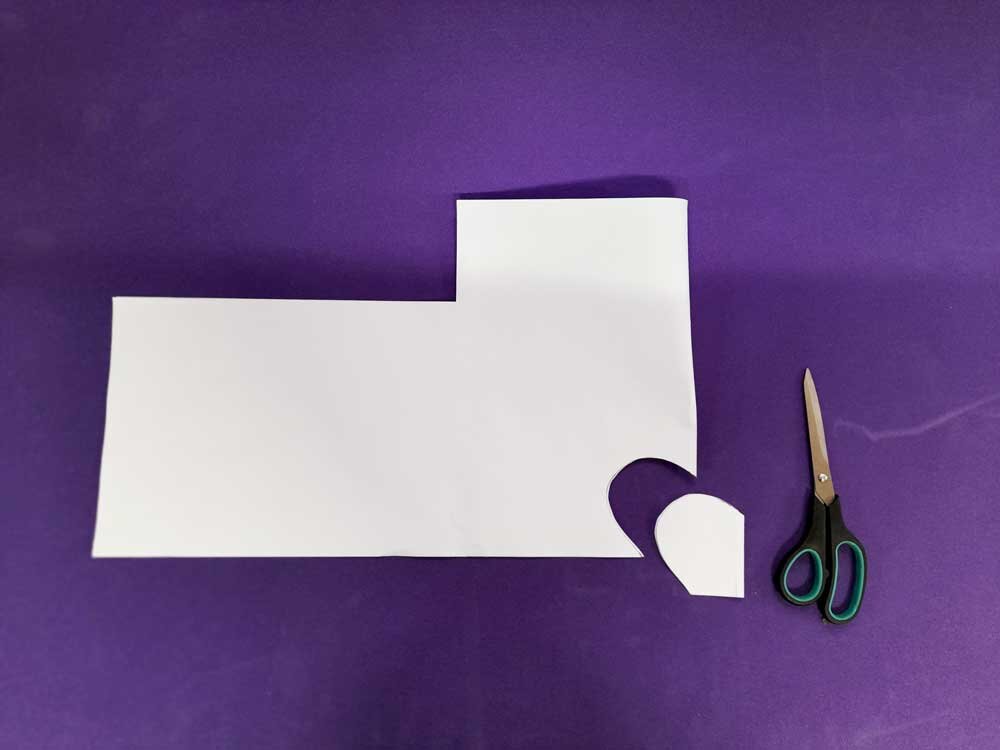
Next, use your pencil to draw a shape on your folded shape like in the picture below.
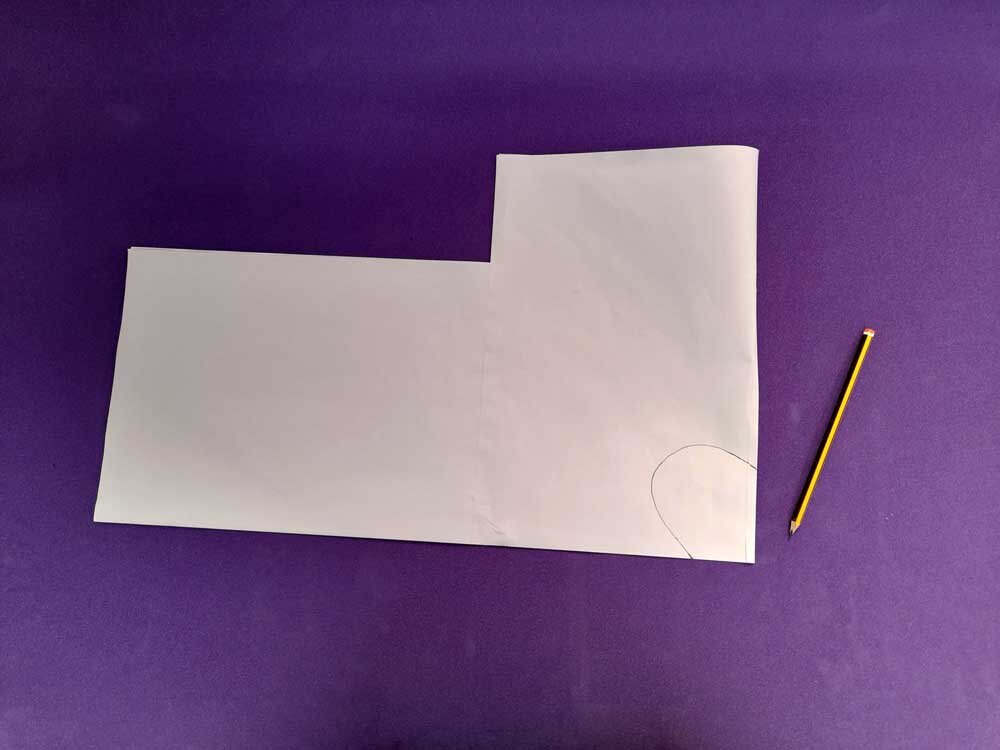
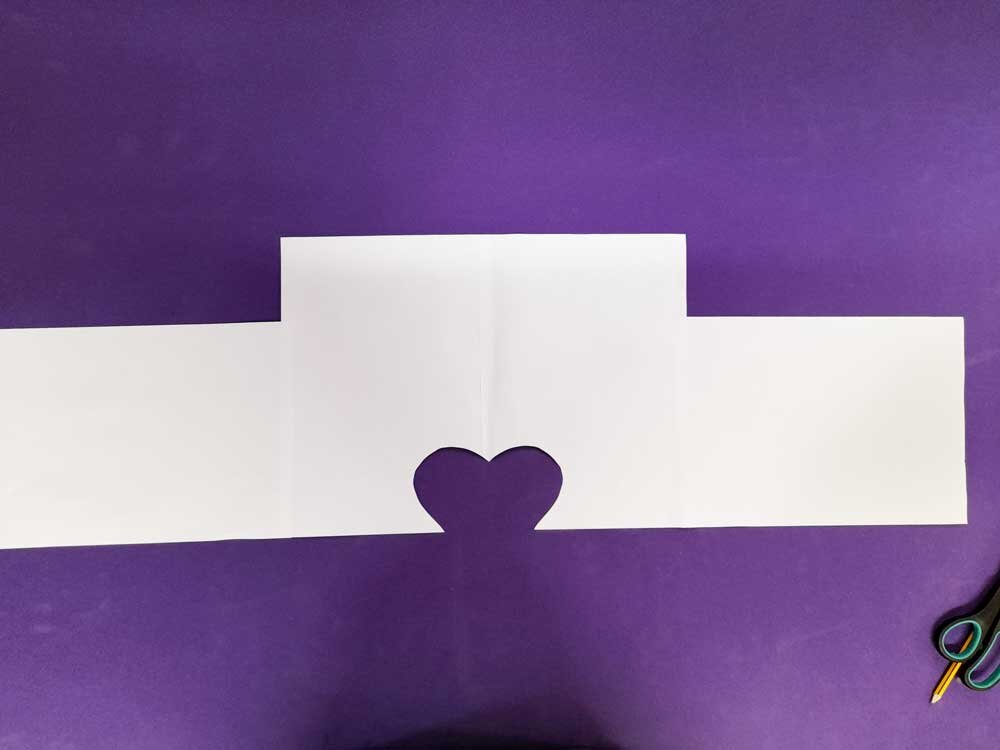
Cut the shape you have just drawn out of your folded piece of paper. Once you have cut it out, and unfolded the shape, you should end up with something like in the third picture below.
You need the heart shape to fit around your eyes - this might be approximately 3" from the bottom of the paper, and 3" across. You can try it out, if it is too small make it bigger!
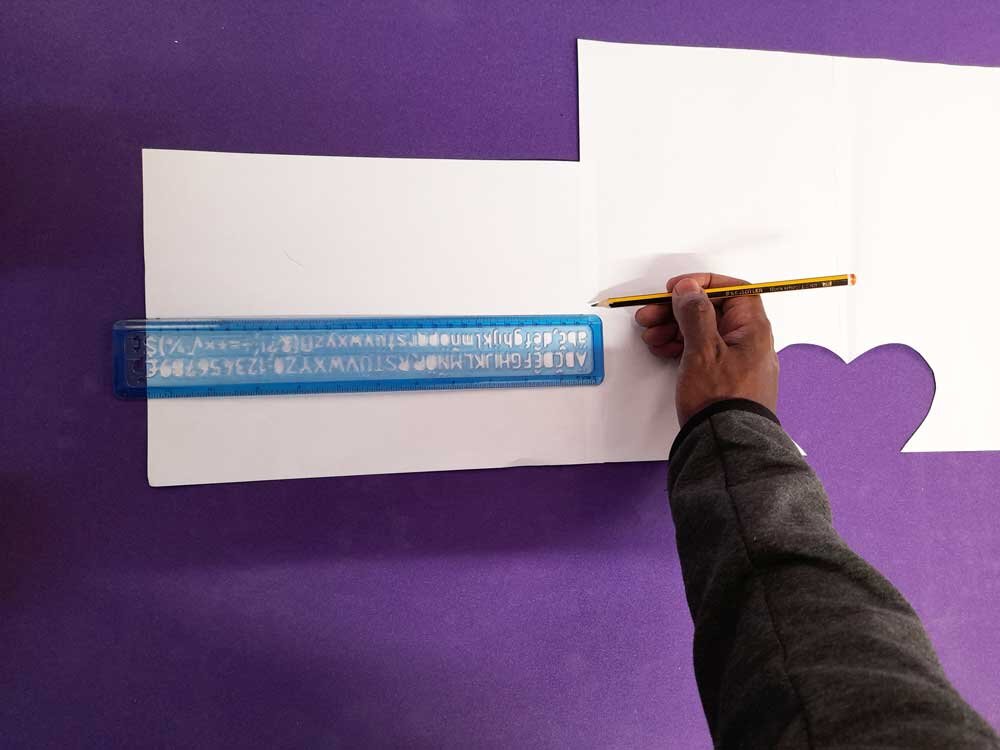
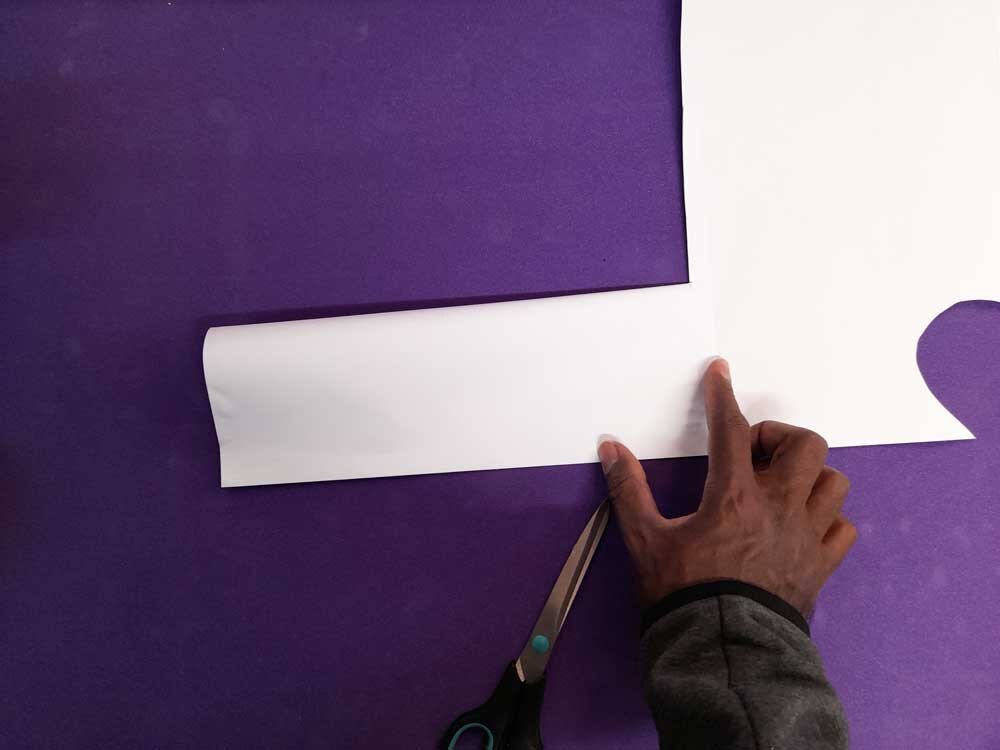
To make the straps, which will fit around your head, you need to find the half way point on your side pieces using your ruler. Once you have measured it, you draw one line down to the middle from the top, and one line across to the edge using your pencil.
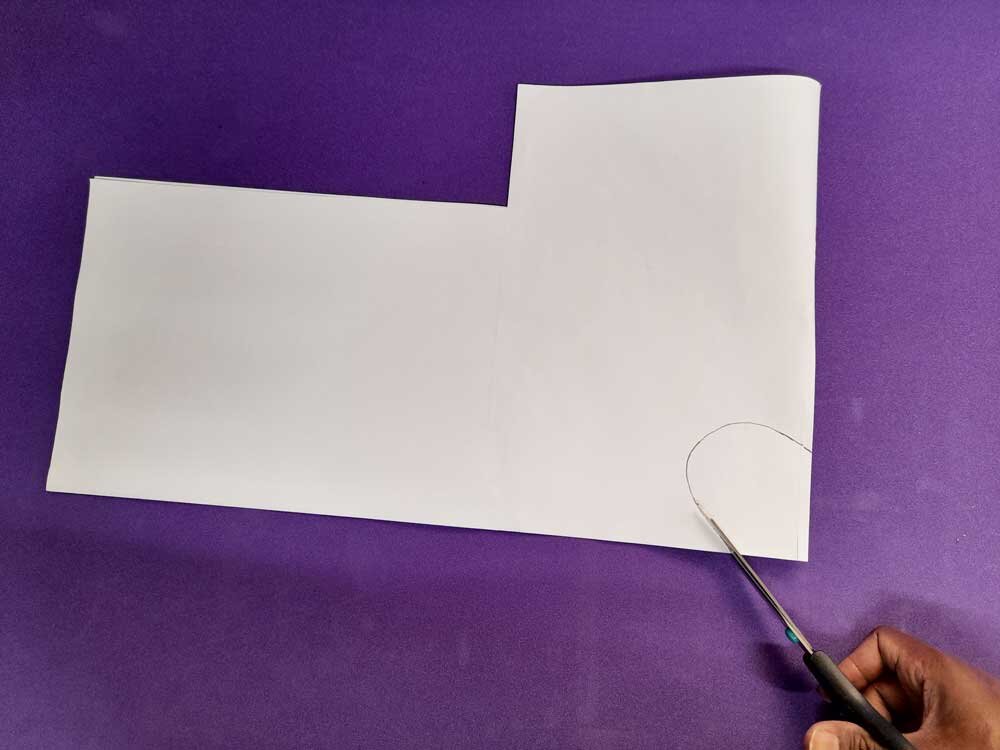
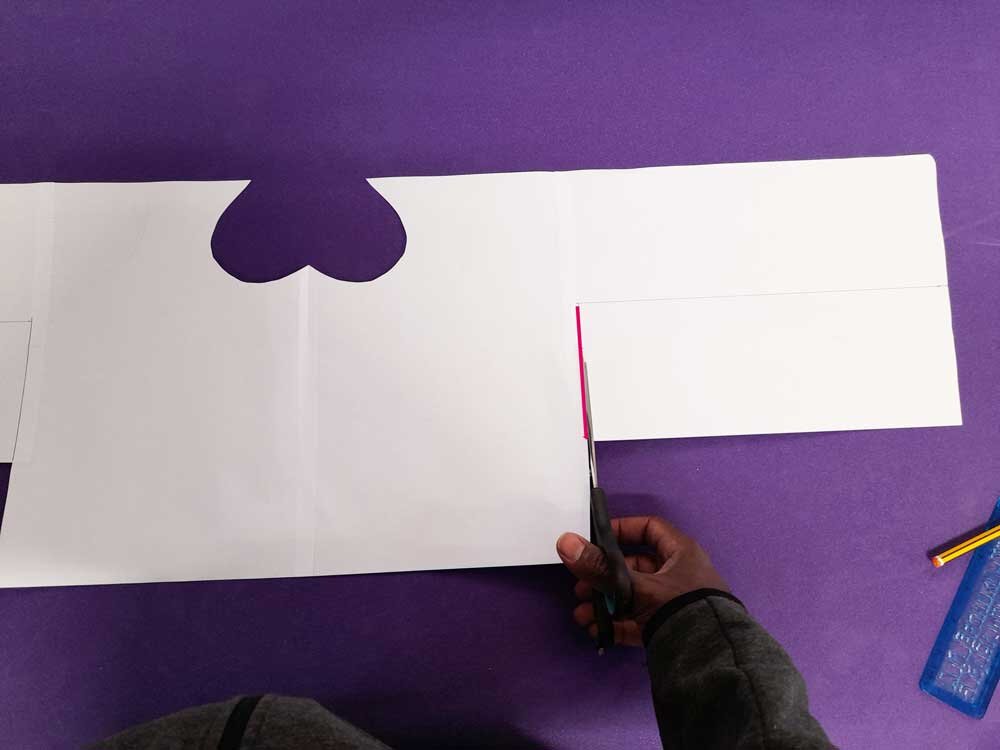
Make a cut in the paper from the top to the middle line - indicated by the red line in the picture below. Don't cut along the other line!!
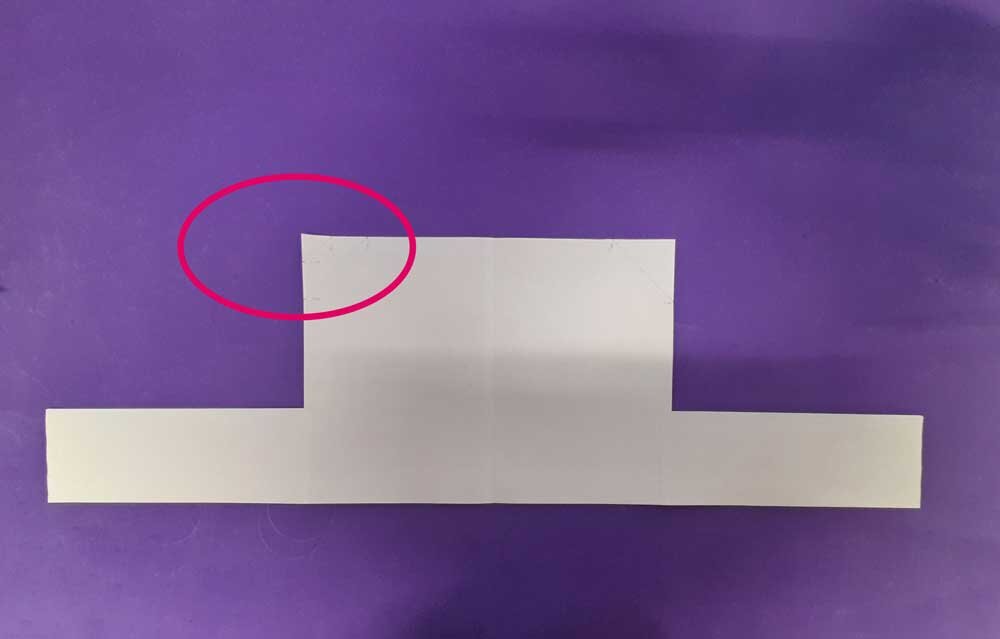
Once you have made your lines and cuts on both sides of your base piece, you will make a fold along the remaining long line. You need to then glue the top piece to the bottom piece. This is making sturdy straps for your hat. You should finish with the shape you see in the last picture.


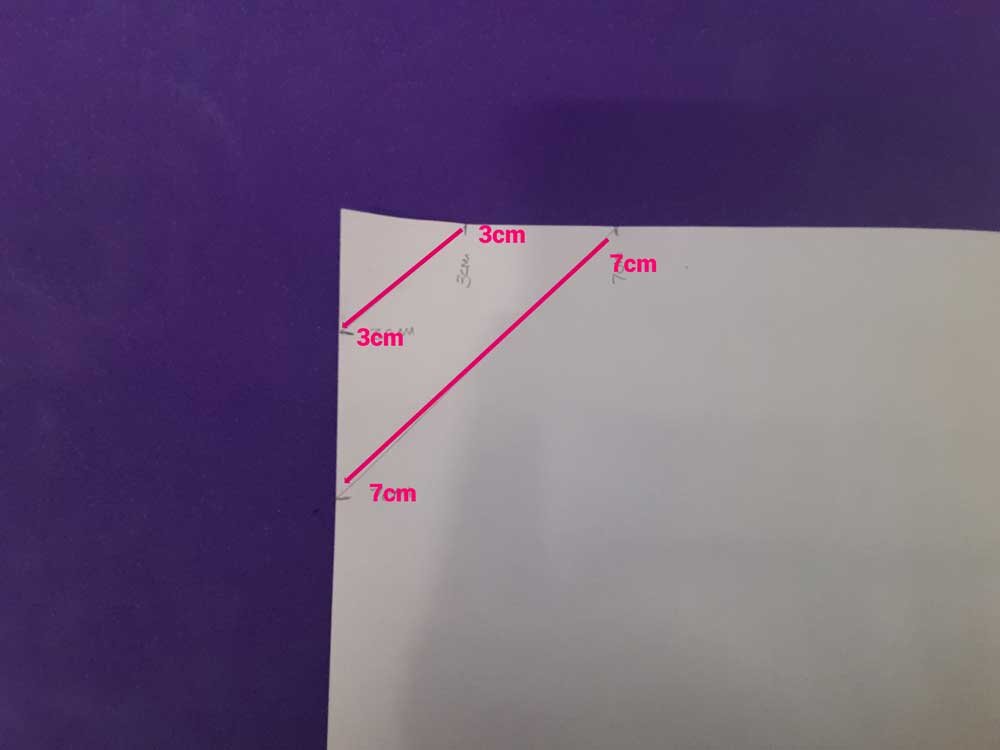
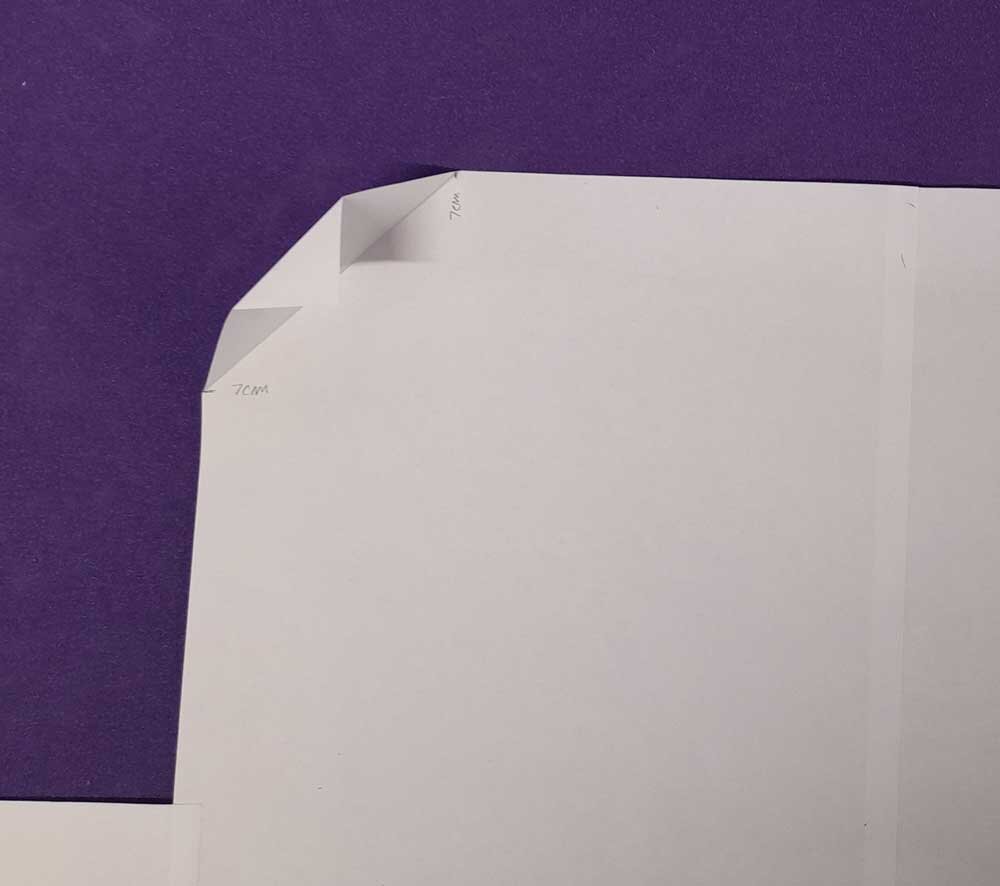
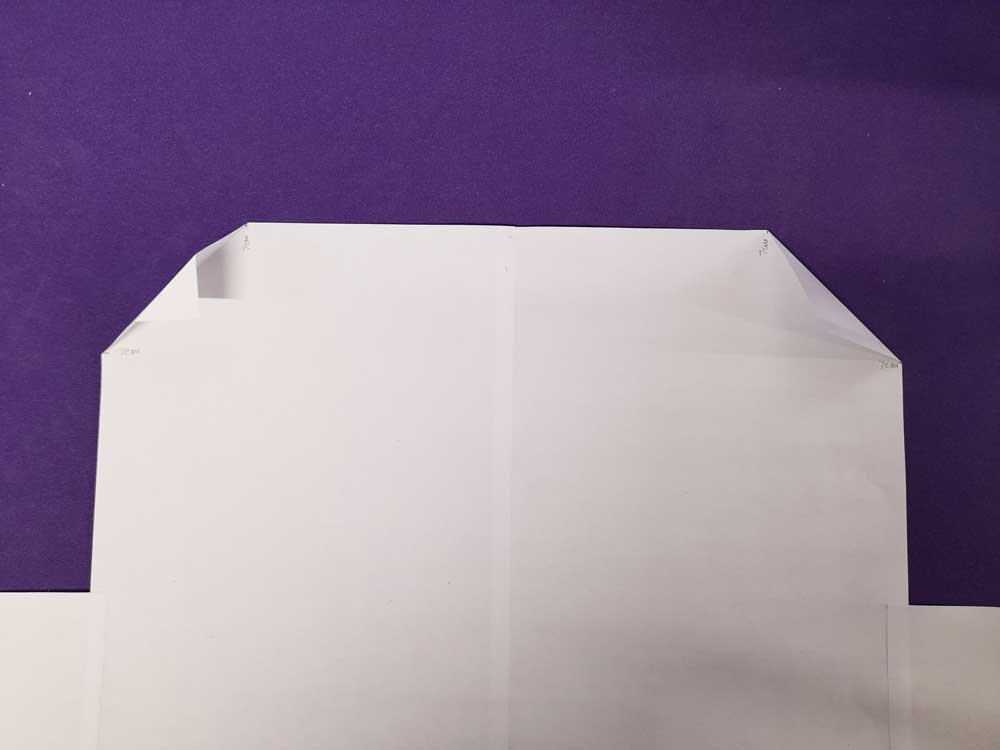
To get ready to add decorations, you should fold the top corners of your base so it is easy to stick on the decorations without them covering your face. In each top corner of your base make a mark 3cm and 7cm from the corner - both horizontally and vertically. Then draw a line like in the picture below.
Cut out your 'pan'
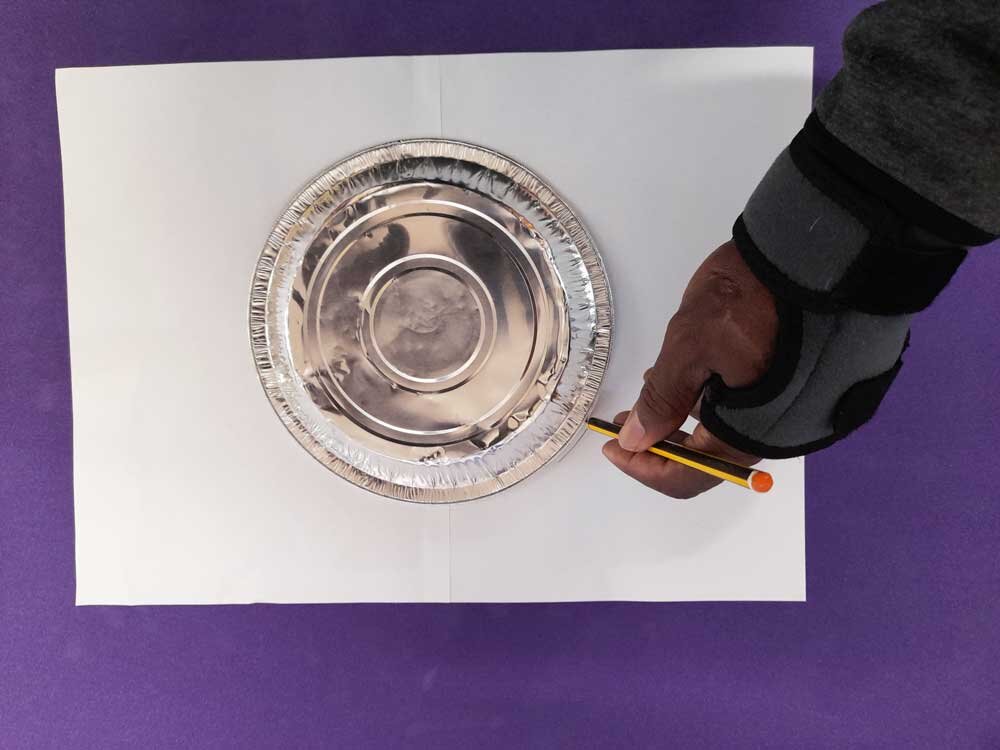
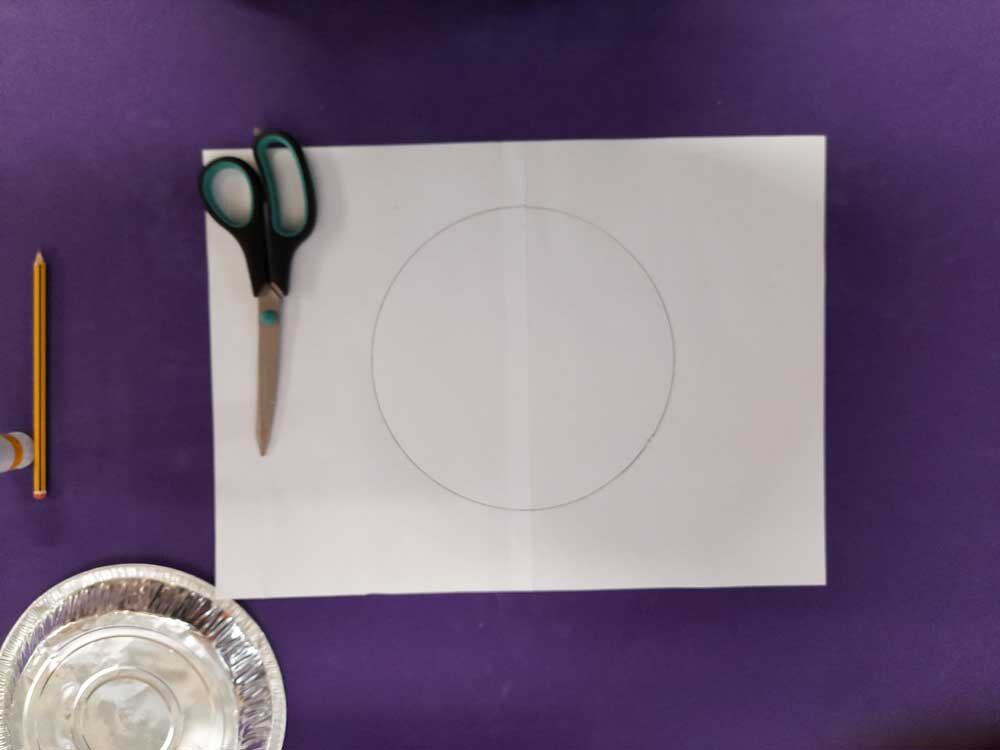
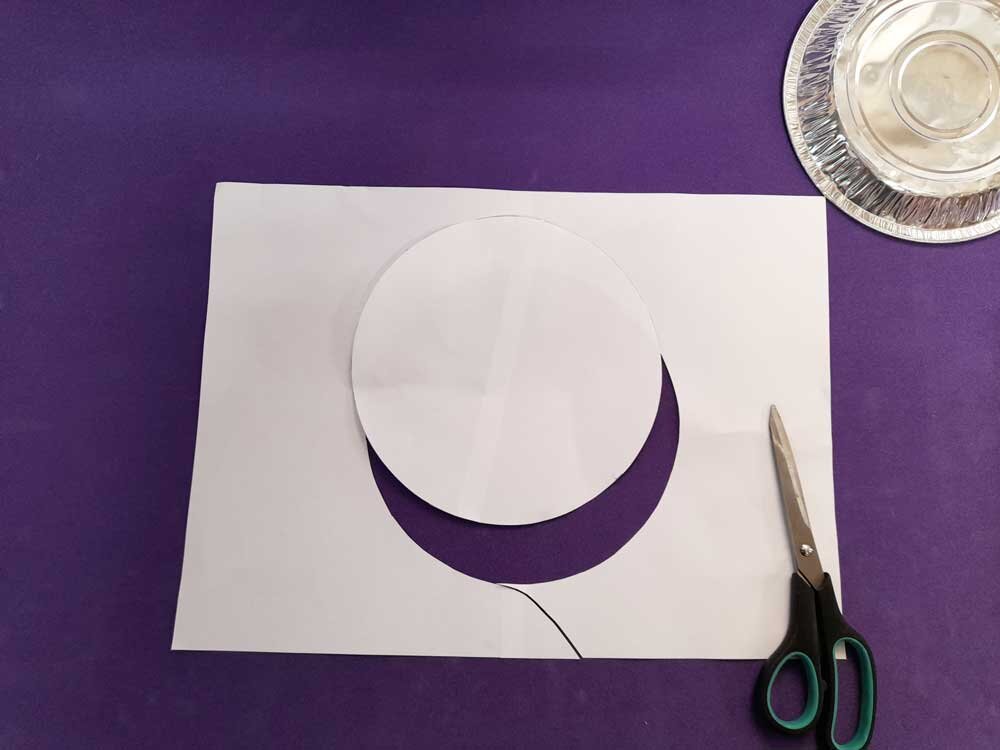
Take your plate, and place it in the centre of a piece of A4 paper. Carefully draw around it to get a circle shape in the middle.
If your plate is bigger than a piece of A4 paper, then glue two bits of paper together to make a piece big enough to fit your plate.
Next, cut out your circle from the middle.

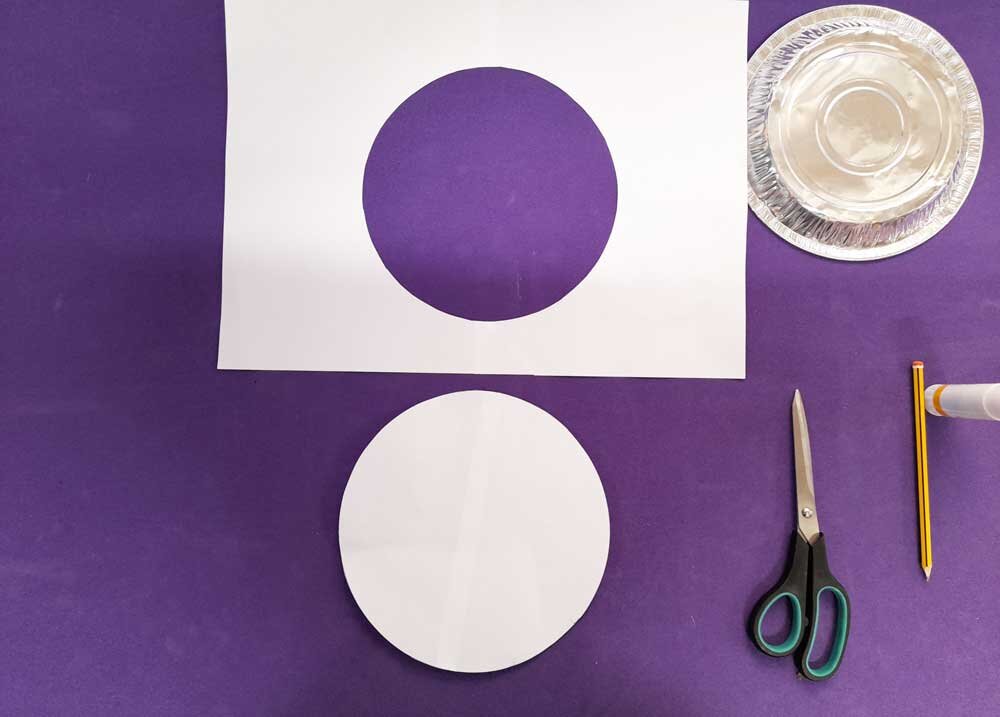
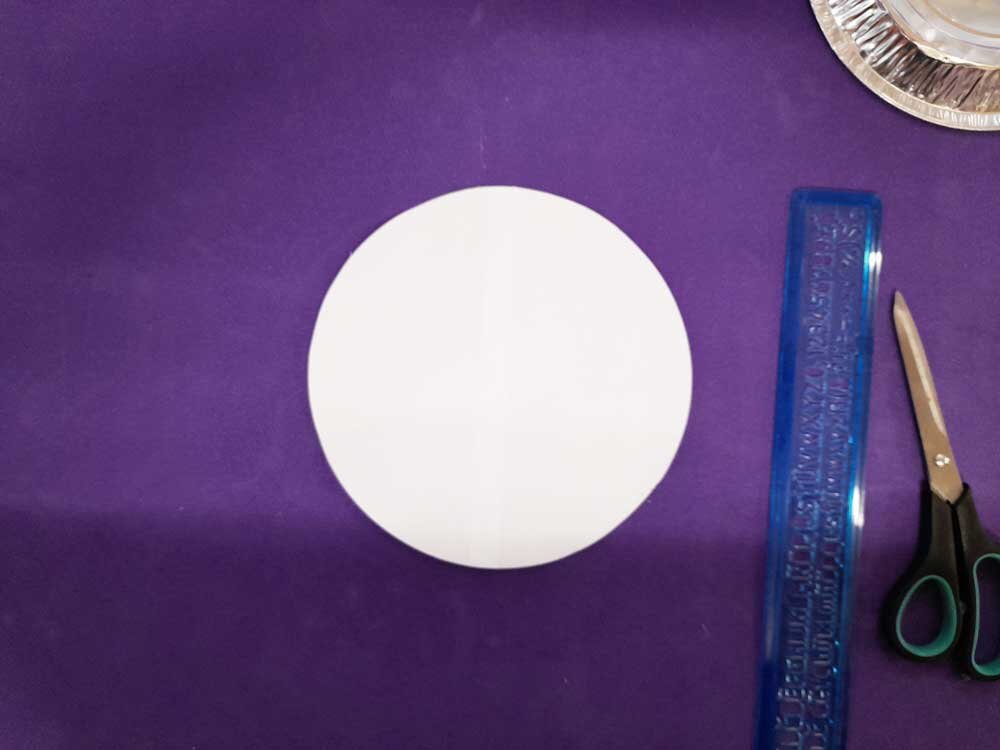
Take your circle and recycle the rest of the piece of paper.
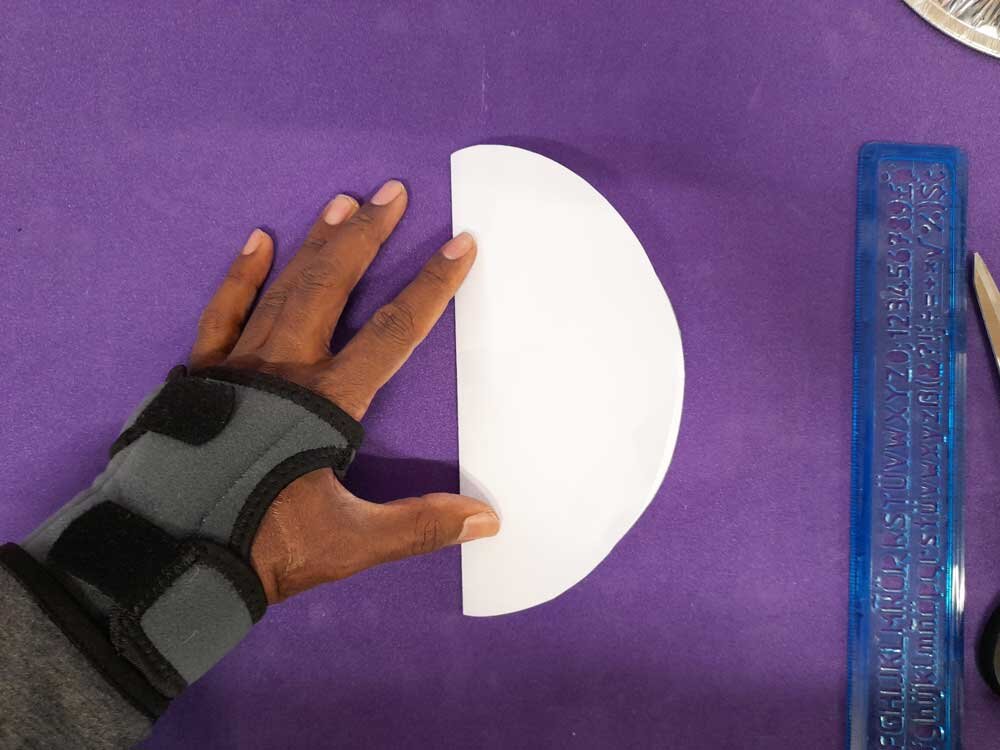
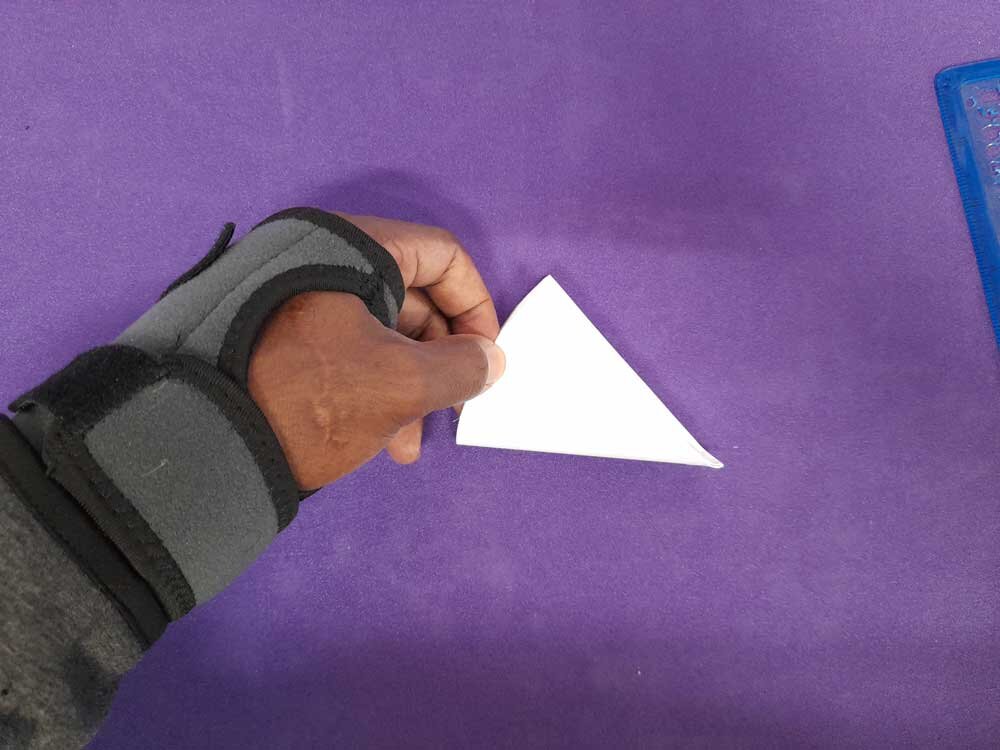
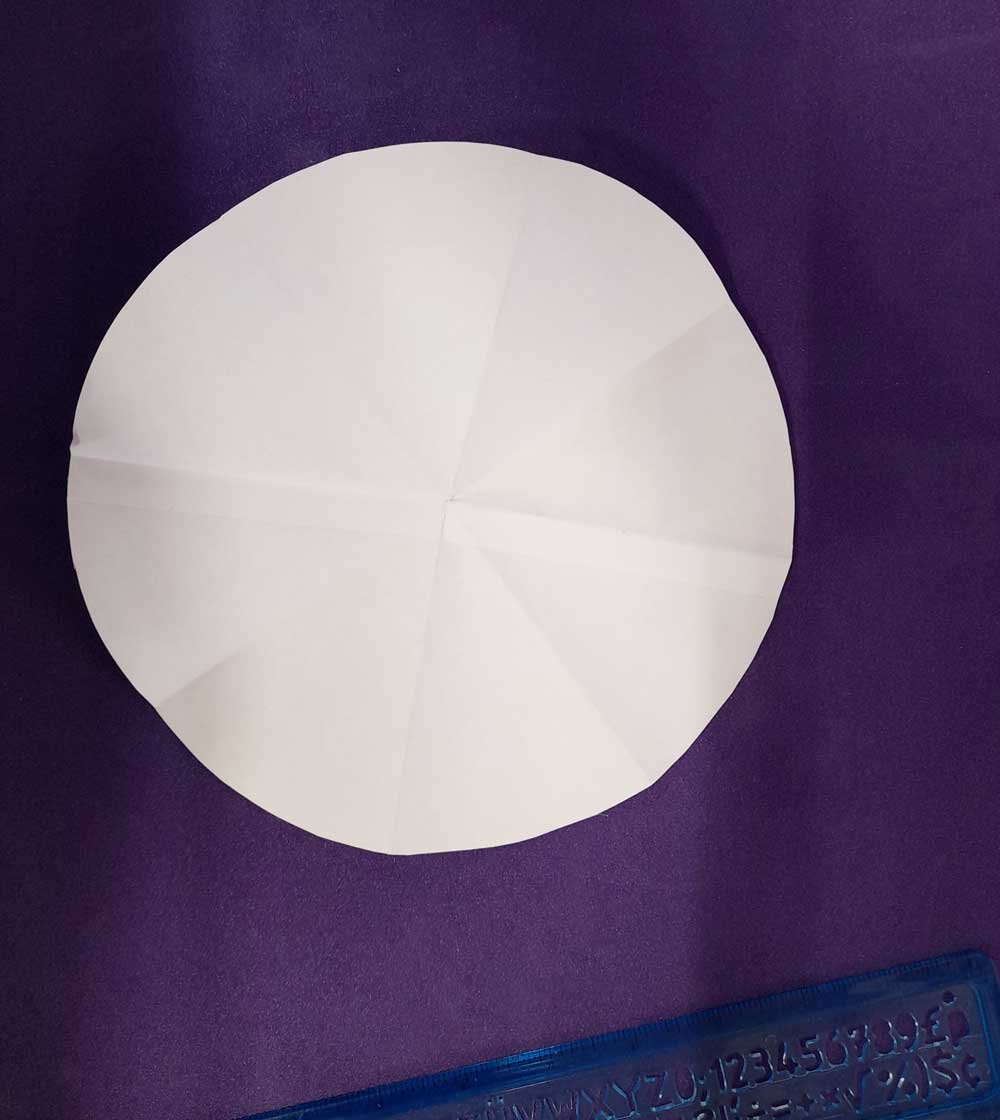
Now for some maths! You are going to fold your circle in half, then into quarters, and then into 8ths!! When you open up the circle you should have 8 equal folded segments in the circle. This is called "radial symmetry".
Create the shapes in your steel pan
To create the shapes in a steel pan, first you need to create a set of dots.
The first dot is in the centre of your circle
Then, you need to create a dot on each of the folds, around 3.5cm down the fold from the edge (if you have used a 20cm plate)
Finally you have an 'inside' set of dots in the MIDDLE of your segments - not on the fold. Place these in each segment around 5.5cm down.
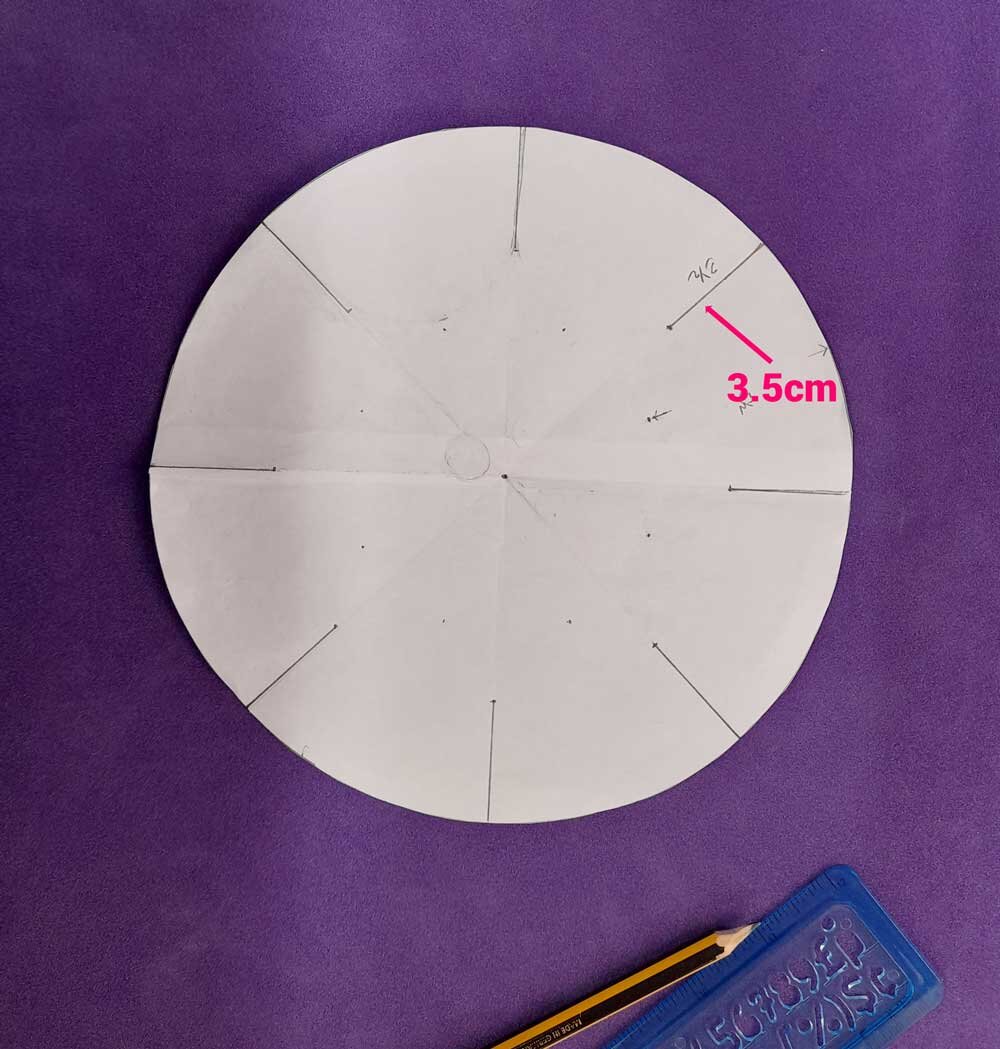

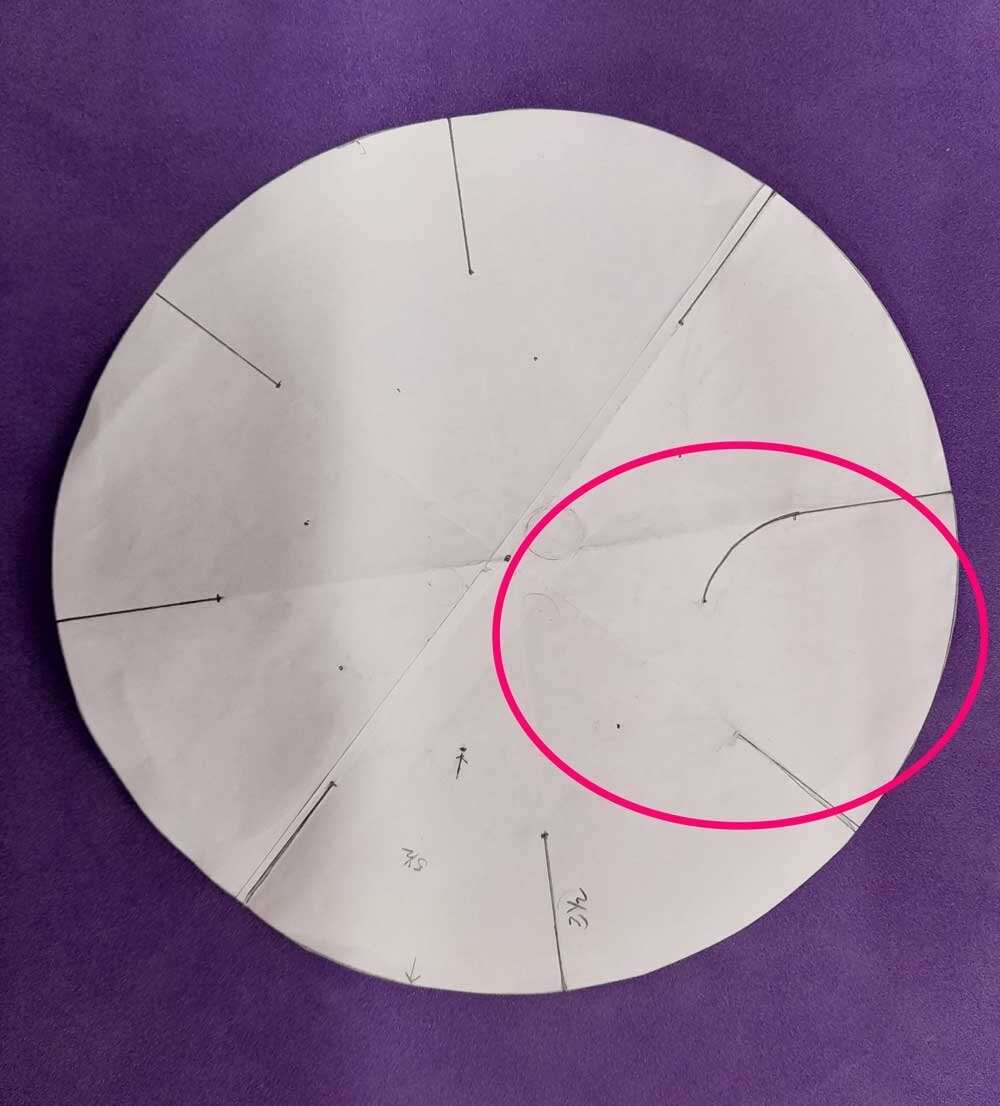
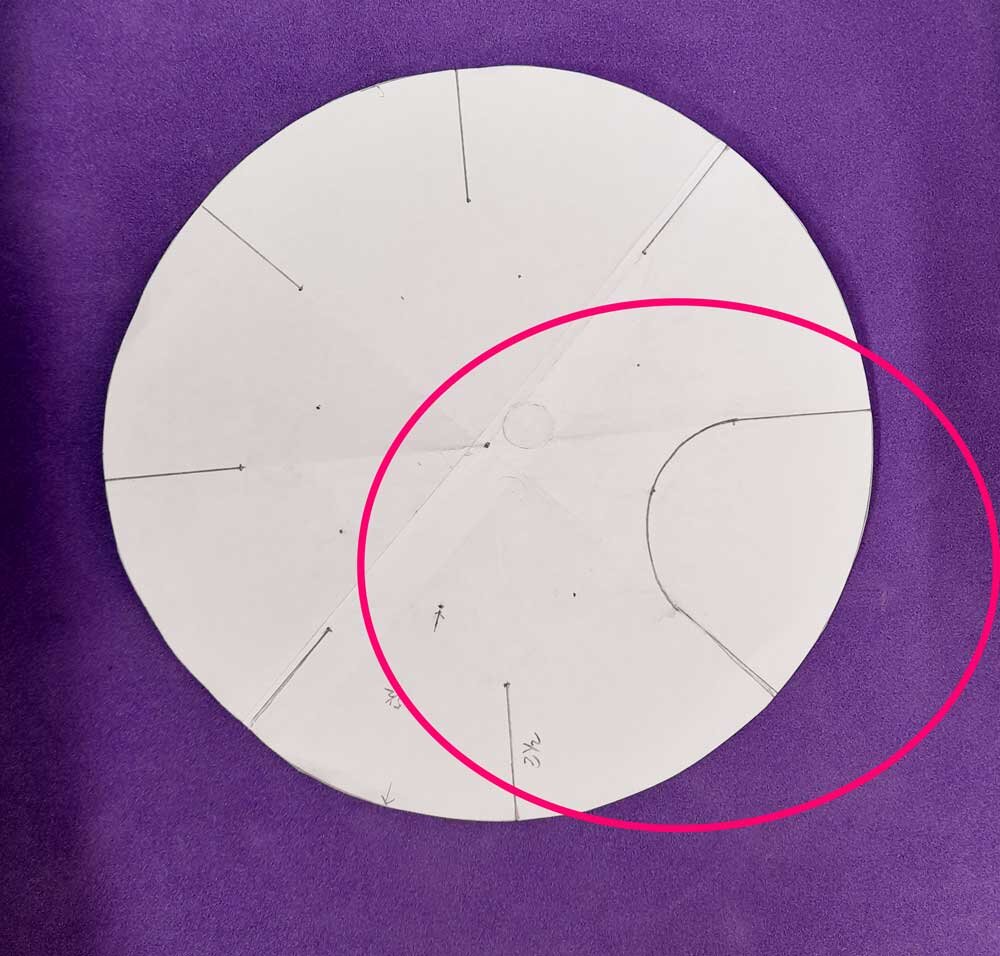
Next draw lines down from the edge to your first set of dots - on the fold - all the way around your circle.
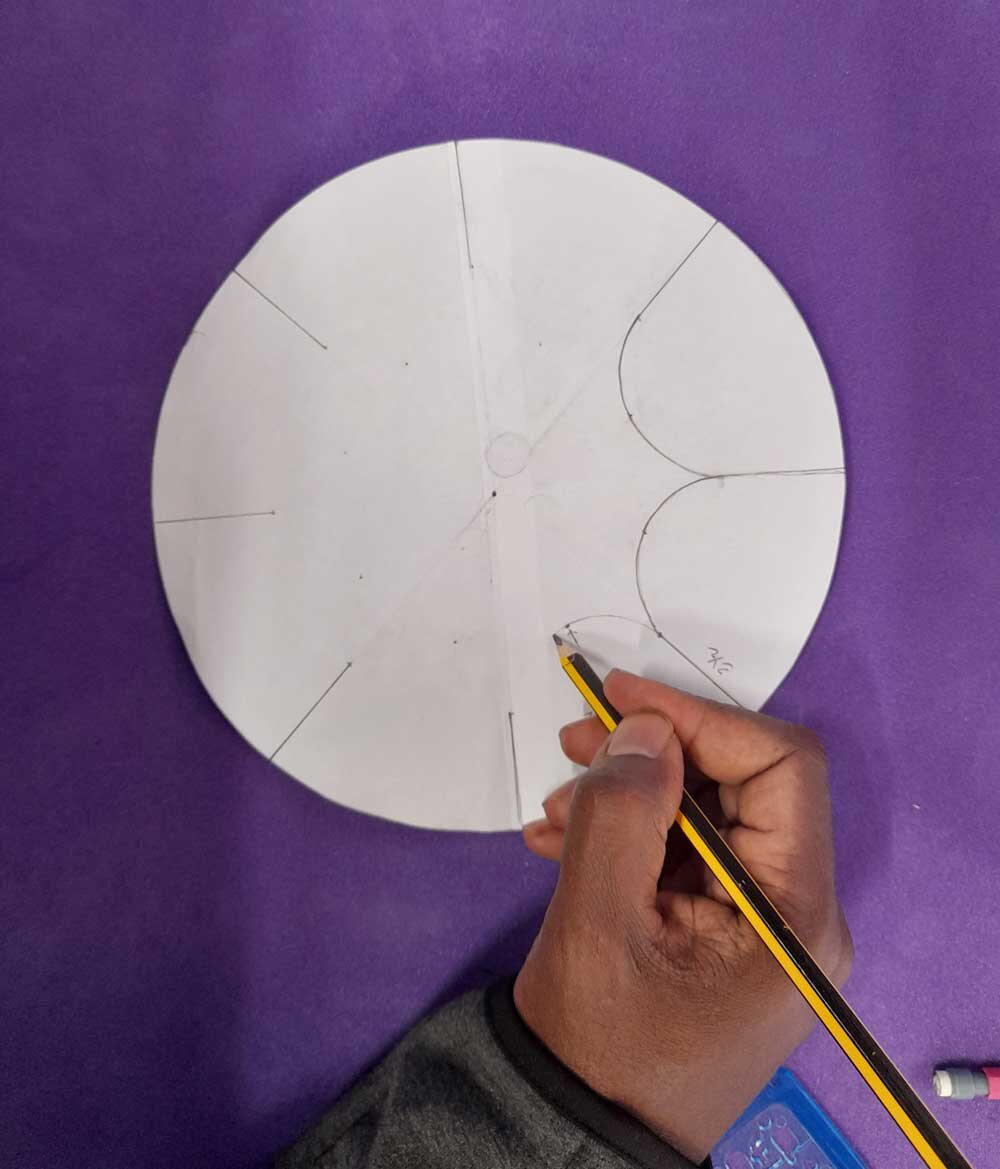
Then you will draw a curve from your line, to your dot in the middle of the segment, and then draw another curve to meet the next line on the fold along. See the pictures for an example.
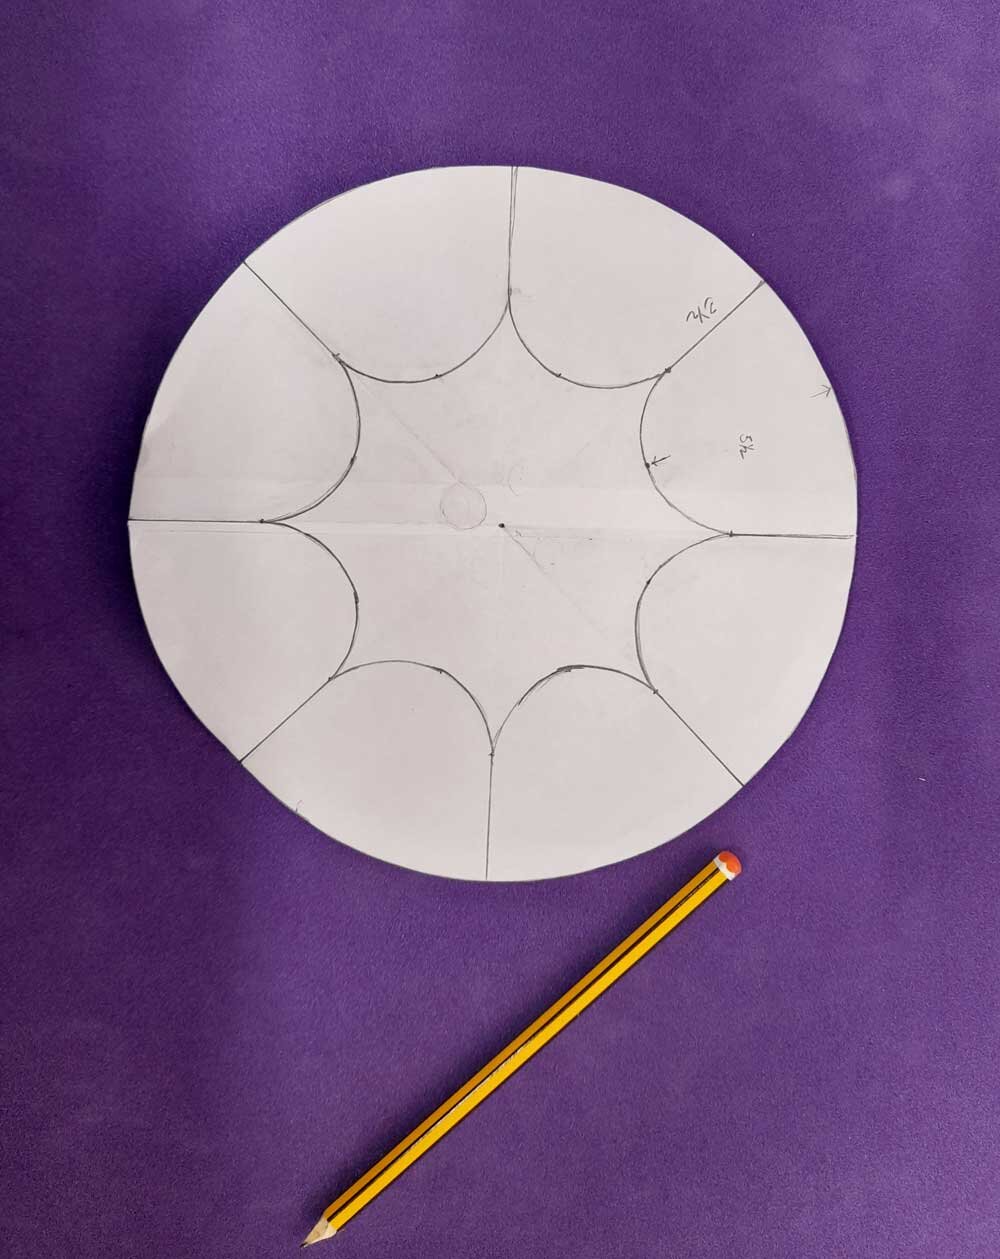
Carry on with this pattern all the way around your steel pan shape until you get it to look like this:
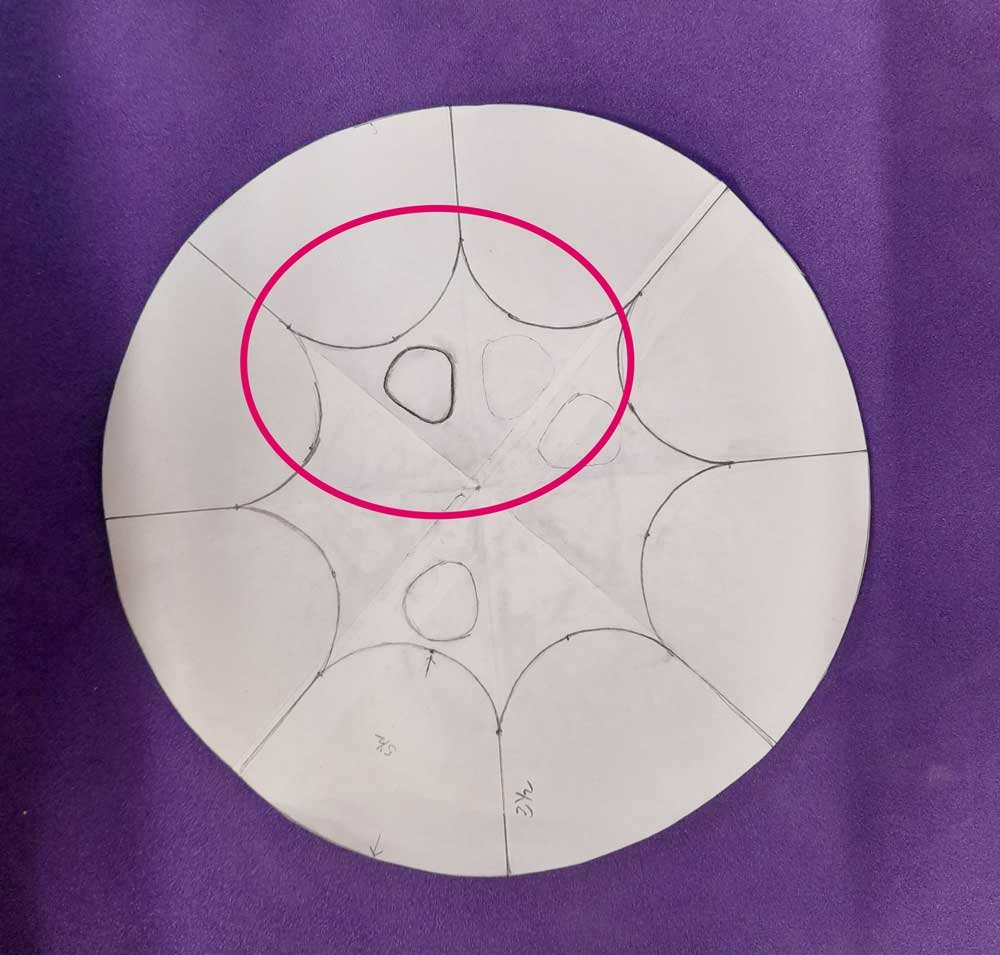
Next, you are going to add even more shapes to illustrate how a steel pan has different dips and impressions to make different tones.
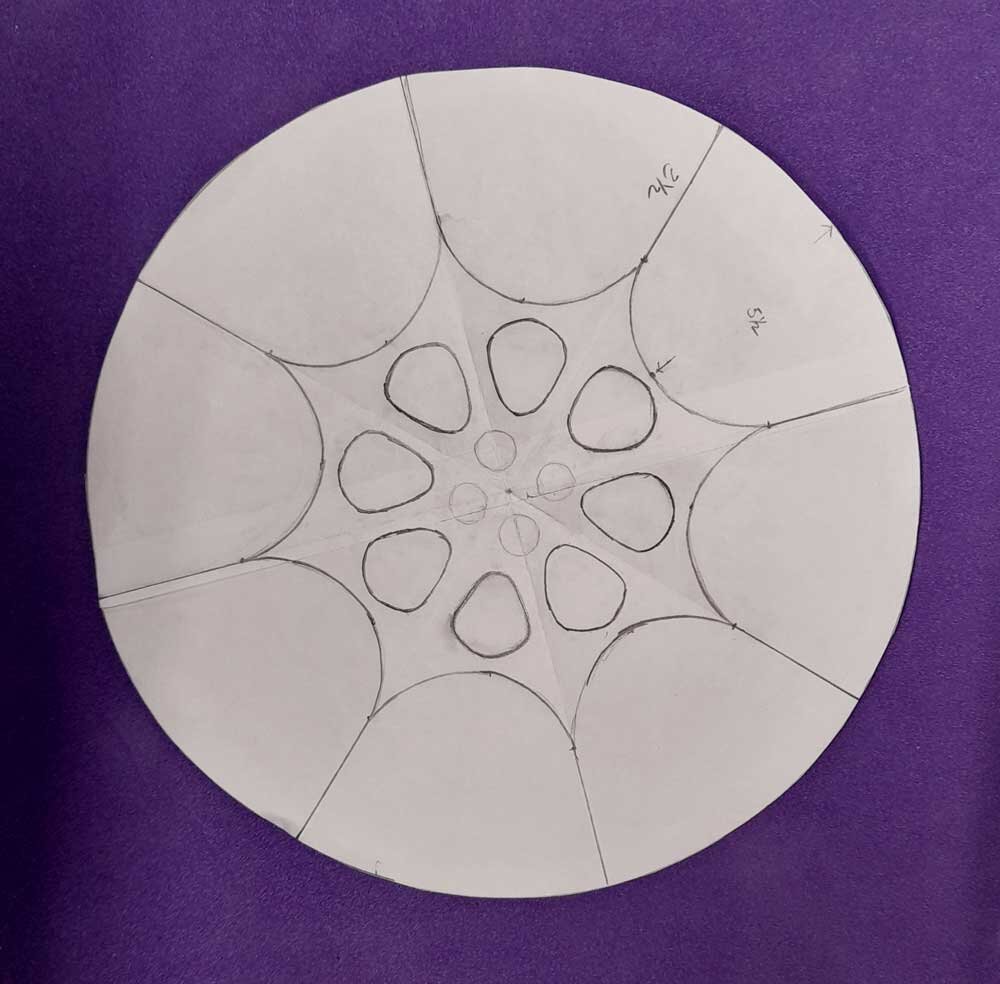
First you add in a shape like in the first picture below. It is similar in shape to a guitar plectrum, or an upside down egg! Put one of those in each segment of your circle.
Finally you will draw 4 circles in the middle - it looks a bit like button holes.
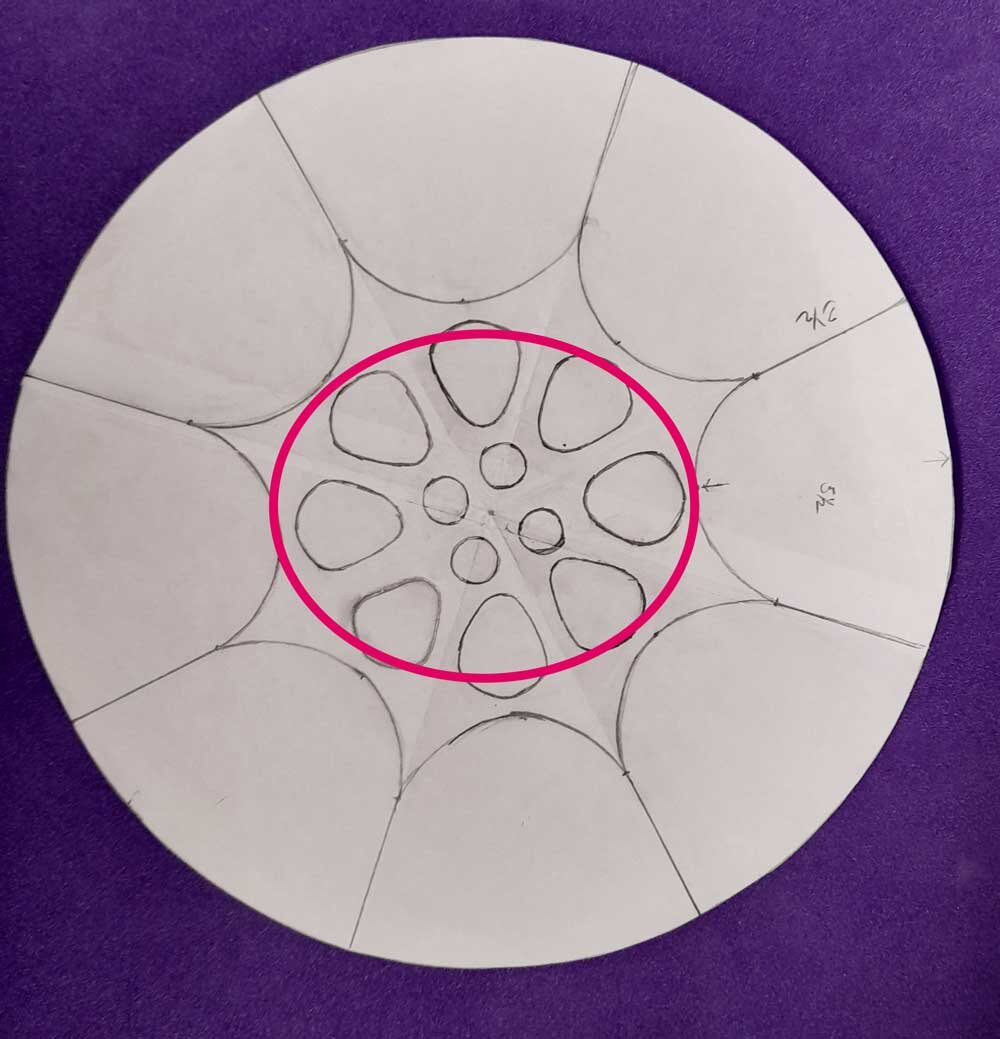
Your steel pan design is finished. Next you can colour it to look like the shine and shape of a real steel pan.

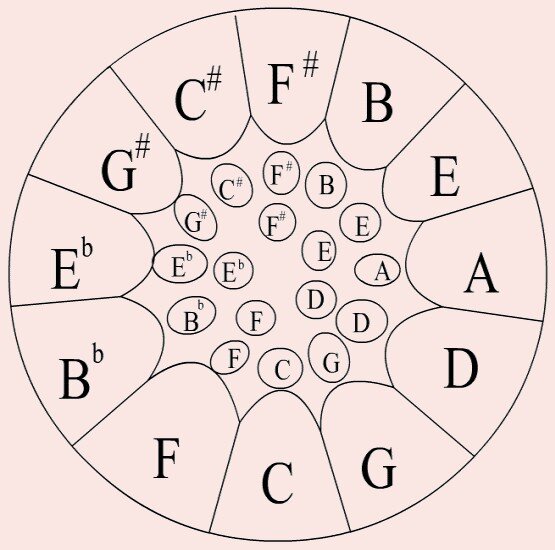
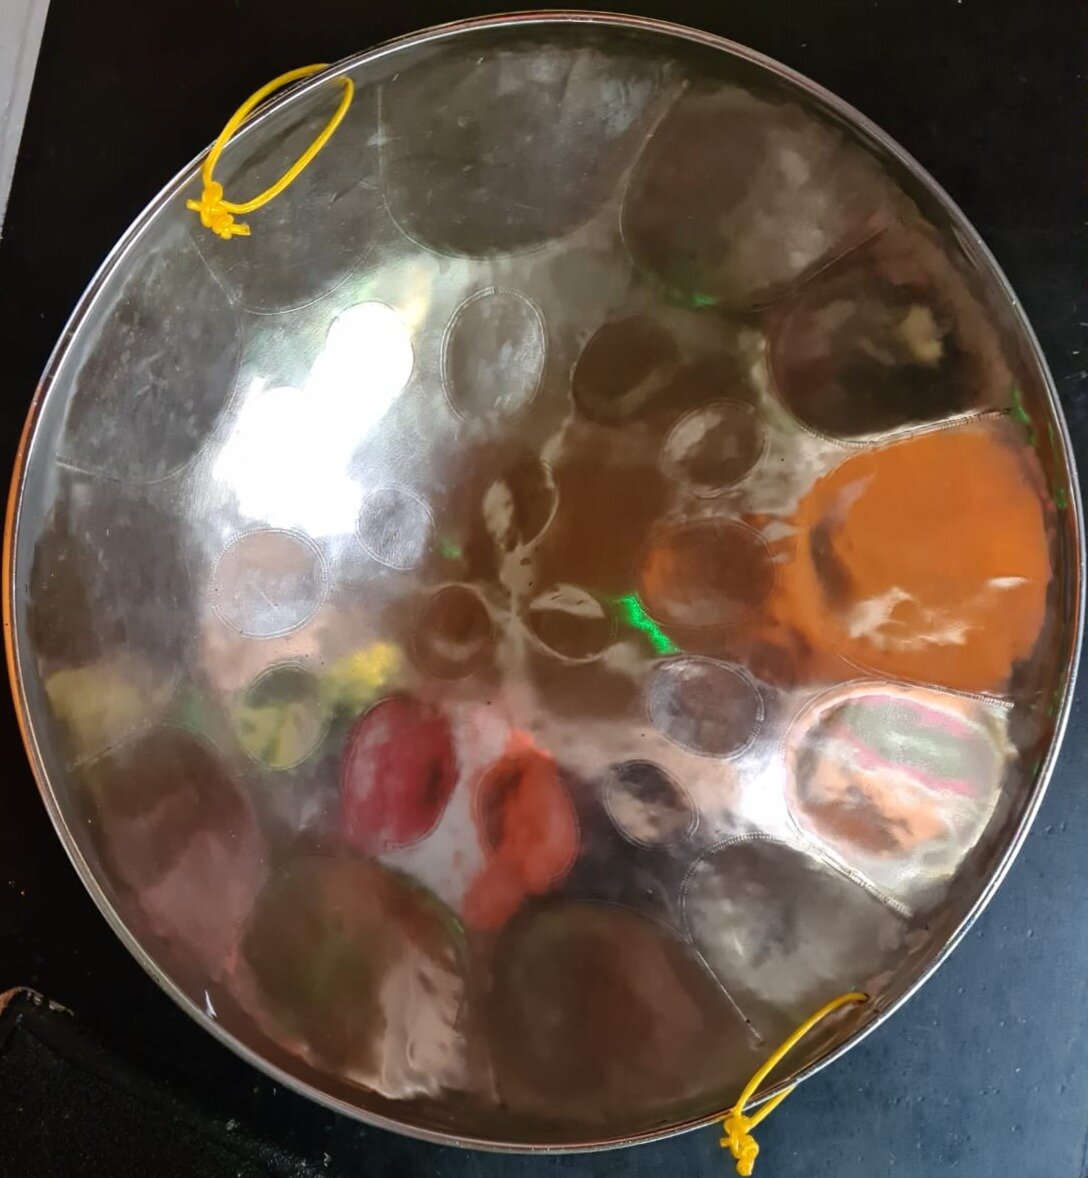
Here is an example of what a real steel pan looks like so you can compare. As you can see, each segment and shape, and indentation on the steel pan, makes a different note for the player.
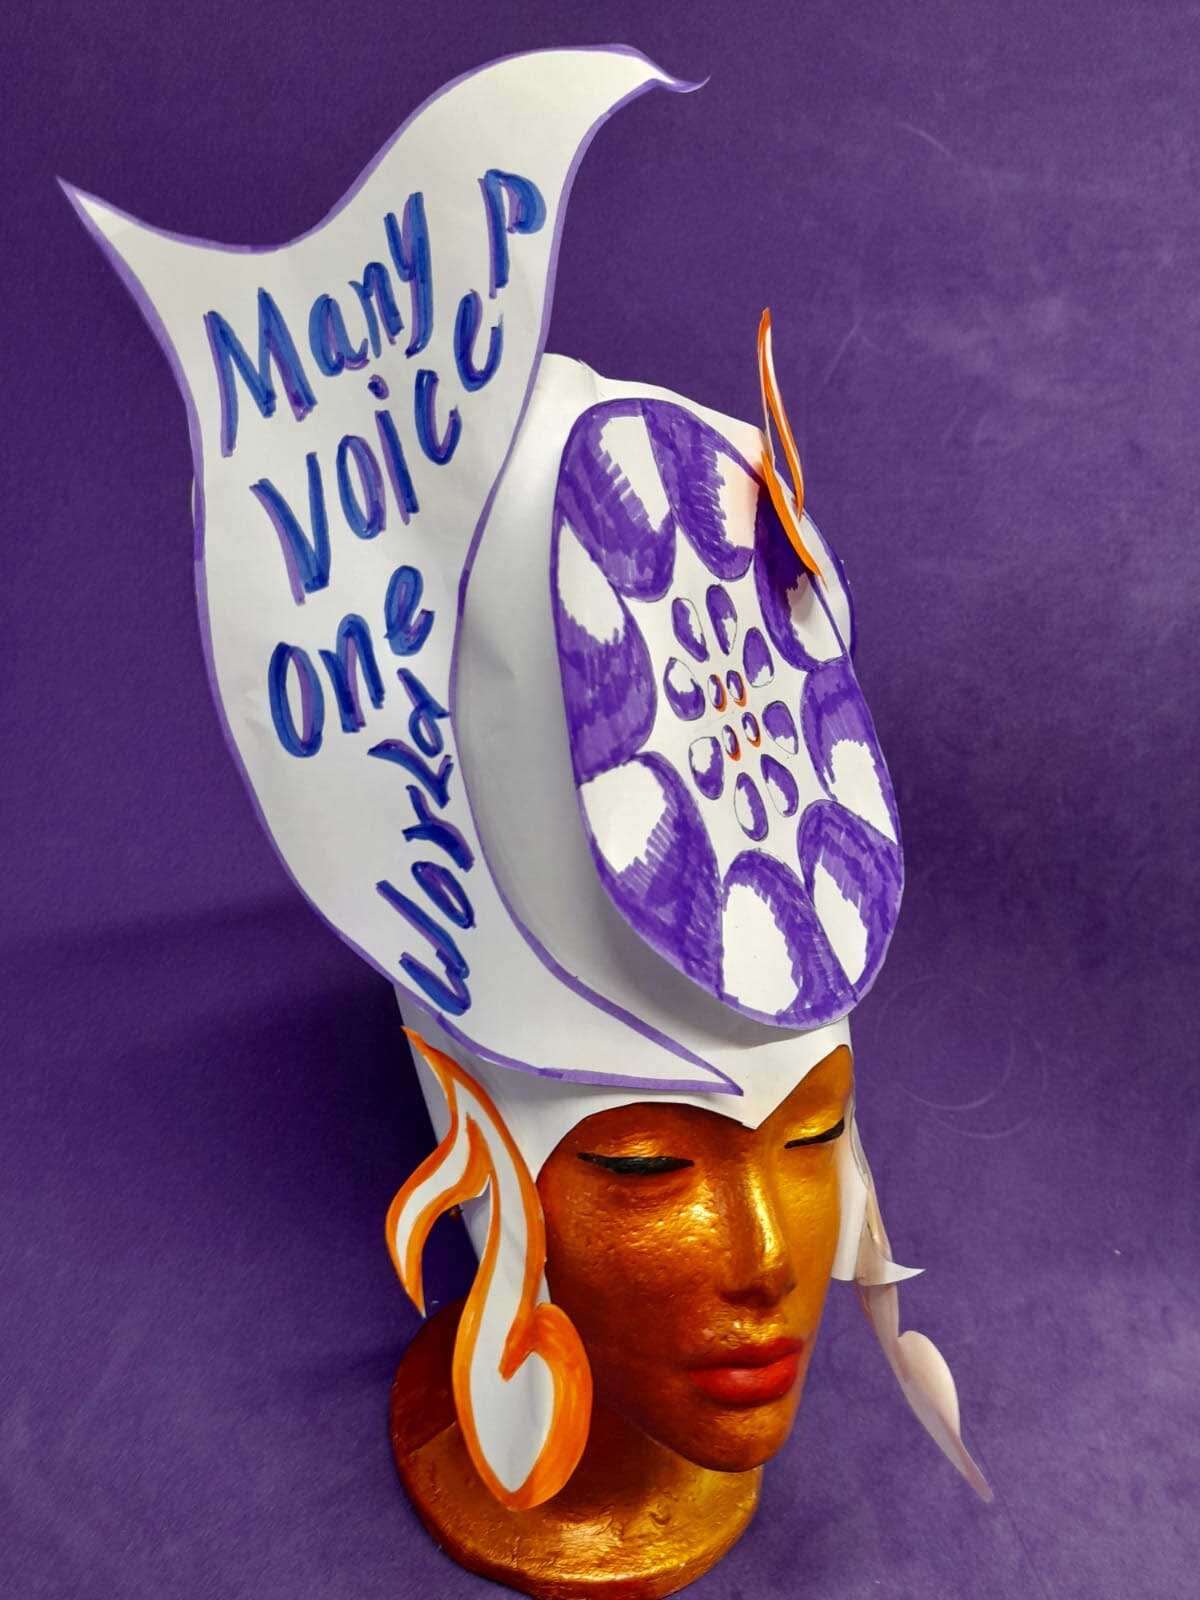
Create some shapes and words
Next we are going to create some carnival decoration for your headdress, where you can write words which describe how you feel about the story of steel pan, and black history [want to read more about the history of steel pan? Click here
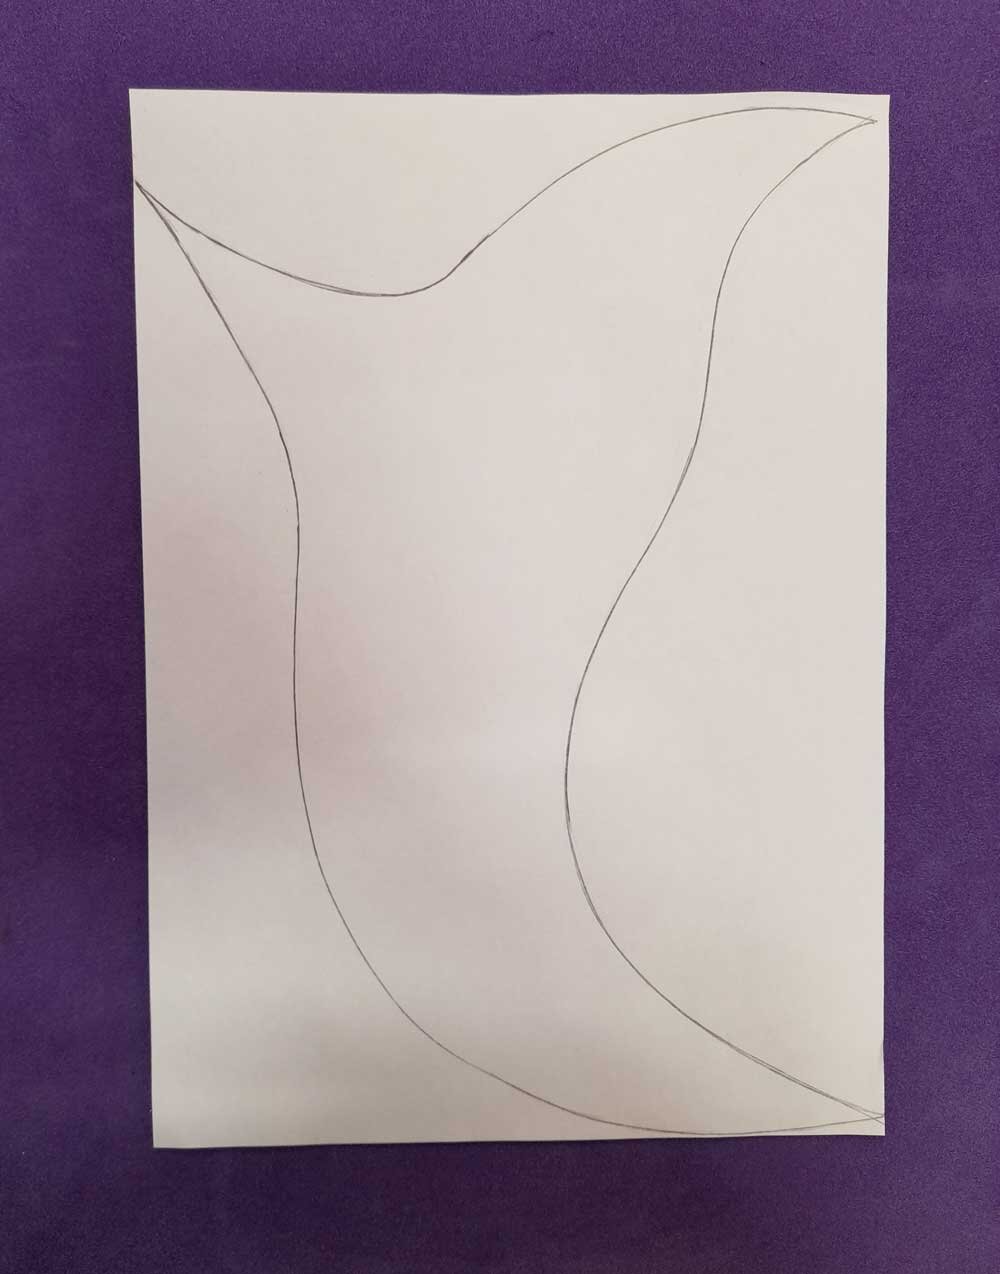
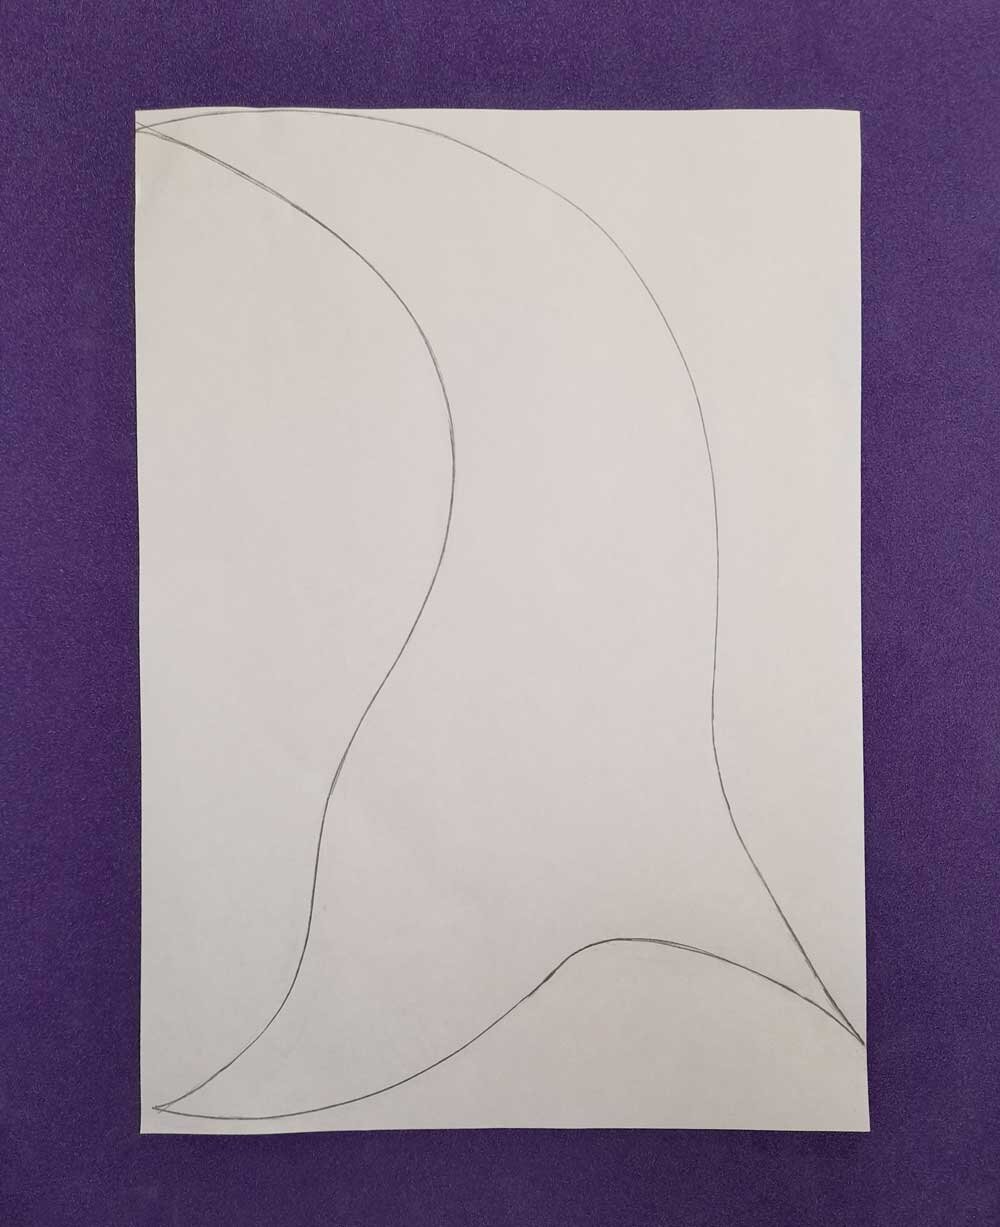
Take two pieces of A4 paper and copy the shapes you see below. Then cut these out.
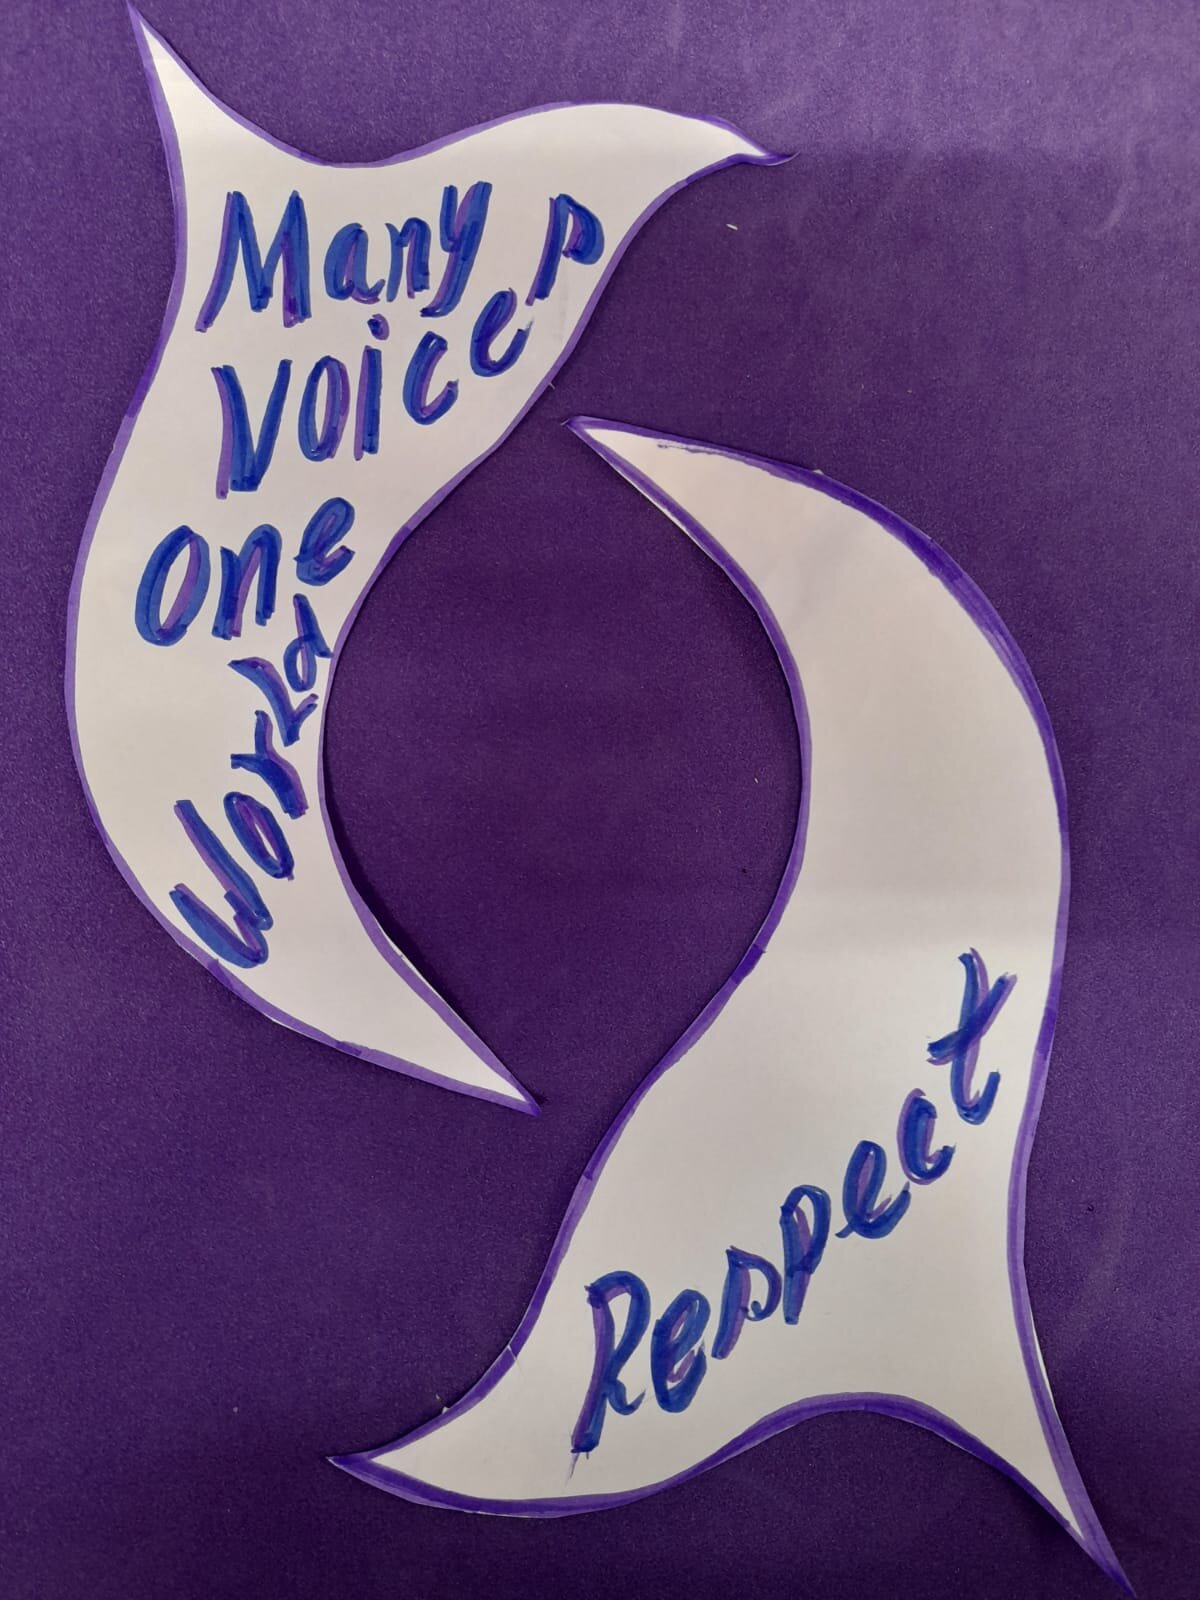
Once you have cut them out you can decorate them with your chosen words. You can use the same colours as your steel pan, or different colours to reflect the words and the music!
Get musical!
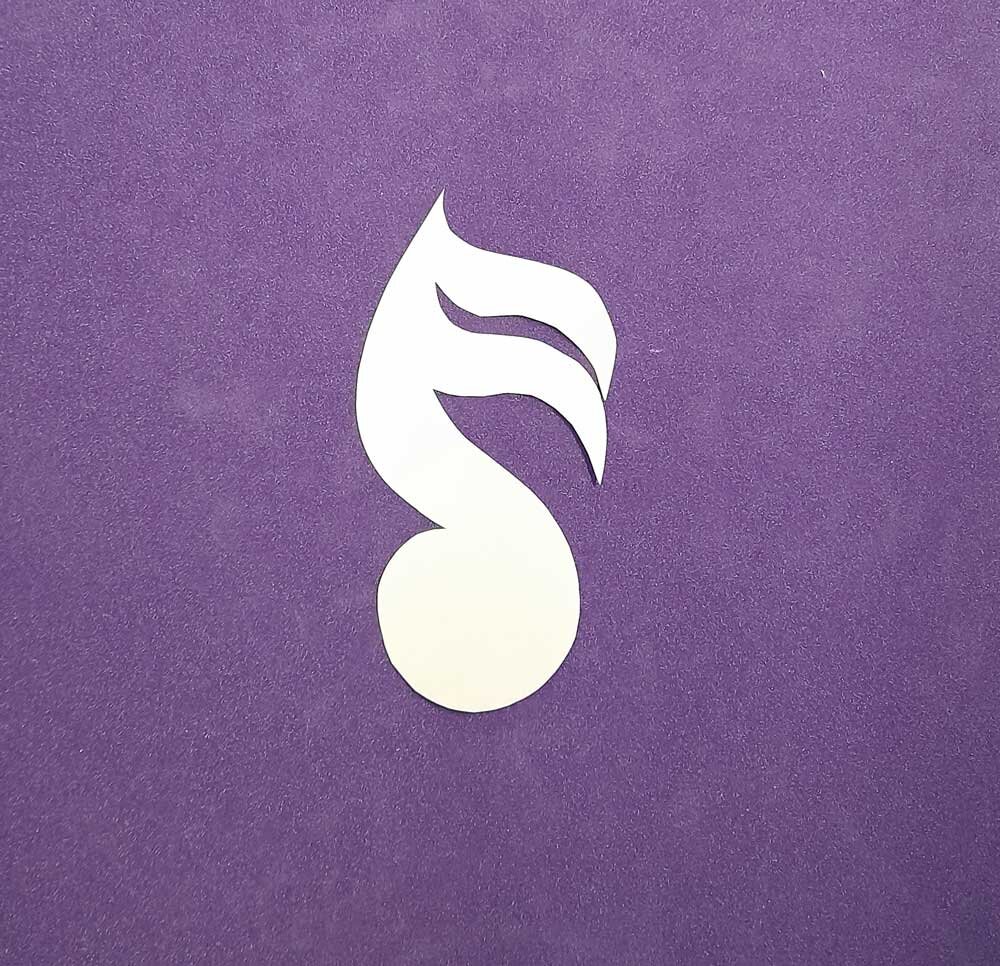
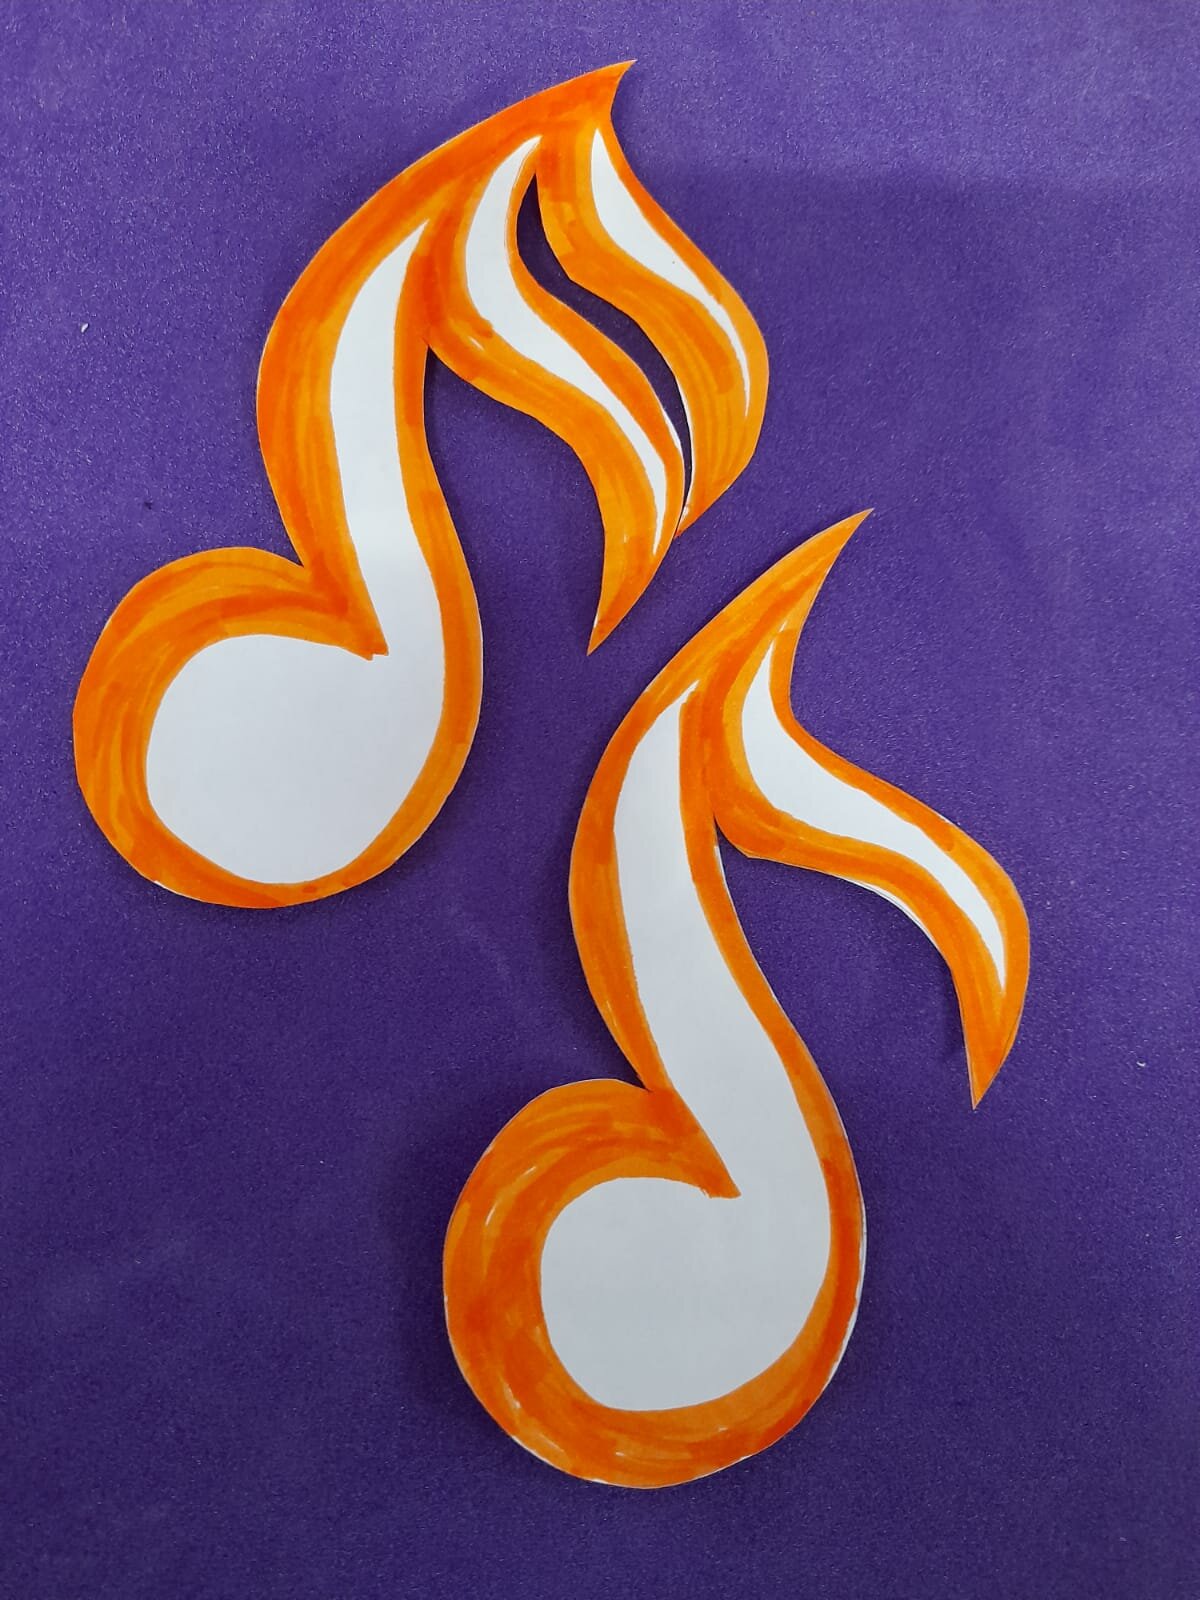
Next we are going to make some musical notes to decorate the steel pan carnival headdress.
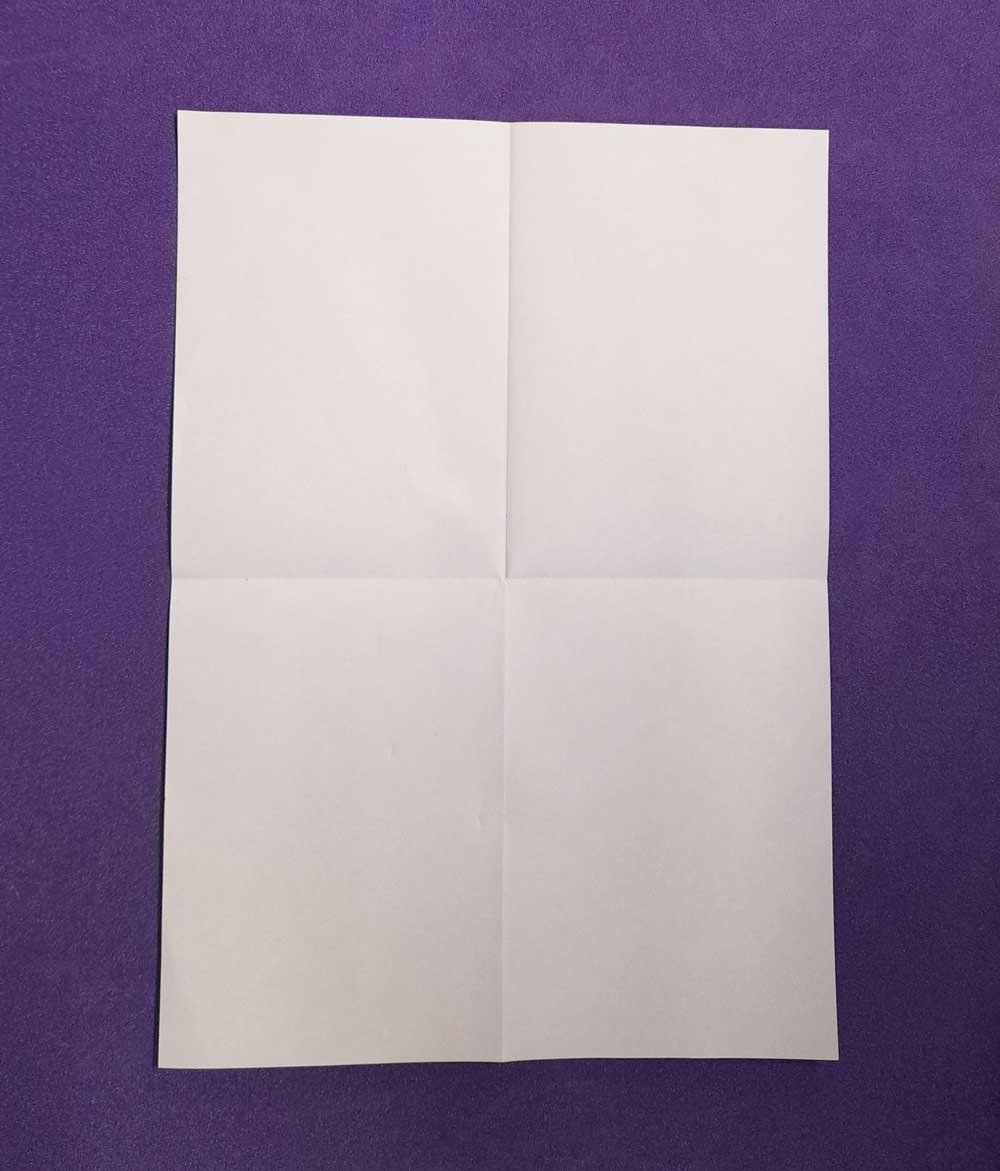
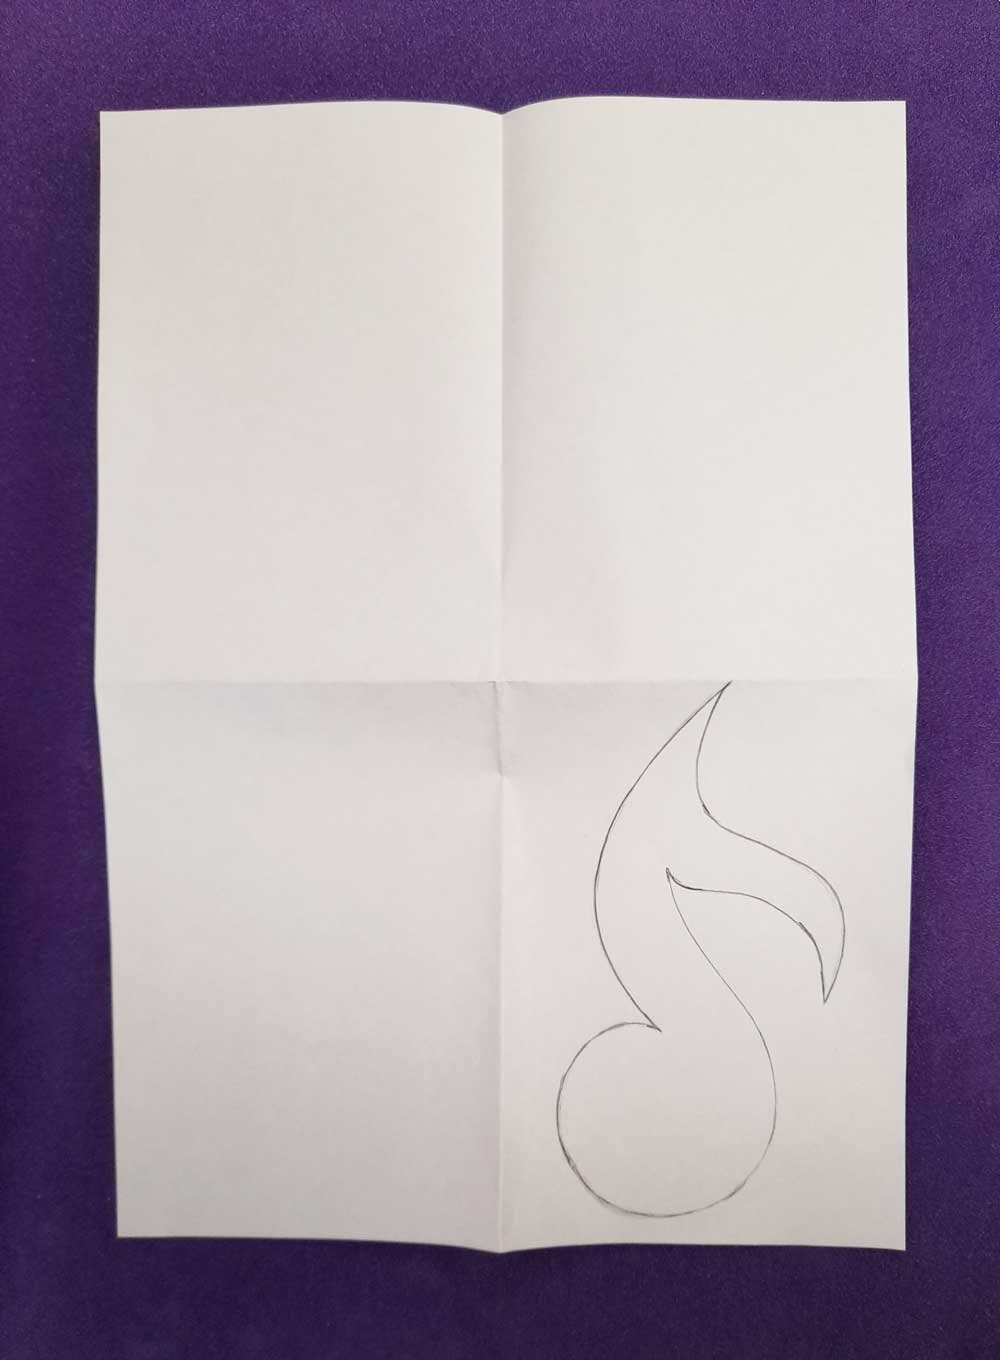
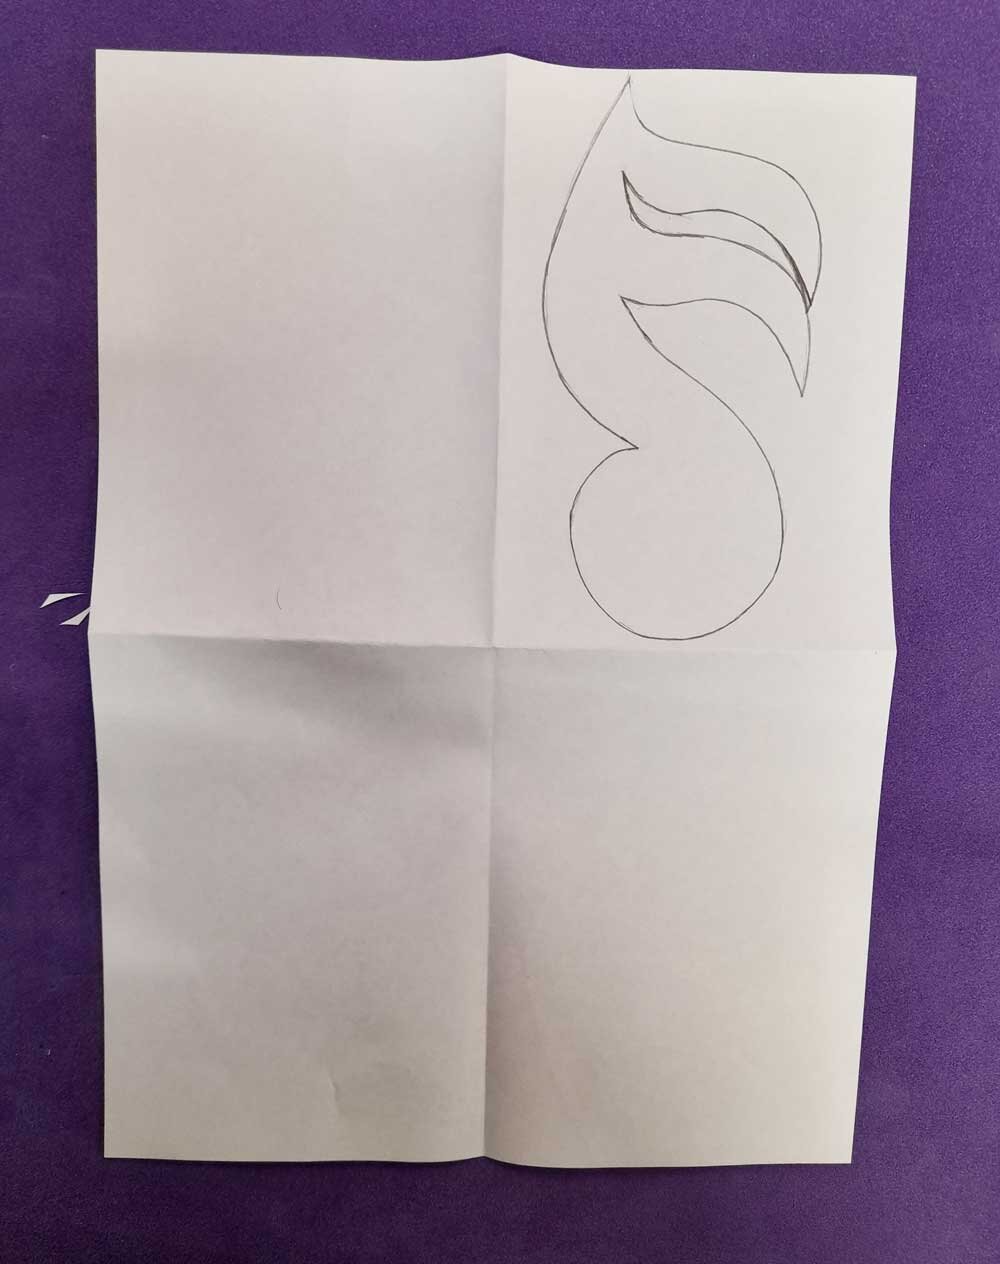
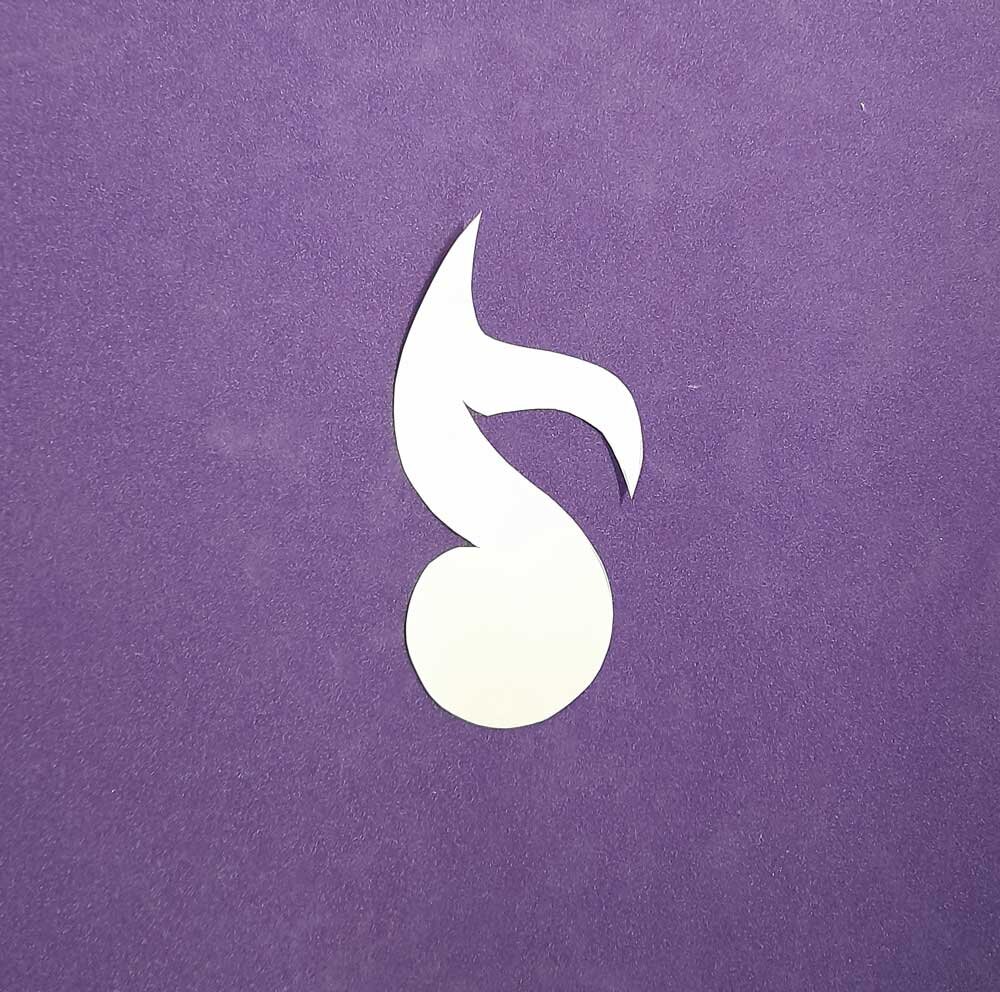
Take some pieces of A4 paper and fold them into quarters. Open up the paper again and draw a musical note, like in the picture, in one of the quarters on the reverse side - so it is easy to fold up again after. Fold it up again - your musical note template should be visible on the folded piece of paper - and cut it out. You will end up with four notes which you can outline or colour to put on your headdress. Try some different designs such as a quaver or semi quaver (which you see in our examples)
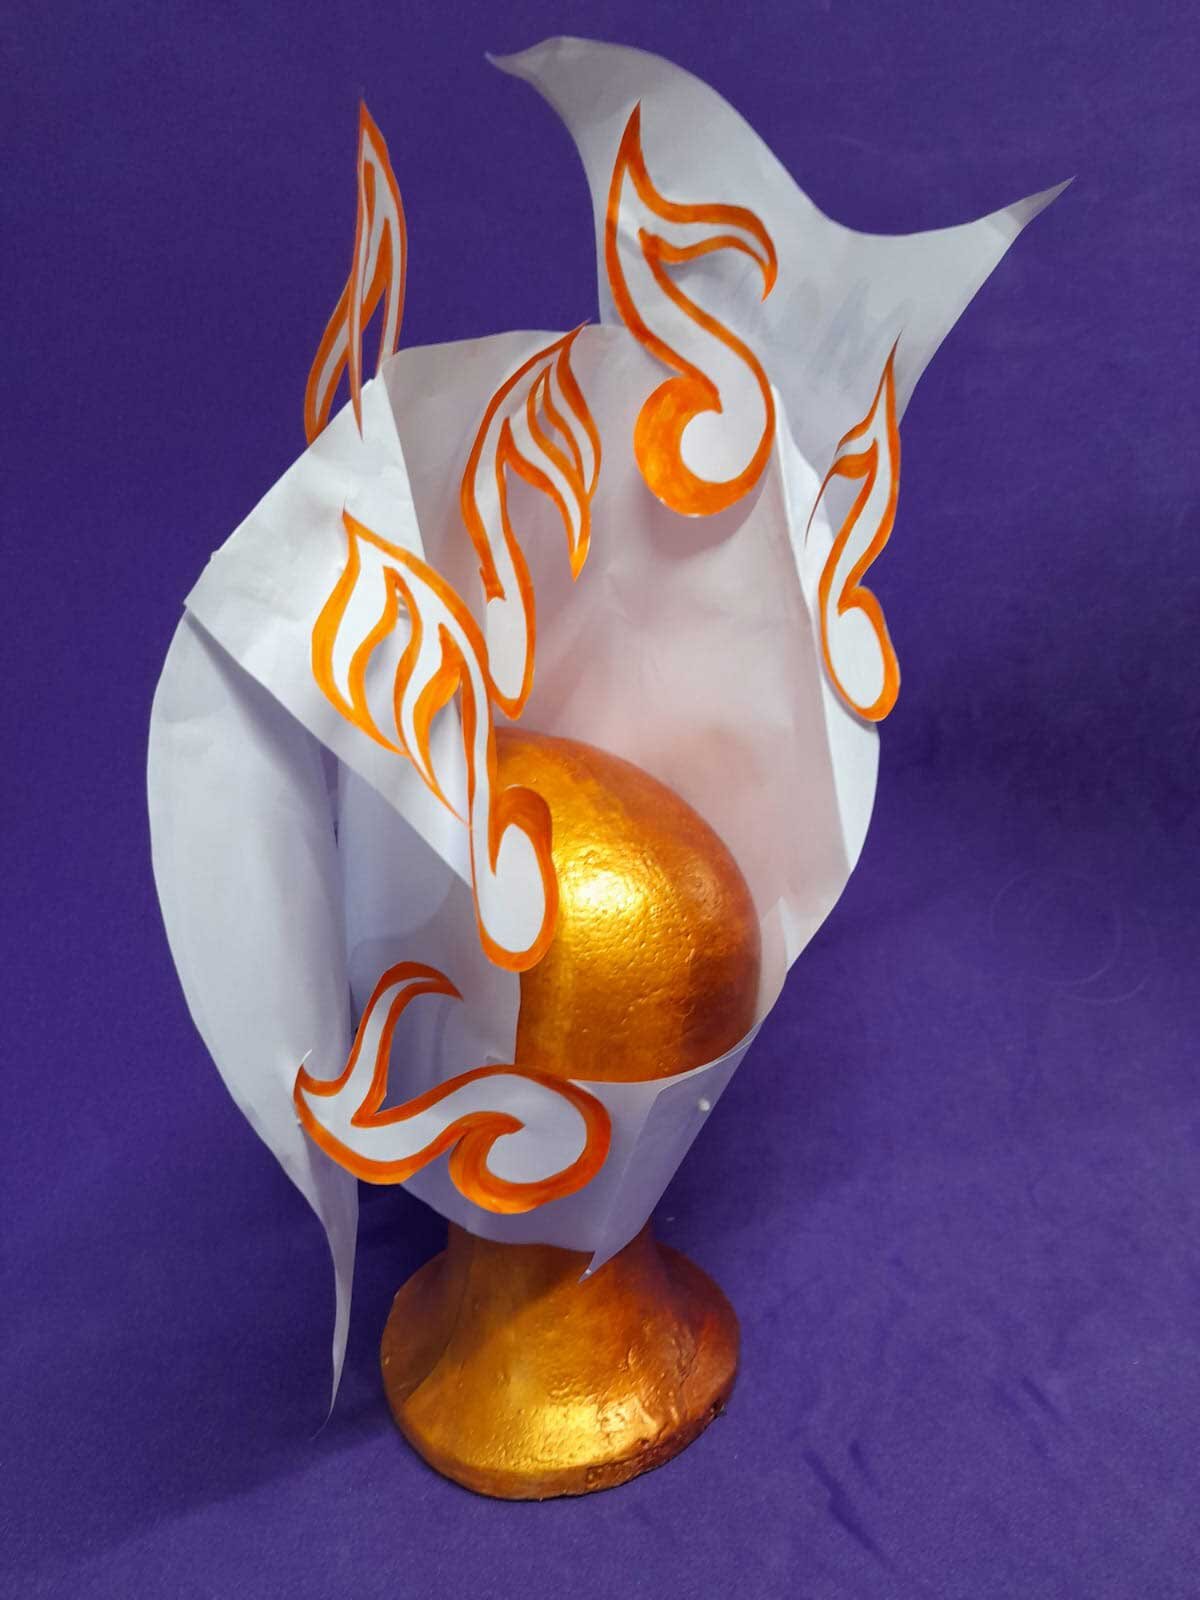
Create your final steel pan headdress!
Now you have all the pieces you need to put your headdress together!
First take your base and measure it around your head - the thin straps should meet at the back. Make sure it is a good fit then secure with masking tape to get the right size for your head.
Next, attach your steel pan shape to the front.
Your two pieces should stick either side of the base - you can glue these to the folds you made earlier
You can stick your musical notes all around the rest of the headdress where you like - but it is always nice to have some near the front by your ears as well as high up on the hat.
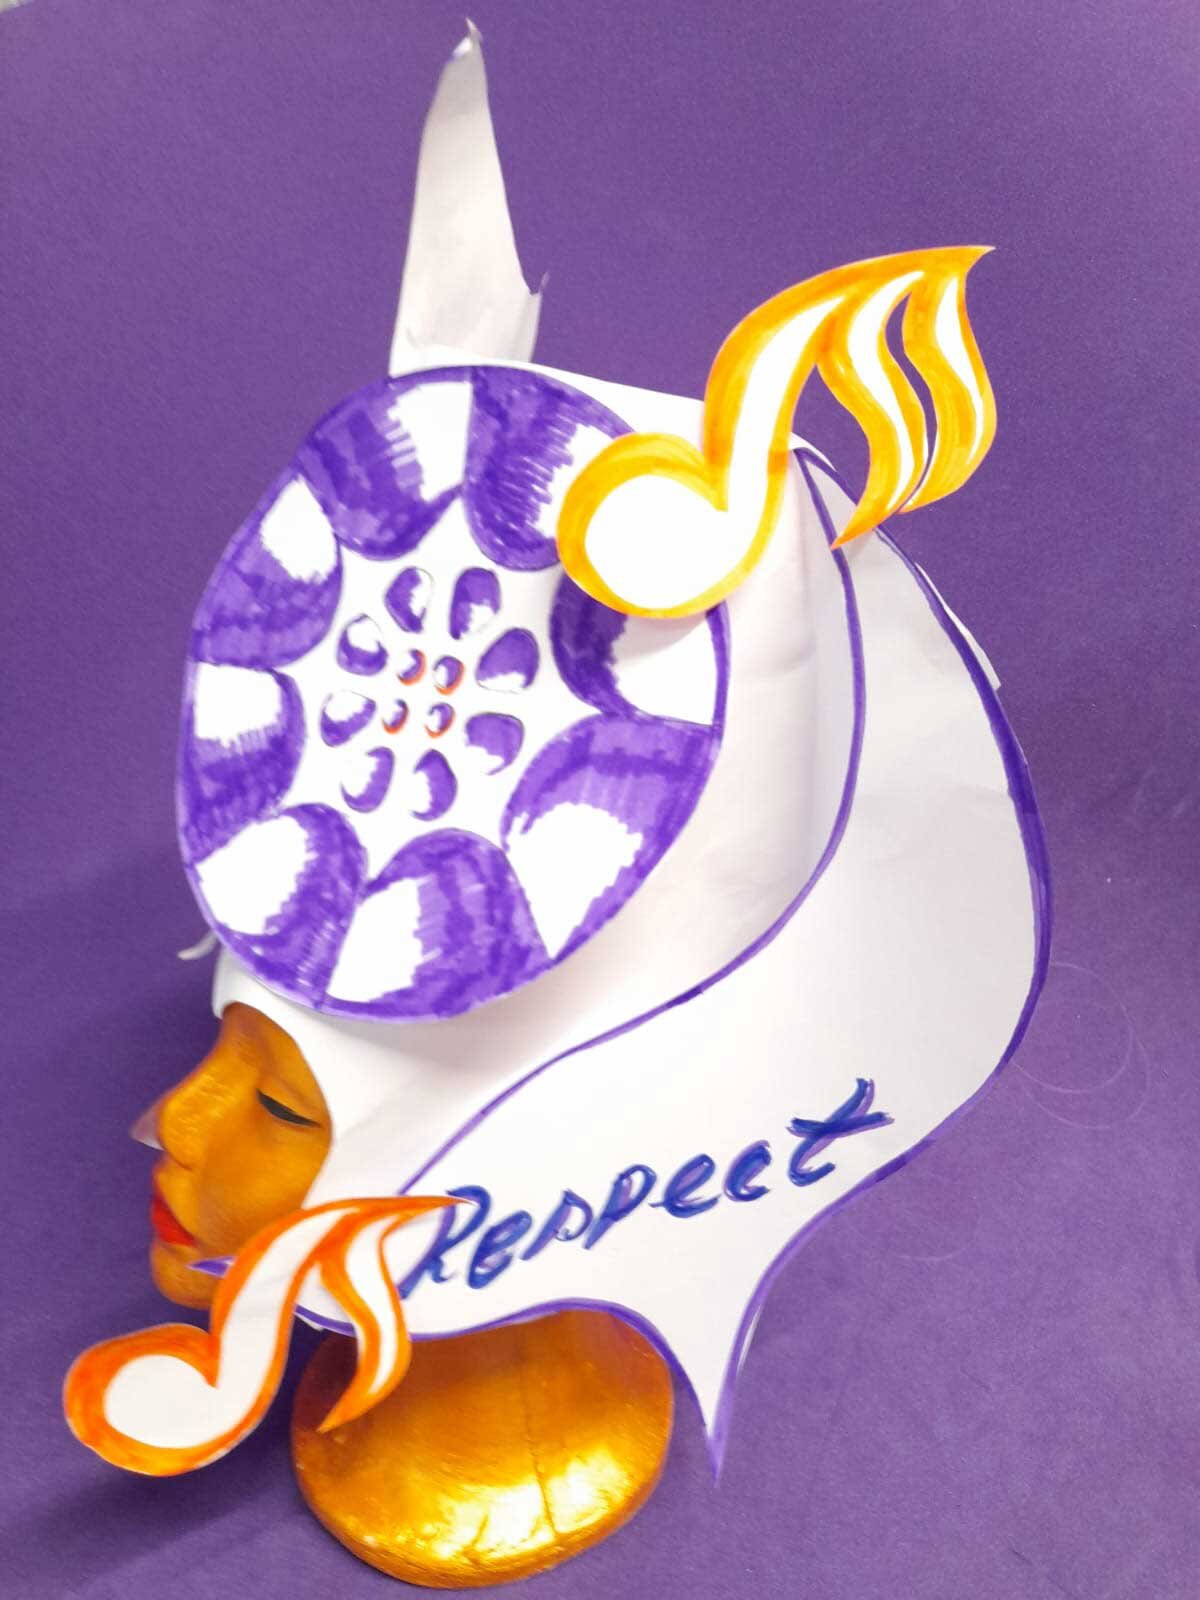
There you have it! Your spectacular musical steel pan headdress to celebrate Black History Month! We would love to see your creations! Send us photos of your creations, or upload them to social media and tag us in!
Want to try playing steel pan from your phone or tablet? Check out this app!